An ambient light rejecting screen preserves picture contrast by absorbing stray room light instead of scattering it back at the audience, which is what makes a projector image hold up in a sunlit den or a kitchen with the pendant lights on. It's worth buying if you watch during the day, run an ultra short throw (UST) projector, or share the room with windows you can't fully block. The trade-off: better materials cost more and some designs narrow your usable seating angle.
TL;DR:
- Matching the screen type to your projector's throw ratio is crucial; UST projectors require Fresnel screens, while standard or short-throw units suit CLR or lenticular options.
- Higher ambient light rejection usually results in narrower viewing angles, so consider your room layout and seating position to prevent dimness or uneven contrast.
- Proper installation alignment with the projector's optical axis and controlling secondary reflections enhance ALR screen performance significantly.
- Budget ranges from about $300 for entry-level screens to over $1,500 for premium custom models, with the decision driven by room lighting conditions and viewing habits.
- Addressing room lighting and positioning often yields better contrast improvements than investing solely in an ALR screen, especially if ambient light sources can be minimized or controlled.
Table of Contents
- What Is an Ambient Light Rejecting Screen and How Does It Work?
- Which ALR Screen Type Fits Your Projector and Room?
- How Do You Choose the Right Screen for Your Setup?
- How Should You Install and Position an ALR Screen?
- Cleaning, Maintenance, and What Wrong Screen Choice Looks Like
- What Does an ALR Screen Cost, and Is It Worth It?
- How Do You Fit an ALR Screen Into a Room You Actually Like Looking At?
- Should You Buy an ALR Screen or Just Fix the Room's Light?
- What Metrics Actually Predict ALR Performance in Your Room?
- What Are the Most Common ALR Installation Mistakes?
- The Design-First Take on ALR Screens
- Where to Read More on ALR Screen Technology
- Sources
What Is an Ambient Light Rejecting Screen and How Does It Work?
Most people assume a brighter projector fixes a washed-out picture. It doesn't, not on its own. Contrast, the gap between the darkest black and the brightest white a screen can render, matters more to how "good" an image looks than raw lumens. A projector can pump out plenty of light and still look flat if the screen reflects ambient light along with the projected image, crushing your blacks into gray.
An ambient light rejecting display solves this optically rather than electronically. Instead of a flat white surface that scatters every photon that hits it, an ALR screen uses a microstructure engineered to accept light only from specific angles, usually the angle your projector throws from, while absorbing or deflecting light arriving from other directions.
Three microstructure approaches dominate the market:
- Fresnel layers use concentric semicircular ridges that redirect light from a UST projector's low, steep throw angle back toward viewers.
- Lenticular or prism grids use tiny angled channels that reflect light from a specific vertical band, useful against overhead fixtures.
- Angular and retroreflective coatings bounce light back along the same path it arrived from, which works well when the projector sits near eye level.
Manufacturer claims give a useful sense of scale. Epson's SilverFlex Ultra states it absorbs up to 90% of ambient light while maintaining wide viewing angles, a spec built specifically for UST setups. BenQ's technical explainer frames ALR screens as optical filters, not brightness boosters, and stresses that the filter geometry has to match your projector's throw ratio or the screen underperforms badly.
Pro Tip: A 90% ambient-light claim describes light rejected from the screen's intended acceptance angle. Light hitting from the wrong direction, say a side window instead of overhead, won't get the same treatment.
Which ALR Screen Type Fits Your Projector and Room?
Not every light rejecting projector screen solves the same problem, and picking the wrong family for your setup is the single most common buying mistake.
- Fresnel screens exist for one job: pairing with UST projectors. The concentric-ridge structure only works correctly when light arrives at the steep angle a UST unit produces, typically under 15 degrees. Mount a standard-throw projector at these screens and the image will show visible banding or uneven brightness.
- CLR (ceiling light rejecting) and lenticular screens target overhead ambient light, the kind that pours down from recessed cans or a chandelier. Elite's StarBright CLR line, for example, specifies rejection of overhead light up to roughly 90% but explicitly warns it isn't built for UST throw angles. Compatibility runs one direction, not both.
- Angular and retroreflective materials handle side-lit rooms, windows on a wall rather than light from above, by bouncing light back toward its source rather than scattering it forward.
The trade-off across all three: higher ambient rejection tends to come with a narrower sweet spot. A screen tuned tightly for one light direction and one throw angle rewards you with strong contrast dead-center and can look noticeably dimmer or grayer from an angled couch seat. ProDisplay's overview of ALR construction makes the same point: matching screen family to projector and room geometry correctly is what separates a screen that performs from one that disappoints.
Texture matters too. Manufacturers building for 4K compatibility use finer microstructures and smoother surfaces specifically to avoid visible grain at close viewing distances, so if you're feeding a UST projector 4K content, ask about surface resolution before you buy.
How Do You Choose the Right Screen for Your Setup?
Start with throw ratio, not brand names. A UST projector sits inches from the wall and throws light upward at a steep angle. It needs a Fresnel-based screen built for that geometry. A standard or short-throw projector mounted on the ceiling or a back shelf needs a CLR, lenticular, or angular material instead. Cross the wires, put a standard-throw projector in front of a Fresnel screen, and you'll get hot-spotting no amount of calibration fixes.
Gain is the next spec worth understanding, and it's more counterintuitive than it looks. Screen gain measures how much light a surface reflects relative to a reference white standard, and higher isn't automatically better. In an ambient-lit room, a lower-gain surface sometimes preserves black levels more effectively because it absorbs stray light rather than bouncing it back with everything else. Chasing the highest gain number on a spec sheet can actually hurt your picture in a bright room.
Half-gain angle deserves equal attention. It measures the angle at which brightness drops to half of center-screen brightness, and ProjectorCentral's shoot-out testing found real variance across products, some hold brightness well off-axis, others fall off sharply just past center. A narrow half-gain angle might look spectacular from the one recliner directly in front of it and disappointing with anywhere else. If you're seating six people on a wide sectional, that spec matters more than the headline contrast number.
Before you buy, run through this:
- Confirm your projector's throw ratio and match it to the screen's stated compatible throw range.
- Check the half-gain angle against your actual seating width, not just your favorite chair.
- Ask whether the gain rating suits an ambient-lit room or a dark theater room.
- Verify 4K or 8K resolution compatibility if that's your source material.
- Measure your dominant light source, side window, overhead fixture, or both, before picking a screen family.
Pro Tip: Walk your room at the times you'll actually watch. A living room that looks dim at 9 a.m. can flood with afternoon sun by 3 p.m., and the screen family that handles one won't necessarily handle the other.
How Should You Install and Position an ALR Screen?
Optical filters only work when light hits them from the angle they're designed for, which makes installation geometry, not just screen choice, the difference between a great picture and a mediocre one.
- Align the projector and screen on the same optical axis. Even a slight vertical or horizontal offset can push light outside the screen's acceptance window, especially with Fresnel materials built for a narrow throw angle.
- Identify your dominant light source before mounting anything. A CLR screen fighting a side window instead of overhead light is working against a direction it wasn't built to reject.
- Reduce reflective bounce. Glossy coffee tables, glass cabinet fronts, and pale walls near the screen can throw secondary reflections back at the surface even after the primary ambient light gets handled.
- Test from every seat, not just the center one. Sit in each regular viewing spot during the brightest part of your day and check for washed blacks or dimming at the edges.
- Call a professional installer if you're wall-mounting a large fixed-frame screen with a UST projector, since alignment tolerances get tighter as screen size grows and a fraction of an inch off-axis becomes visible.
Pro Tip: Layered lighting can do real work here too. Swapping a single overhead fixture for dimmable ambient and task lighting often improves perceived contrast almost as much as upgrading the screen itself, and it costs far less.
Cleaning, Maintenance, and What Wrong Screen Choice Looks Like
ALR surfaces are more delicate than a basic matte white screen because the microstructure that rejects light is also easy to damage. A few rules keep it intact:
- Dust with a dry microfiber cloth or a soft brush; never use paper towels, which can scratch the coating.
- Skip glass cleaners, alcohol wipes, and anything abrasive. Most manufacturers specify water-dampened microfiber only.
- Avoid touching the surface directly. Fingerprints on some lenticular materials are difficult to remove without leaving a mark.
If the picture looks wrong, the screen is usually telling you something specific. A bright hotspot dead-center that fades toward the edges typically means a throw-ratio mismatch. Shimmer or moiré on fine detail often points to a texture too coarse for your resolution. Washed-out blacks despite a genuine ALR screen usually trace back to stray light hitting the surface from an angle the material wasn't built to reject.
Ask manufacturers directly about warranty coverage for coating defects and delamination, since these are the failure points on ALR materials specifically, not generic screen wear.
What Does an ALR Screen Cost, and Is It Worth It?
Budget from roughly $300 for a smaller fixed-frame Fresnel panel up to $2,000 or more for a large custom UST screen from a premium line like Epson's SilverFlex. Frame quality, proprietary coatings, and custom sizing drive most of that spread, not the fabric alone.
- Entry-level CLR and Fresnel panels: roughly $300 to $700
- Mid-range branded ALR materials with wider viewing angles: $700 to $1,500
- Large-format or custom-sized premium screens: $1,500 and up
A premium screen earns its price when you're watching during the day, every day, in a room you can't fully darken. If your ambient light problem is one bad window or a single overhead can light, tightening up the room, blackout shades, a dimmer, redirected fixtures, is the cheaper first move and sometimes solves 80% of the problem before you spend on glass.
How Do You Fit an ALR Screen Into a Room You Actually Like Looking At?
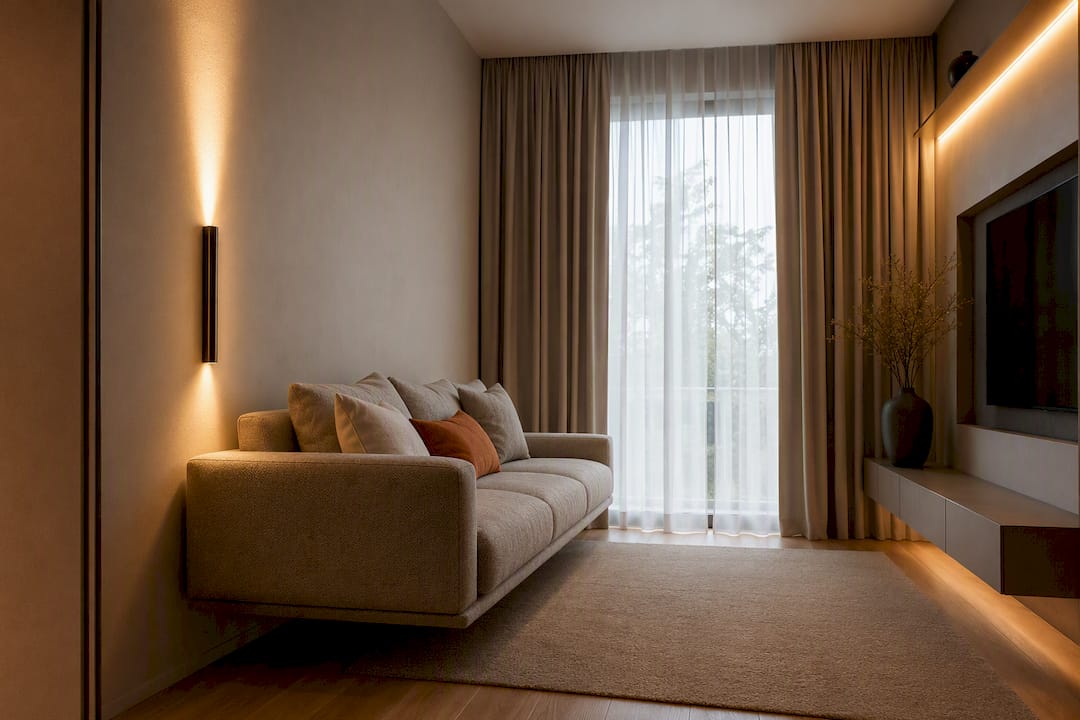
A screen that performs perfectly and looks like a slab of hardware bolted to the wall is only half a win. The goal is a room that reads as designed, not equipped.
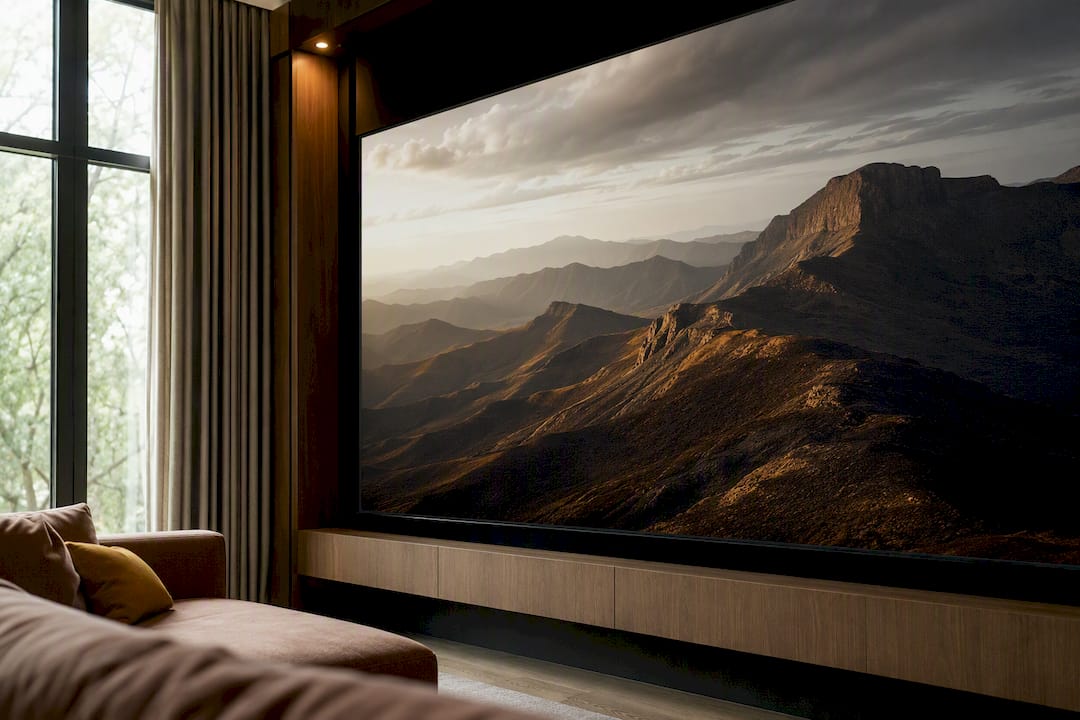
Fixed-frame ALR screens integrate more cleanly than pull-down or motorized units because the frame itself can be treated as trim, painted or upholstered to match your wall, or recessed slightly so the screen sits flush rather than proud. A contrasting frame in matte black or a warm bronze tone can also frame the picture the way a gallery mat frames art, which reads intentional rather than incidental.
Lighting is where design and performance genuinely overlap. Warm, dimmable ambient fixtures in the 2700K to 3000K range keep the room usable without throwing light directly at the screen surface, and task lighting on a separate dimmer lets you kill the brightest source the moment the movie starts. Matte or deep-toned wall finishes near the screen reduce stray bounce that can undercut even a good ALR material.
- Recess or trim-frame the screen so it reads as architecture, not equipment.
- Put ambient lighting on dimmers, never a single hard on-off switch.
- Choose matte wall paint near the screen to cut secondary reflections.
Pro Tip: If you're planning the room from scratch, position seating and light fixtures around the screen's optical axis first. Retrofitting lighting around a screen you've already mounted is always harder than designing both together.
Should You Buy an ALR Screen or Just Fix the Room's Light?
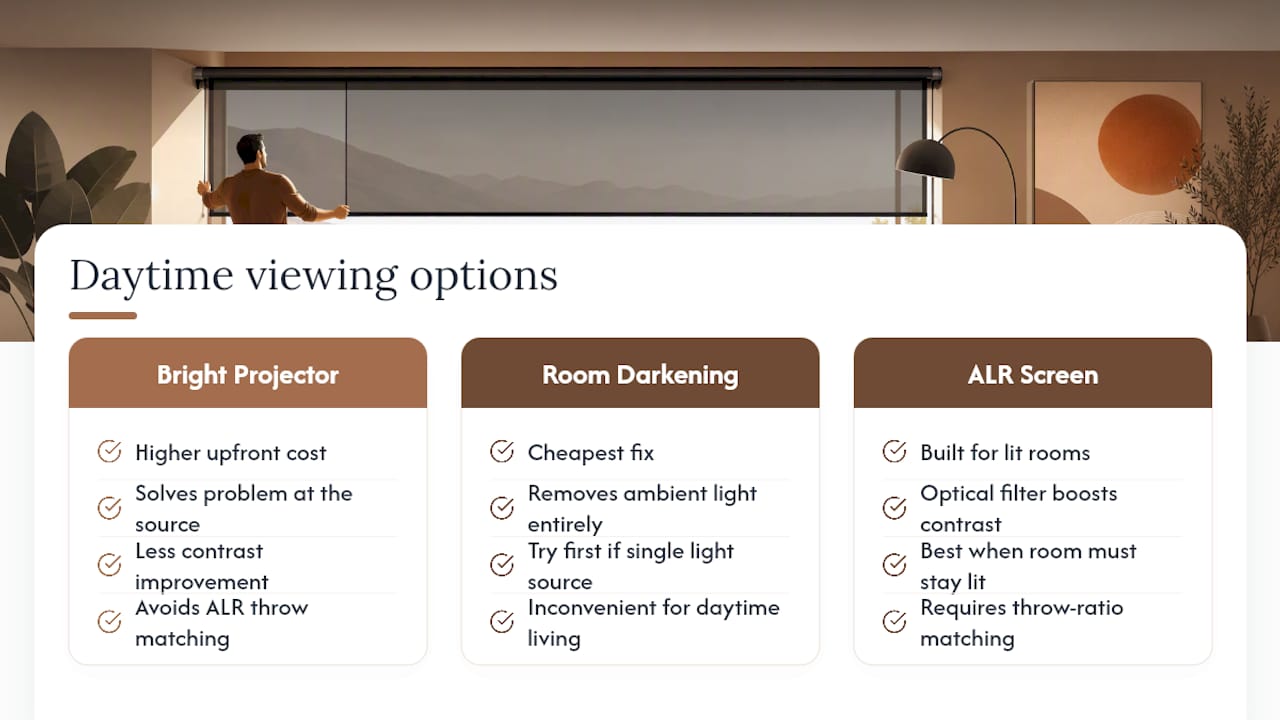
An ALR screen isn't the only route to a watchable daytime picture, and it isn't always the first thing worth buying. High-brightness laser projectors, some rated well past 3,000 lumens, can punch through moderate ambient light on a standard matte white screen without any special coating. That path costs more upfront on the projector side but skips the throw-ratio matching headaches that come with ALR materials.
Room darkening is the low-cost end of the spectrum: blackout curtains, cellular shades, or simply relocating seating away from a problem window. It's the cheapest fix and the one worth trying first if your ambient light problem comes from one dominant source you can control.
The honest comparison looks like this. A high-brightness projector solves the problem at the source but doesn't help contrast the way an optical filter does, since more lumens still wash out blacks if the screen keeps reflecting everything indiscriminately. Room darkening removes the ambient light entirely when it works, but it doesn't help if your room has to function as a normal living space during the day, nobody wants blackout shades drawn at 2 p.m. on a Saturday. An ALR screen is the option built for rooms that need to stay lit and still deliver contrast, which is precisely why it dominates the daytime-viewing conversation. Most well-planned setups end up combining two of the three: an ALR screen plus modest light control, or a brighter projector plus a mid-range ALR material as insurance.
What Metrics Actually Predict ALR Performance in Your Room?
Spec sheets throw a lot of numbers at buyers, but three actually predict how a screen behaves once it's on your wall.
Contrast ratio under ambient conditions matters more than lumens or gain alone. ProjectorCentral's shoot-out measures this directly by testing multiple screens under identical lighting and comparing measured black levels and white output, which is a more honest indicator than any single manufacturer's isolated claim.
Half-gain angle tells you how forgiving a screen is for real seating layouts, not just the demo chair. A screen tested at a wide half-gain angle will hold its picture across a sectional; one tested narrow will look great from one seat and mediocre from the rest.
Directional match testing means literally checking a screen's rejection performance against your specific ambient light source, side window versus overhead can versus mixed lighting, because a spec sheet's rejection percentage was measured under one lighting condition, not necessarily yours.
If you can, see a screen in person under lighting similar to your own room before buying, or lean on third-party test data from outlets that measure multiple screens under controlled, comparable conditions rather than taking a single manufacturer's number in isolation. A demo under studio lighting tells you very little about how a screen performs against your specific window.
What Are the Most Common ALR Installation Mistakes?
The mistakes that undo an otherwise good screen purchase are almost always geometric, not material-related.
Buying a Fresnel screen for a standard-throw projector, or vice versa, is the single most frequent error, and it's an easy one to avoid by checking throw ratio compatibility before purchase rather than after installation. Mounting the screen off-axis from the projector, even by a small margin, pushes light outside the acceptance angle the microstructure was built for and shows up as uneven brightness or dimming at the edges.
Ignoring the room's actual dominant light source is another repeat offender. Buyers often choose a CLR screen because it's popular, then discover their real problem is a west-facing window throwing side light all afternoon, a scenario the screen wasn't optimized to handle.
Skipping a seating-position check is the quiet one. A screen tested and approved from the center recliner can disappoint from the side of a sectional if nobody checked the half-gain angle against the actual room layout.
If your image looks fine centered but degrades at the edges or from off-center seats, revisit alignment before assuming the screen itself is defective. Most of these issues trace back to geometry, not a bad unit.
The Design-First Take on ALR Screens
Most homeowners buy the screen before they've diagnosed the room, and that's backwards. Fix your light geometry first, know your dominant source, know your seating spread, then let that dictate the screen family. Design-first buyers should invest in the screen upgrade once lighting is dialed in, not before. If you're unsure, test a sample or consult before committing to a large custom size.
— August
Where to Read More on ALR Screen Technology
- BenQ's ALR explainer and Epson's SilverFlex Ultra spec page
- ProjectorCentral's independent ALR shoot-out and ProDisplay's ALR construction guide
Ready to pair your screen upgrade with lighting that actually supports it? Theconnecteddwelling's lighting guides walk through dimmable fixtures, layered light plans, and the small room tweaks that make contrast pop without sacrificing how the space feels the rest of the day. If you're weighing a screen against a full room refresh, our design section and audio-visual integration guides are the next logical stop. And if a multipurpose room is part of the challenge, One Day Doors & Closets has practical advice on carving out private zones without losing an open layout, useful if your screen room doubles as a home office.
Sources
- SilverFlex® Ultra 120" Ambient Light Rejecting Super Mega Screen | Products | Epson US
- What is an Ambient Light Rejecting Screen? | BenQ US