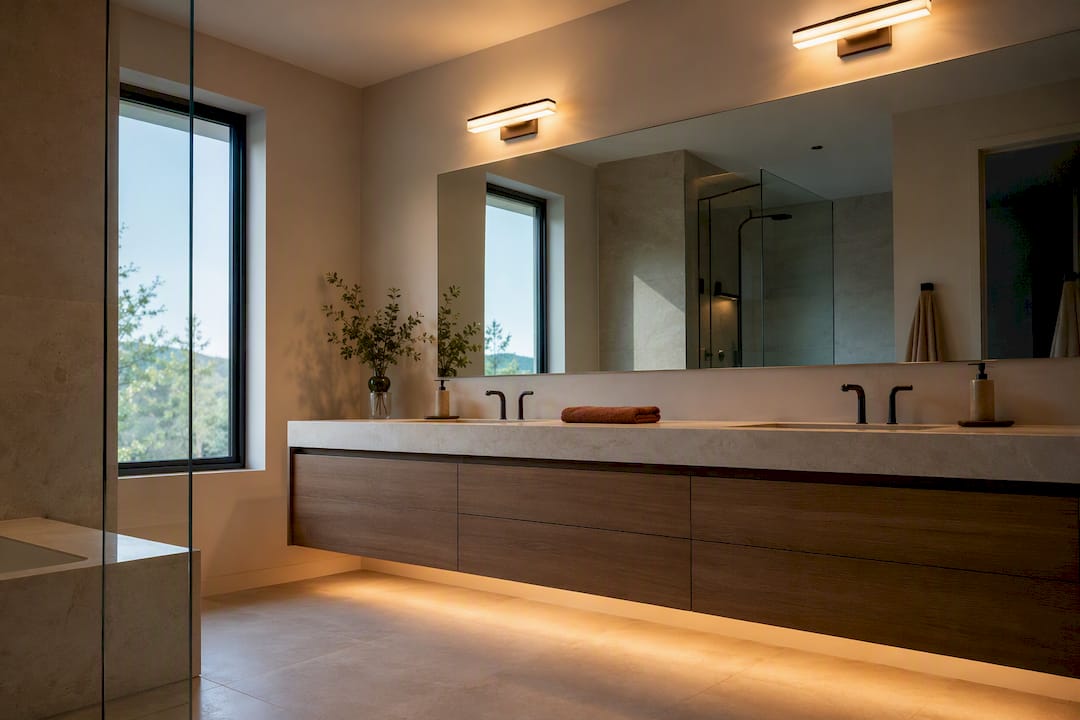
Mount overhead vanity bars with their center in a range typically between about 78 and 84 inches above the finished floor for standing use, and place side sconces with their center roughly around 60 inches, adjusting higher for taller households. Seated or wheelchair-accessible vanities call for a lower center, typically 52 to 66 inches. The rule that ties all of it together: always measure to the center of the fixture, from the finished floor, never from the countertop or the mirror.
TL;DR:
- Measure fixture height from the finished floor, not the countertop or mirror, to ensure accurate and consistent placement.
- Overhead bars should be installed 78 to 84 inches above the floor, depending on ceiling height and mirror size, with proper clearance above the ceiling.
- Side sconces are best centered around 60 inches above the floor, spaced 28 to 36 inches apart center-to-center for balanced lighting.
- Sizing the fixture to about 75% of the mirror's width maintains an even, aesthetically pleasing spread without crowding the edges.
- For taller ceilings or taller users, adjust the fixture height toward the upper part of the recommended range, and lower for seated or accessible vanities.
Table of Contents
- What Is the Ideal Vanity Light Height?
- How Do You Measure Vanity Light Placement Correctly?
- Overhead Bars, Side Sconces, and Lighted Mirrors: What Changes by Fixture Type
- Sizing the Fixture to Your Mirror and Vanity Width
- Adjusting Height for Tall Ceilings, Tall Users, and Accessibility Needs
- Common Installation Mistakes and How to Fix Them
- Beyond the Numbers: Design and Smart-Lighting Refinements
- How We Think About Vanity Light Placement
- Curated Lighting Picks and Resources From TheconnectedDwelling
- Sources
What Is the Ideal Vanity Light Height?
Here's the quick numeric reference to keep on your phone while you're marking the wall.
- Standing overhead bar: 78–84 in AFF (above finished floor), with roughly 6 inches of clearance from the ceiling.
- Seated or accessible bar: 52–66 in AFF.
- Side sconces: center around 60 in AFF, ranging 60–70 in depending on who uses the bathroom most.
- Sconce spacing: 28–36 in center-to-center for typical single-sink mirrors, wider for oversized mirrors.
- Fixture sizing: the overhead fixture should run about 75% of the mirror's width, and it should never extend past the mirror's edges.
Pro Tip: If your household has a wide range of heights, split the difference and favor the taller person by a couple of inches. It's easier for a shorter user to look slightly up into good light than for a tall user to duck under a shadow line.
The single biggest mistake in this list isn't a wrong number. It's measuring from the wrong starting point. Countertops vary in height, mirrors get hung inconsistently, but the finished floor is fixed. Every measurement in this guide starts there.
How Do You Measure Vanity Light Placement Correctly?
"Finished floor" means exactly what it says: the floor after tile, hardwood, or vinyl goes down, not the subfloor underneath. Underlayment and tile alone can add half an inch to over an inch of height, which is enough to throw off a fixture that looked perfectly centered on paper. Measuring after flooring is finished is one of the simplest ways to avoid a callback or a re-drilled junction box.
Before you mark anything, gather a short list of tools: a tape measure or laser measure, a level, a pencil, painter's tape, a stud finder, and a non-contact voltage tester if you're working near existing wiring.
Then work through the placement in order:
- Find the horizontal center of the mirror or vanity, and mark it with a light pencil line or painter's tape.
- Establish an eye-level reference for the primary user, standing in a natural position at the sink.
- Measure up from the finished floor to where the center of the fixture will land, using your target range for the fixture type.
- Check ceiling clearance, especially in bathrooms with 8-foot ceilings where an 84-inch mount leaves little breathing room.
- Verify the mark is centered over the mirror or sink basin, not just centered on the wall.
- Temporarily tape the fixture in place and step back for a glance test before you commit to drilling.
Once it's marked, run through a short confirmation checklist: confirm the fixture carries a damp or wet rating if it sits near a shower or tub, check that the electrical box lines up with the fixture's actual center (not just its mounting plate), note which way the bulbs face, and make sure the fixture is dimmer-compatible if you're planning one.
Overhead Bars, Side Sconces, and Lighted Mirrors: What Changes by Fixture Type
The 78 to 84-inch range for overhead bars isn't a single number for a reason. Where you land inside it depends on your mirror and ceiling.
- For a smaller mirror, mount the bar 5 to 10 inches above the top edge of the mirror, which usually keeps you in the lower half of the range.
- Keep at least 6 inches of clearance between the top of the fixture and the ceiling; less than that starts to look cramped and can create hot shadows on the ceiling itself.
- Manufacturers sometimes recommend a slightly lower centerline, closer to 72 inches, then note it can rise toward 80 inches for taller ceilings or households, which shows how much this range depends on context rather than a fixed rule.
Side sconces play by different logic because they light the face from the sides rather than from above.
- Center the sconce near eye level, about 60 inches AFF, so the light source sits roughly where a face would be reflected in the mirror.
- Installers commonly space a pair of sconces 28 to 36 inches apart center-to-center, widening that spacing for larger mirrors.
- A single sconce mounted dead center above a mirror can work in tight powder rooms, but it throws less even light across the face than a symmetrical pair does.
Lighted mirrors follow their own centerline entirely. The manufacturer's instructions, not the ranges above, govern mounting height because the light source is built into the mirror itself. If you're adding a lighted mirror, treat any wall sconces or overhead bar as a supporting layer rather than the primary source, and check that the combined output doesn't overlight one side of the face while leaving the other dim.
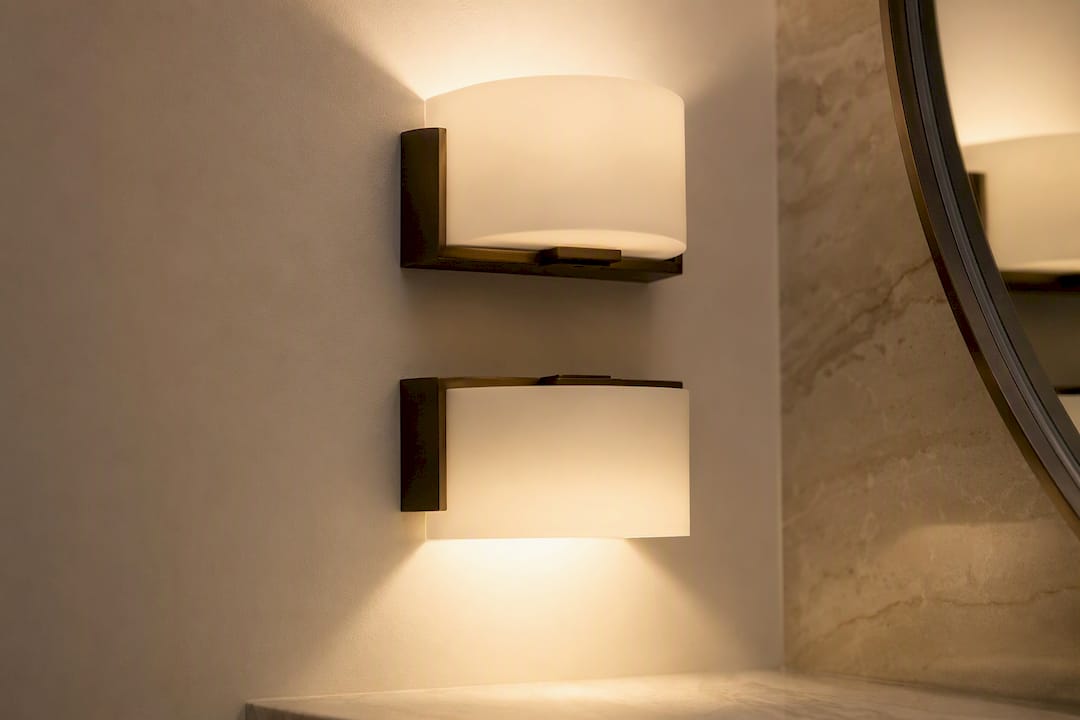
Diffuser orientation matters more than most DIYers expect. A fixture with the glass facing up scatters light softly toward the ceiling and back down; the same fixture mounted glass down throws a harder, more direct beam. Kichler's guidance notes that orientation alone can justify a small vertical adjustment if glare becomes a problem after installation.
Sizing the Fixture to Your Mirror and Vanity Width
Getting the height right means nothing if the fixture is the wrong width for the mirror. A widely used sizing guideline puts the fixture at about 75% of the mirror's width, which keeps the light spread even without crowding the edges.
- A common sizing guideline suggests that a 24-inch vanity mirror pairs well with an overhead fixture roughly three-quarters that width, about 18 inches.
- Similarly, a 36-inch mirror works well with a fixture around 27 inches wide.
- For wider vanities, such as 60-inch double setups, two shorter fixtures or pairs of sconces flanking each sink are often preferred over a single long bar extending the full length.
Sconces follow a gentler version of the same logic. If your mirror is narrow, say under 24 inches, move the sconces slightly inward rather than forcing the full 28 to 36-inch spacing. Sizing to roughly three-quarters of the mirror width keeps the composition balanced and avoids the underlit corners that show up when a fixture is too small for its mirror, or the harsh edge glare that shows up when it's too big.
Adjusting Height for Tall Ceilings, Tall Users, and Accessibility Needs
The numeric ranges are a band, not a single fixed point, and ceiling height is one of the main reasons to move within that band. In a bathroom with 10 to 12-foot ceilings, push toward the top of the standing range, closer to 84 inches, while still holding that 6-inch ceiling clearance so the fixture doesn't look stranded near the crown molding.
Golden Lighting's guidance frames this well: treat the band as the starting point, then shift based on who actually uses the room and how tall the space is.
- In a single-user bathroom, like a primary suite, prioritize that person's eye level over a generic average.
- In a shared or guest bathroom, aim for the visual middle of the range so the fixture works reasonably well for a range of heights.
- For seated or wheelchair-accessible vanities, drop the fixture center to 52 to 66 inches, and consider mounting the mirror's bottom edge lower than standard to match a seated sightline.
- If your vanity has an unusual counter height, an oversized mirror, or a ceiling under 8 feet, it's worth a short consult with an electrician before drilling, since box relocation can be cheaper to plan for now than to fix later.
Common Installation Mistakes and How to Fix Them
Most vanity lighting problems trace back to one of a handful of repeatable mistakes, and nearly all of them show up before the drywall anchors go in.
- Measuring from the countertop instead of the finished floor, which throws off the entire calculation by however tall the vanity happens to be.
- Ignoring ceiling clearance, which crowds fixtures against 8-foot ceilings and creates awkward shadows overhead.
- Centering the fixture on the electrical box instead of the mirror, which leaves the light visibly off-center even though the wiring lines up perfectly.
- Skipping the wet or damp rating check on fixtures mounted near a tub or shower splash zone.
- Installing a fixture with no dimmer compatibility, then discovering the harsh, flat light doesn't suit nighttime bathroom visits.
If glare or shadowing shows up after installation, you have more room to adjust than you might think. Flipping the diffuser orientation, adding a dimmer, or swapping to a warmer bulb can all soften a fixture that reads as too harsh. Tradespeople on installer forums often report success shifting a fixture an inch or two from the textbook number to solve a specific glare or reflection issue in an individual bathroom, which is a reminder that these ranges are a strong starting point, not a law of physics.
Pro Tip: Before you commit to drilling, tape the fixture to the wall with painter's tape and take a phone selfie at your normal grooming distance. If your face reads with even light and no harsh shadow under the eyes or nose, the height works. If not, adjust an inch and retest before you touch a drill.
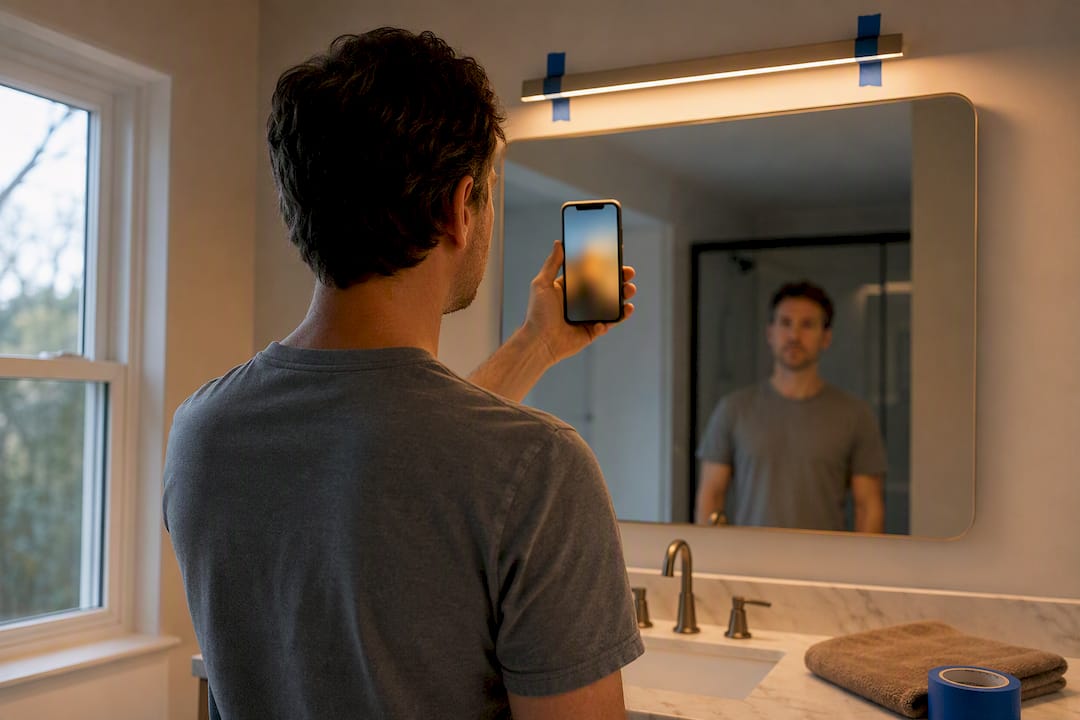
Run three quick checks after final mounting: look at how the fixture reflects in the mirror, take a face-level photo to check for shadowing, and step back a few feet to confirm the fixture looks visually balanced against the mirror and vanity as a whole.
Beyond the Numbers: Design and Smart-Lighting Refinements
Getting the height right solves function. Getting the finish, diffuser style, and color temperature right solves how the light actually feels. A fixture at 3000K reads clean and neutral, closer to daylight, which most people find better for grooming tasks like shaving or applying makeup. A 2700K fixture leans warmer and more flattering for ambient use but can mute detail during precise tasks.
Vanity lighting rarely fails because the math was wrong. It fails because a homeowner nailed the height, then paired it with the wrong color temperature or a diffuser that throws glare straight into the mirror. The number gets you the frame. Finish and temperature fill it in.
If your vanity fixture is on a smart switch or smart bulb, set two dimming presets: a brighter, cooler setting for grooming, and a warmer, dimmer setting for evening use. That single adjustment does more for perceived comfort than another inch of height ever will.
How We Think About Vanity Light Placement
Our approach starts with the finished floor and the tape measure, not a generic average pulled from a spec sheet. Every bathroom has a primary user, and that person's eye level should carry more weight than any textbook range once the basics are covered. Use the checklist above, then think about how the fixture's color temperature and layering fit the rest of the room, the same way we'd approach any layered lighting plan.
— August
Curated Lighting Picks and Resources From TheconnectedDwelling
Getting the height and spacing right is half the job. Picking a fixture that actually looks good at 60 inches or 80 inches on your wall is the other half, and that's where a lot of DIY projects stall out browsing dozens of near-identical options. TheconnectedDwelling keeps a running, curated lighting collection built around the fixture types covered here, so you're choosing from a shortlist instead of an entire catalog.

If you're renovating a full bathroom rather than swapping one fixture, it's worth thinking about vanity lighting alongside other structural details, like door clearance and swing in tight bathroom layouts, before you finalize where boxes and studs land. For readers who'd rather start from a vetted list than test fixtures one at a time, the recommended products page has fixture picks already filtered for common vanity widths and mounting heights. Start there if you want to skip straight to installable options.
Sources
The numeric ranges in this guide draw from installation standards published by Golden Lighting, Kichler, LightsOnline, and Artika. For how vanity lighting fits into a full room plan, see TheconnectedDwelling's guide on why living room lighting often feels off.
- Standard Vanity Light Height: The Definitive Guide – Golden Lighting
- Bathroom Lighting Planning & Selecting Tips | Kichler Lighting
- The Complete Bath Light Sizing Guide – LightsOnline
- Bathroom Vanity Lighting Guide: How to Choose Fixtures | Artika