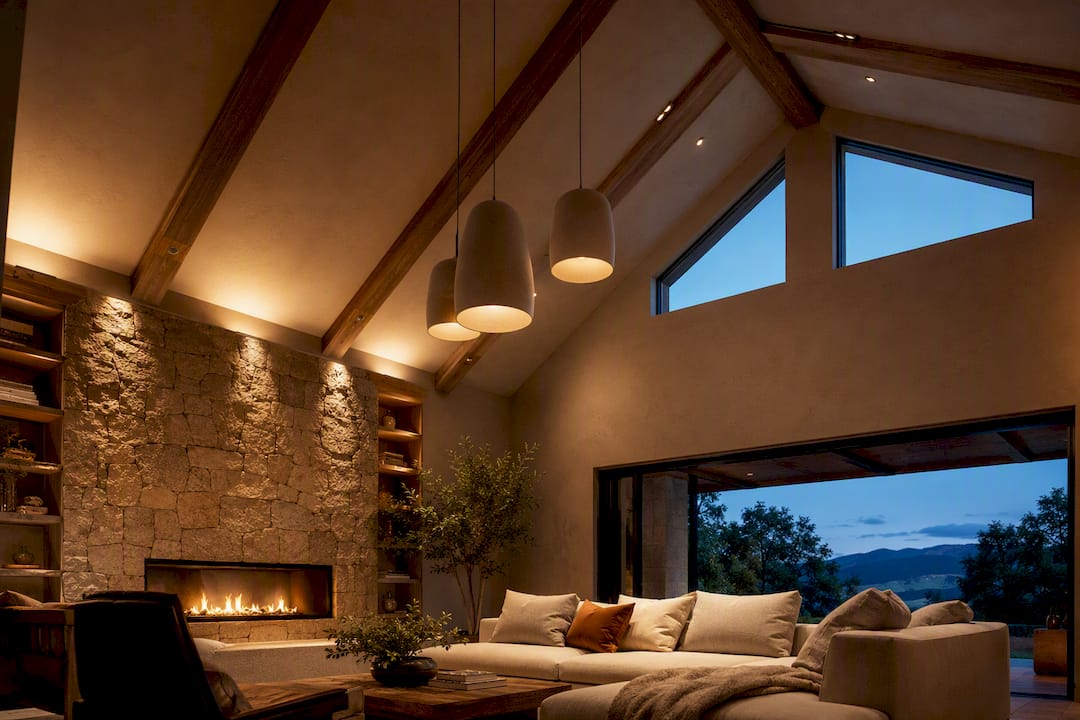
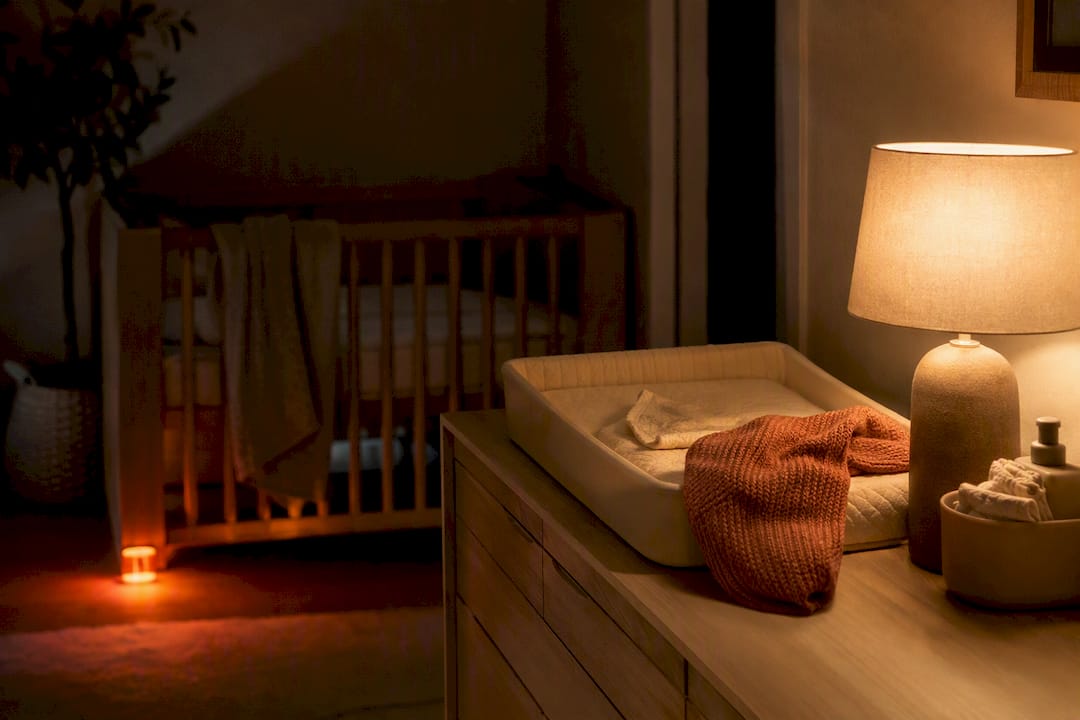
The fastest way to transform dark living room lighting is to combine three moves at once: layer your light sources, switch to warm bulbs with a high color rendering index, and add one or two reflective surfaces like a mirror. Start small: swap the bulbs in your main fixture, add a floor lamp to the darkest corner, and hang a large mirror across from your biggest window. You'll notice the difference within a single evening, and none of it requires an electrician.
TL;DR:
- Layer your lighting with at least three sources: ambient, task, and accent, to create a well-lit, versatile living space.
- Use warm white bulbs around 2700K to 3000K with high CRI (90 or above) for accurate color rendering and a cozy atmosphere.
- Place fixtures appropriately for ceiling height and room layout, with wall sconces and deeper coves preferred for even, soft illumination.
- Enhance brightness by adding a large mirror opposite windows or main light sources, and consider light-reflective wall finishes and curtains.
- For dark corners, targeted lamps like floor or uplights typically succeed better than relying solely on overhead lighting.
Table of Contents
- Layered lighting: plan by zone, not by fixture
- What lumens, color temperature, and CRI actually mean for you
- Choosing fixtures that fit your ceiling and layout
- Brightening the room without touching a single wire
- Using LED strips and accent lighting without overdoing it
- Your five-step plan and starter budget
- When to call an electrician versus doing it yourself
- Finding and fixing the corners that stay dark
- What actually makes a room feel bright, versus what just looks good in photos
- Where to go next for a full room plan
- Sources
- FAQ
Layered lighting: plan by zone, not by fixture
Most living rooms are asked to do several jobs. You read there, you watch television there, you host people there. One overhead light can't handle all three well, which is why designers build rooms in layers instead.
Ambient light is your base, the general glow that lets you move around safely and see the room's shape. Task light is focused, aimed at the spot where you read or work. Accent light is smaller and more selective, pointed at art, shelves, or a favorite corner to give the room depth instead of flatness.
Design editors who cover low-light rooms consistently point to the same baseline: most rooms need at least three separate light sources to feel finished rather than dim. Larger or oddly shaped living rooms often do better with four or five.
- Cover the ambient layer with a ceiling fixture, a torchiere, or several floor lamps spaced around the room.
- Add task light where you actually sit and read, usually a table lamp at shoulder height beside a chair or sofa arm.
- Finish with accent light, a small picture light, a shelf light, or an uplight tucked behind a plant.
Indirect uplighting, whether from a torchiere or a shallow cove at the ceiling line, works well when a room feels dark overhead but you don't want the glare of a bare bulb staring back at you.
Pro Tip: Turn on only one lamp at a time while you're planning, and walk the room. Wherever you still feel a pull toward the dark, that's where your next light goes.
For a longer walkthrough of building each layer from scratch, The Connected Dwelling's guide to layered lighting breaks the process down room by room.
What lumens, color temperature, and CRI actually mean for you
Once you know where the lights go, the next question is what to put in them. Three numbers do most of the work: lumens, color temperature, and CRI.
- Lumens measure total brightness. For a mid-sized living room, aim for a total lumen output adjusted to your specific room size and wall colors, generally enough to provide comfortable ambient light.
- Color temperature should sit around 2700K to 3000K for general living areas, the same warm-white range recommended for residential spaces by the Department of Energy's Building Technologies Program. A cooler 3000K to 3500K can help in a task zone where you need sharper focus, like a desk tucked into the living room.
- CRI, the color rendering index, tells you how true colors look under that light. Anything below 80 makes skin tones and fabrics look slightly off. For a living room with art, textiles, or a lot of skin tones around at once, look for 90 or higher.
Bulbs that meet these numbers usually sit around 2700K with a CRI of 90 or above, and switching to them is one of the cheapest upgrades in this guide. Design guides that studied low-light living rooms recommend exactly this combination alongside dimming capability, since a warm bulb that dims poorly can shift color and feel muddy at low output.
A plug-in lamp dimmer or a smart bulb solves that dimming problem without touching your wiring. For more on the tradeoffs between the two approaches, see smart bulbs versus smart switches.
Choosing fixtures that fit your ceiling and layout
Not every fixture works in every room, and the mismatches are usually about scale. A pendant or small chandelier looks right in a room with at least eight-foot ceilings and enough floor space to walk around it. Lower ceilings or tighter rooms usually do better with semi-flush mounts or recessed lighting, which stays out of the way visually.
- Wall sconces add vertical light that a table lamp can't, which softens the shadows that pool along blank walls.
- Recessed fixtures work well for general ambient light but can look harsh alone, so pair them with a lamp or two.
- Cove lighting, when it washes the ceiling evenly, needs real depth. Lighting professionals note that shallow coves tend to create visible hotspots instead of the soft, even glow you're after, so deeper is almost always better if you're building one in.
- Floor and table lamps should sit at a height where the shade lines up roughly with eye level when you're seated nearby, which keeps the bulb itself out of your direct line of sight.
Pro Tip: Place lamps in pairs when you can, one on each side of a sofa or media console. Symmetry reads as intentional, even in a room that's still a work in progress.
If you're weighing wall-mounted options in more detail, this buying guide to wall lights covers finishes and mounting heights worth knowing before you shop.
Brightening the room without touching a single wire
Lighting fixtures matter, but the room around them does a lot of the work too. A few non-electrical changes can lift the whole space.
- Hang a mirror across from your main window or beside a lamp. Interior design sources point to large floor mirrors, sized for a dramatic, light-enhancing effect, as having a noticeably bigger effect than small decorative ones.
- Choose lighter paint with a higher light reflectance value, and finish walls in eggshell or satin rather than flat, since a slight sheen bounces more light around the room.
- Mount curtain rods high and wide. Design guidance from Martha Stewart suggests hanging rods four to six inches above the window frame and extending them six to twelve inches past each side, so the curtains frame the glass instead of covering it.
- Pick light-filtering fabrics over heavy blackout drapes where privacy allows, and lean toward lighter rugs and furniture that reflect rather than absorb light.
- Pull the sofa a few inches off the wall and add a console table with a pair of lamps behind it. That small gap alone makes a room read as more open.
Using LED strips and accent lighting without overdoing it
LED strips are one of the best cheap ways to add depth to a dark room. Behind a TV, under floating shelves, or tucked behind a cornice, they create the kind of soft glow that makes a wall look intentional rather than bare. Keep colored accents as an occasional touch rather than the room's main light. A warm white wash almost always looks more finished than a shifting rainbow of color.
- Stick to warm white strips as your default, saving color-changing modes for occasional use.
- Check for UL, ETL, or CSA marking before buying any strip light, especially ones with removable battery packs.
- Avoid ultra-cheap novelty lights from marketplaces with little quality control.
Recent product warnings make the safety case plain: the CPSC has told consumers to immediately stop using certain LED lights that violate the mandatory safety standard for products with coin batteries. The risk is battery ingestion, particularly for households with small children, and it's a real enough concern that certification should never be an afterthought.
Your five-step plan and starter budget
Here's the order that gives you the most visible change for the least effort and cost.
- Swap your bulbs for warm, high-CRI options first. It's the cheapest fix and touches every fixture you already own.
- Add a floor or table lamp to your darkest zone.
- Hang a mirror opposite your main light source.
- Rehang your curtains higher and wider to expose more glass.
- Add a dimmer or smart control to adjust light levels for different moods and functions.
Under $150: a floor lamp plus a set of high-CRI warm bulbs. $150 to $400: two lamps, a plug-in dimmer, and a mirror. $400 and up: a new ceiling fixture with professional installation, or built-in cove lighting.
Renting? Plug-in uplights, removable LED strips, and adhesive-mount mirrors get you most of the effect without a single hole in the wall. For quick, low-cost swaps beyond lighting, these small room changes are worth a look too.
When to call an electrician versus doing it yourself
Swapping a bulb or plugging in a lamp is safe for anyone to handle. Anything involving your home's actual wiring is a different category, and it's worth knowing where that line sits.
Hardwired fixtures, like a new pendant, a flush mount replacing an old one, or a wall sconce that didn't previously have a switch box, generally call for a licensed electrician. So does any multi-way dimmer setup, where one light is controlled from two or more switches, since wiring those incorrectly can create a shock hazard or trip breakers unpredictably. Cove lighting built into new construction or a renovated ceiling also belongs with a professional, both for the wiring and for making sure the fixture is rated for its installation location.

The Department of Energy's guidance on residential lighting specifically flags recessed fixtures installed above unconditioned spaces, like an attic, as needing an IC rating (insulation contact) to prevent overheating. That's not something you can eyeball from the fixture's price tag. If you're unsure whether your ceiling qualifies, that's a question for an electrician, not a guess.
A few general habits reduce risk regardless of who does the work: never exceed a fixture's stated wattage, check that any dimmer is rated for the bulb type you're using (LED dimmers and old incandescent dimmers aren't always interchangeable), and have any outlet or switch that feels warm to the touch checked immediately. None of this should feel alarming. It's the same category of care you'd apply to anything else in your home that plugs into the wall.
Finding and fixing the corners that stay dark
Every dark living room has one or two spots that resist every general fix, usually a corner far from the window or a wall behind a piece of furniture. These respond better to targeted light than to a brighter overhead fixture.
Walk your room in the evening with just your main light on, and note where your eye still has to work. A floor lamp or torchiere placed directly in that corner solves most cases, since it puts light exactly where the room's shape is swallowing it. A small picture light or an uplight behind a plant does the same job on a smaller scale, and it adds the kind of depth that a flat wash of ceiling light can't.

Shadows along a wall usually mean you're missing vertical light. A single overhead fixture throws light down, which leaves the wall itself in shadow even when the floor looks fine. Wall sconces fix this directly, since they push light outward and up the wall rather than just down.
If a corner is dark because furniture blocks it from every other light source in the room, sometimes the simplest answer is to move the furniture a few inches rather than add another lamp. It's worth trying before you buy anything.
What actually makes a room feel bright, versus what just looks good in photos
There's a gap between the lighting that photographs well and the lighting that makes a room comfortable to live in. A single dramatic pendant over a coffee table looks striking in a listing photo and does almost nothing for the corners of the room, which is why so many living rooms look great online and feel dim in person.
The rooms that actually work are the ones where no single fixture is doing all the talking. Layered light, warm color temperature, and a mirror or two aren't the flashiest choices, but they're the ones that hold up at 9 p.m. on a Tuesday, not just for a listing photo. If you take one thing from this, let it be that a dark room is rarely a design problem. It's usually a light-source-count problem, and that's a much easier thing to fix.
Where to go next for a full room plan
If you want a guided next step rather than piecing this together fixture by fixture, The Connected Dwelling's lighting hub has room-specific guides and curated product picks built around the same layered approach covered here.

- Browse a full room recipe for a warm, layered living room if you want a complete plan rather than a checklist.
Sources
- Lighting a dark room: 10 top tips from experts | Homes and Gardens
- CPSC warns consumers to immediately stop using JJGoo Submersible LED lights due to risk ...
- Efficient Lighting Strategies: Building Technologies Program, Office of Energy Efficiency and Renewable Energy (EERE)
- Living Room Decor for Low Natural Light - The Decor Mag
FAQ
What is the best type of lighting for a dark living room?
A mix of ambient, task, and accent lighting works better than any single fixture, since it puts light in every zone of the room instead of one spot. Warm bulbs around 2700K to 3000K with a CRI of 90 or higher give the truest, coziest result.
What is the 5'7" lighting rule?
This rule suggests hanging wall sconces or similar fixtures with their center around five feet seven inches from the floor, close to average eye level, so the light feels balanced rather than too high or too low. It's a general guideline, and rooms with unusual ceiling heights or furniture arrangements may call for adjustments.
What lights can I use in a dark room?
Floor lamps, table lamps, wall sconces, and warm LED strips all work well, especially when combined rather than used alone. Choose bulbs in the 2700K to 3000K range with a high CRI, and check that any LED strip carries UL, ETL, or CSA certification before buying, since the CPSC has warned against certain noncompliant products.
What type of wall lights are best for dark rooms?
Sconces that direct light both up and down tend to work best, since they soften shadows along the wall while still adding to the room's overall brightness. Frosted or fabric shades diffuse the light further, which avoids harsh spots on the wall itself.
How many lumens do I need for a dark living room?
Aim for a total lumen output adjusted to your specific room size and wall colors to provide comfortable ambient light in a mid-sized living room. Splitting that total across three or more sources, rather than one bright fixture, gives a more even result.