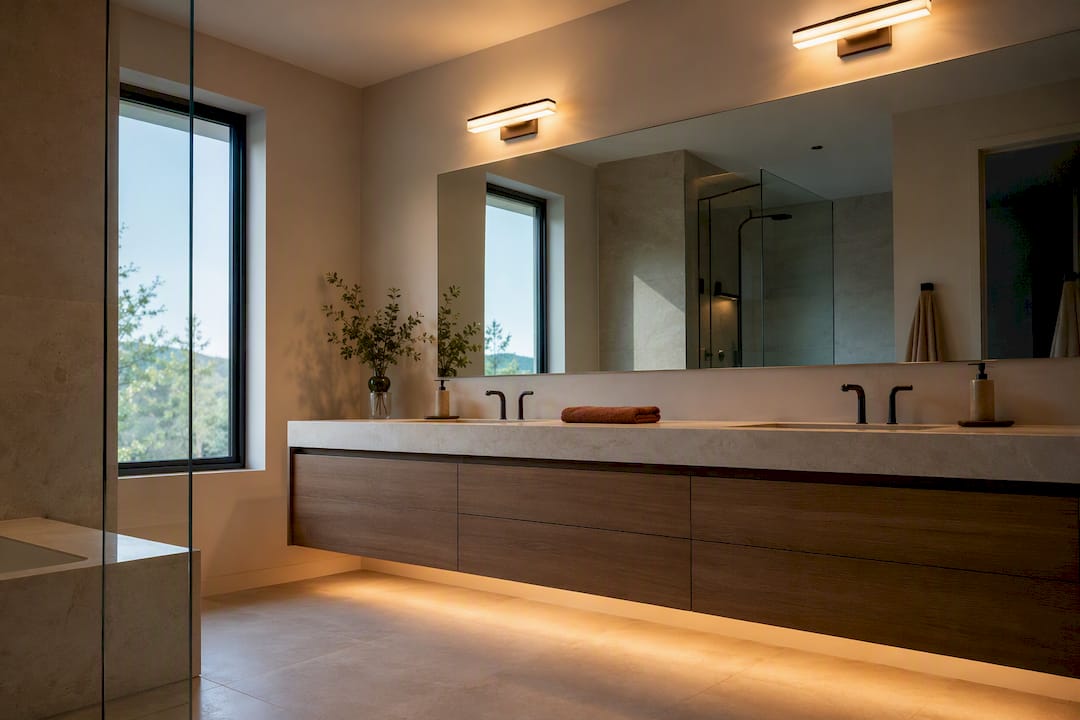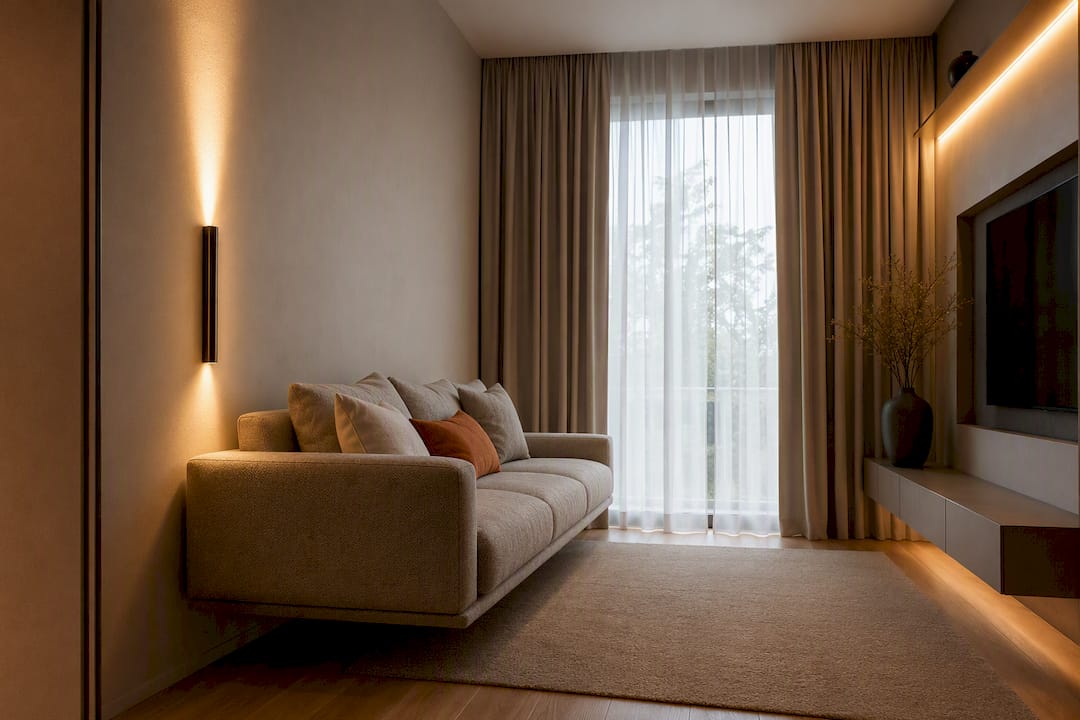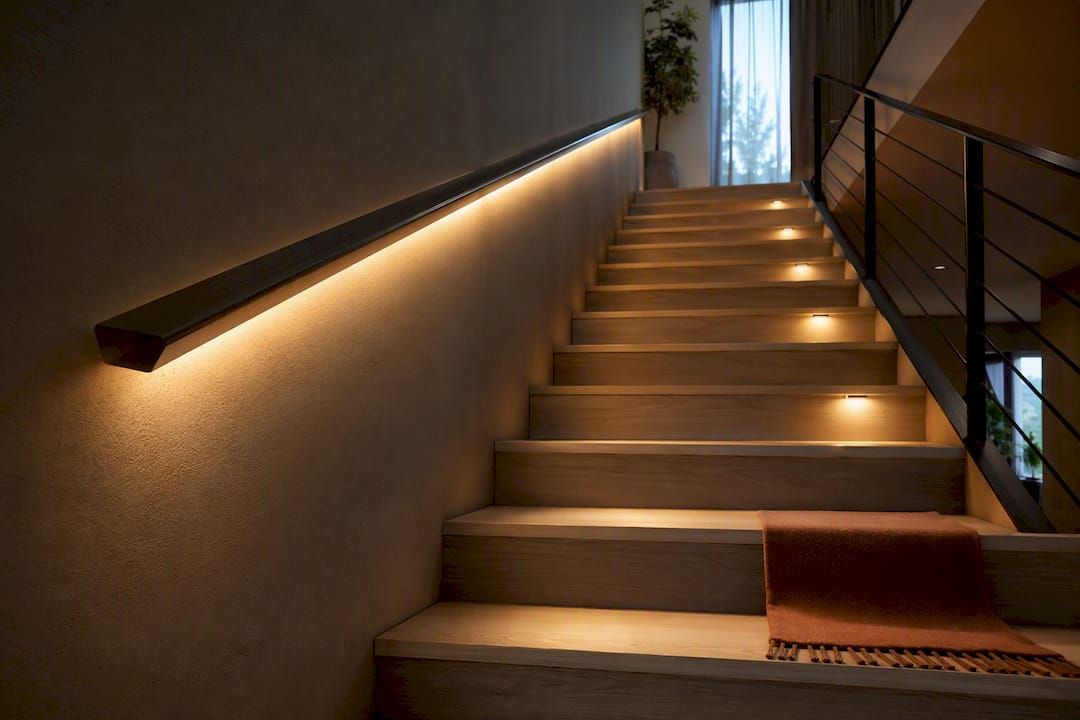
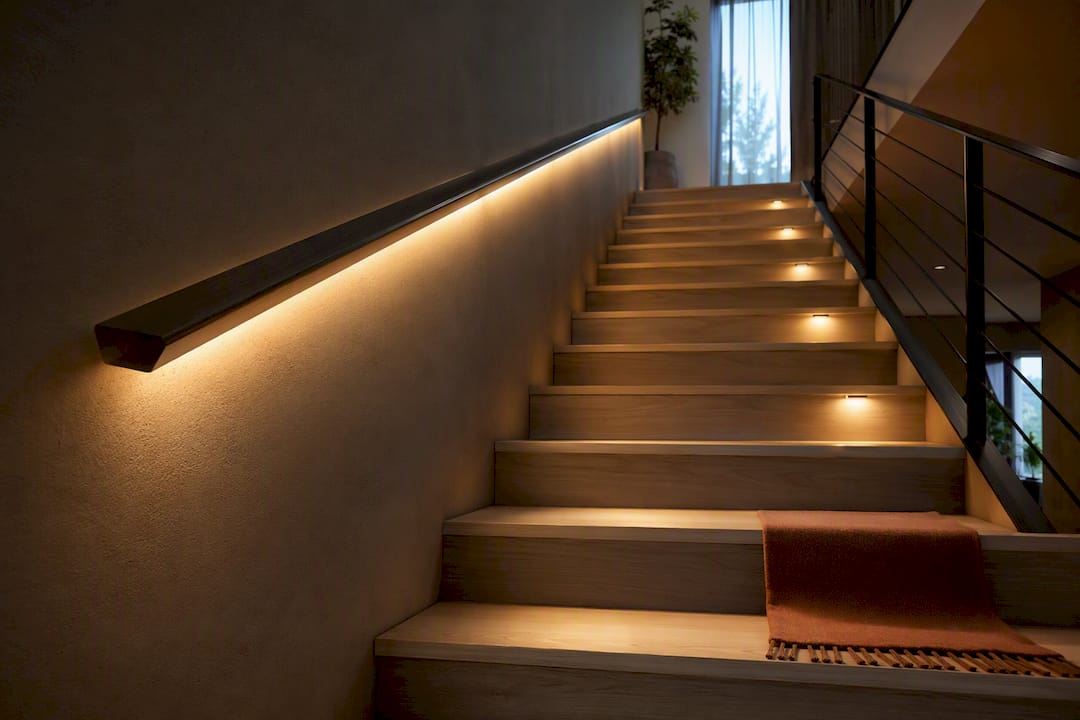
The best approach to stair lighting is layered lighting: pair tread-level task fixtures with softer ambient sources. Your top options are recessed step or riser lights, linear under-tread LEDs, illuminated handrails, wall sconces, and, where the stairwell has real height, a pendant or chandelier overhead. No single fixture does every job on a staircase, and that's the whole point.
TL;DR:
- Most effective stair lighting combines task fixtures like recessed riser and step lights with softer ambient sources such as sconces or pendant fixtures.
- Proper spacing involves installing step lights on every other step and mounting sconces roughly 6 to 8 feet apart along the staircase.
- Use warm color temperatures between 2700K and 3000K with high CRI to ensure accurate color rendering and minimize glare issues.
- Exterior stairs must be lit with damp- or wet-rated fixtures, and outdoor circuits require GFCI protection and professional installation.
- Layered lighting improves safety and aesthetics, with recommended pairing of handrail LEDs with recessed riser lights or wall sconces with pendants for open stairwells.
Table of Contents
- Practical Stair Lighting Ideas Worth Copying
- How to Choose the Right Stair Lighting for Your Home
- Placement and Spacing Rules for Even, Safe Light
- Fixtures, Lamps, Color Temperature, and Controls
- Electrical and Installation Practicalities
- Designer Tips From The Connected Dwelling
- Safety Standards and Code Compliance for Stair Lighting
- Tips for Preventing Glare and Visual Discomfort
- Maintenance Advice for Stair Lighting Fixtures
- Power Source Options and Wiring Considerations
- Why Layered Stair Lighting Is Worth the Extra Planning
- How The Connected Dwelling Can Help You Plan It
- Sources
Practical Stair Lighting Ideas Worth Copying
A staircase is one of the few places in a house where lighting has to solve a safety problem and a design problem at the same time. Here's where each technique earns its place.
- Linear under-tread LED strips. Tucked beneath the nosing of each step, these create a glowing line that reads as modern and architectural, especially with open-riser stairs where light can spill through to the wall behind.
- Recessed step or riser lights. Small, flush-mounted fixtures set into the riser face light the tread directly below. This is the classic safety-first choice, and it still looks sharp in traditional homes.
- Integrated handrail lighting. A thin LED channel built into or under the rail gives you a continuous line of guide light, which is especially useful on narrow or winding stairs where wall space for sconces is tight.
- Wall up-down sconces. Mounted along the stair wall, these throw light both up and down, adding texture and warmth as an ambient layer rather than pure task lighting.
- Chandeliers or pendants in a stair void. When a staircase opens into a tall, vaulted space, a hanging fixture becomes the room's focal point. Keep the bottom of the fixture at least 7 feet above the landing floor, and lean toward 7.5 to 8 feet if you want extra breathing room for tall occupants and comfortable clearance.
- Tread-edge or nosing illumination. A thin strip of light along the front edge of each tread reads as sculptural during the day and functional at night.
- Backlit feature walls or panels. Some high-end stairwells use a backlit stone or wood panel as the ambient source, letting the steps themselves stay simpler.
- Motion-sensor recessed step lights. These stay dark until someone approaches, then light the tread automatically, which is ideal for a 2 a.m. trip downstairs.
- Outdoor-rated step or path lights. Exterior stairs need damp or wet-location fixtures rated for direct weather exposure, not indoor hardware pressed into outdoor service.
- String or fairy lights. A softer, more temporary option for a seasonal look or a cozy basement stair, though not a substitute for real task lighting.
- Illuminated newel posts or post caps. A lit cap at the top or bottom post adds a decorative marker exactly where people need to know a run of stairs is starting or ending.
The pairings that consistently work best: handrail LED with recessed riser lights for narrow stairs, and wall sconces with a pendant for open, double-height stairwells. Designers commonly mix a continuous guide light with discrete step fixtures so the eye tracks a smooth path while each tread edge stays sharply defined.
How to Choose the Right Stair Lighting for Your Home
Start with the staircase itself, not the fixture catalog.
- Ceiling height and stair type determine whether a pendant is even an option. A tight, enclosed staircase has no business supporting a chandelier.
- Task lighting comes first. Get every tread lit clearly before adding sconces or accent pieces for atmosphere.
- Color temperature matters more than people expect. Choose 2700K for a warm, residential feel or 3000K for a slightly crisper, neutral look, and aim for a CRI of 90 or higher so wood grain and stone don't look flat.
- Plan where the driver or transformer for your LED strips will live, and make sure it stays reachable for future service.
- Weigh integrated LEDs against replaceable lamps. Integrated fixtures look cleaner and last a long time, but a burned-out module usually means replacing the whole fixture rather than swapping a bulb.
Pro Tip: If you're torn between 2700K and 3000K, match whatever color temperature you're already using in adjacent hallways. A stairwell that shifts color partway up the wall looks like an afterthought, even when every fixture is well chosen.
Placement and Spacing Rules for Even, Safe Light
Spacing decides whether a staircase feels evenly lit or strobed with dark patches between fixtures.
- Space wall sconces roughly 6 to 8 feet apart along the run.
- Space recessed ceiling downlights several feet apart.
- Install step lights on each step or every other step, depending on desired brightness.
- Mount sconces at a consistent height above the tread nosing, roughly eye level for most adults.
- Put switches at both the top and bottom of the stairs, and consider motion sensors for convenience.
These figures come from standard installation and mounting guidance for staircase lighting, and they matter because a single overhead light almost always leaves the tread faces themselves in shadow. Layering a tread-level source underneath an ambient one removes that shadow line entirely, which is the actual mechanism behind why stairs lit only from above tend to feel unsafe even when the room looks bright.
Fixtures, Lamps, Color Temperature, and Controls
Integrated LED fixtures are compact and close to maintenance-free, which is why they've become the default for step and riser lights. Replaceable LED lamps trade a little bit of that sleekness for easier future-proofing. If a bulb dies, you swap it in minutes instead of pulling the whole fixture.
- Stick with 2700K to 3000K and CRI 90+ so stone, wood, and paint colors read accurately at night.
- Confirm dimmer compatibility before installing; mismatched dimmers and LED drivers are the most common cause of flicker on stairs.
- Motion sensors and smart scene controls cut energy use and add a genuine safety benefit, since lights come on automatically the moment someone starts up or down.
- PIR-sensor step lights, including recessed models built for hands-free operation, are worth considering for any stairwell used at odd hours.
Electrical and Installation Practicalities
Getting this wrong is expensive to fix later, so plan before you cut anything.
- Never cut into a structural tread or stringer without professional structural advice first.
- Map out driver and transformer locations before running wire, since service access for integrated LED modules is easy to forget until you need it.
- Use damp or wet-rated fixtures on any exterior staircase, full stop.
- Expect a permit or inspection if the project involves new circuits or a major rewire.
- Before hiring, confirm the contractor has addressed power source, switch and sensor locations, driver access panels, and load calculations for the full run.
Designer Tips From The Connected Dwelling
A rule we come back to often: pair a continuous under-rail LED for guidance with recessed riser lights for tread clarity. One narrow, awkward staircase we've seen described in design case studies went from genuinely hard to navigate at night to fully usable with just those two additions, no rewiring of the whole house required. If you want the theory behind why this combination works, our Beginner's Guide to Layered Lighting walks through it in more depth, and our 2700K vs. 3000K breakdown covers color temperature decisions for the whole house.
Safety Standards and Code Compliance for Stair Lighting
Building codes in most American jurisdictions require illumination at both the top and bottom of interior stairs, plus a wall switch accessible from each level, so nobody has to climb stairs in the dark to turn a light on. Exterior stairs typically carry an added requirement: fixtures must be rated for damp or wet locations depending on how exposed they are to weather.
Local codes vary by municipality and by whether the work is new construction or a renovation, so treat any numbers here as a starting point, not a substitute for checking your local building department. A licensed electrician pulling a permit will already know your jurisdiction's specific requirements for switch placement, circuit protection, and fixture ratings.
One consistent theme across code requirements: they exist because standard overhead lighting alone tends to throw shadows across the tread faces exactly where a person's foot is landing. That's a genuine fall hazard, not just an aesthetic complaint. Even where local code doesn't mandate tread-level lighting specifically, treating it as a baseline requirement rather than an upgrade is the safer default.
If you're adding new circuits, running wire through finished walls, or wiring anything for an exterior staircase, that's the point where hiring a licensed electrician stops being optional. GFCI protection is typically required for any outdoor lighting circuit, and an electrician will know whether your specific setup needs it.
Tips for Preventing Glare and Visual Discomfort
Glare on a staircase isn't just uncomfortable. It can actually make the stairs harder to read safely, since a bright, unshielded source pointed at eye level can wash out the shadow lines your eyes use to judge each step's edge.
A few fixes handle most glare problems:
- Choose fixtures with a shielded or recessed lens rather than an exposed bulb, especially for anything mounted at eye height like sconces.
- Aim step and riser lights downward, toward the tread, instead of letting them shine straight out into the stairwell.
- Dim rather than brighten when a space feels harsh. A dimmer set to 60 or 70 percent often reads as more comfortable and just as safe as a fixture running at full output.
- Avoid mixing bare, high-output LED strips with reflective surfaces like glossy tile or glass railings, which can bounce glare back at eye level.
- Warm color temperatures help too. A 2700K source generally feels gentler on the eyes at night than a cooler 4000K or 5000K light, which is one more reason it's the common choice for residential stairwells.
If you've ever walked into a stairwell and had to squint or look away from a fixture, that's usually a shielding problem, not a brightness problem. Swapping to a fixture with a frosted lens or a deeper recess often solves it without changing the wattage at all.
Maintenance Advice for Stair Lighting Fixtures
Stair lighting takes more physical abuse than most fixtures in the house. Feet brush against riser lights, dust settles into recessed step fixtures, and handrail LEDs get bumped by hands and bags on the way past.
A quick seasonal check goes a long way: wipe down lenses on step and riser lights, since dust buildup on a recessed fixture can dim its output noticeably over a year without anyone noticing the gradual change. For integrated LED strips, check that connectors and end caps are still secure, particularly on exterior stairs where temperature swings can loosen fittings over time.
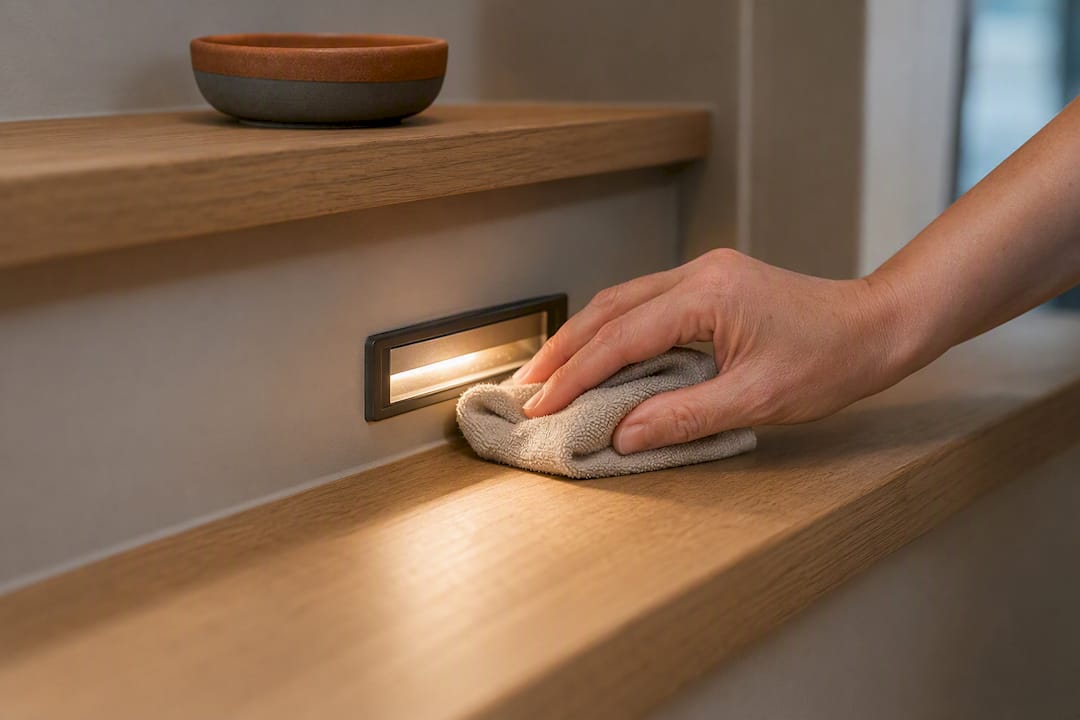
Replaceable-lamp fixtures are simpler to maintain in the long run. When a bulb dims or fails, you swap it and move on. Integrated LED modules are lower-maintenance day to day, but when one does fail, you're typically replacing the whole fixture rather than a $5 bulb, so budget for that trade-off going in.
For motion-sensor step lights, test the sensor's responsiveness every few months. Dust or debris covering the sensor eye is the most common reason a motion-activated fixture stops triggering reliably, and it's an easy fix once you know to look for it.
Power Source Options and Wiring Considerations
Most indoor stair lighting runs on standard household line voltage, stepped down through a driver or transformer for low-voltage LED strips and modules. That transformer needs a location, and it needs to stay reachable, which is why planning wire runs before installation matters more on stairs than almost anywhere else in the house.
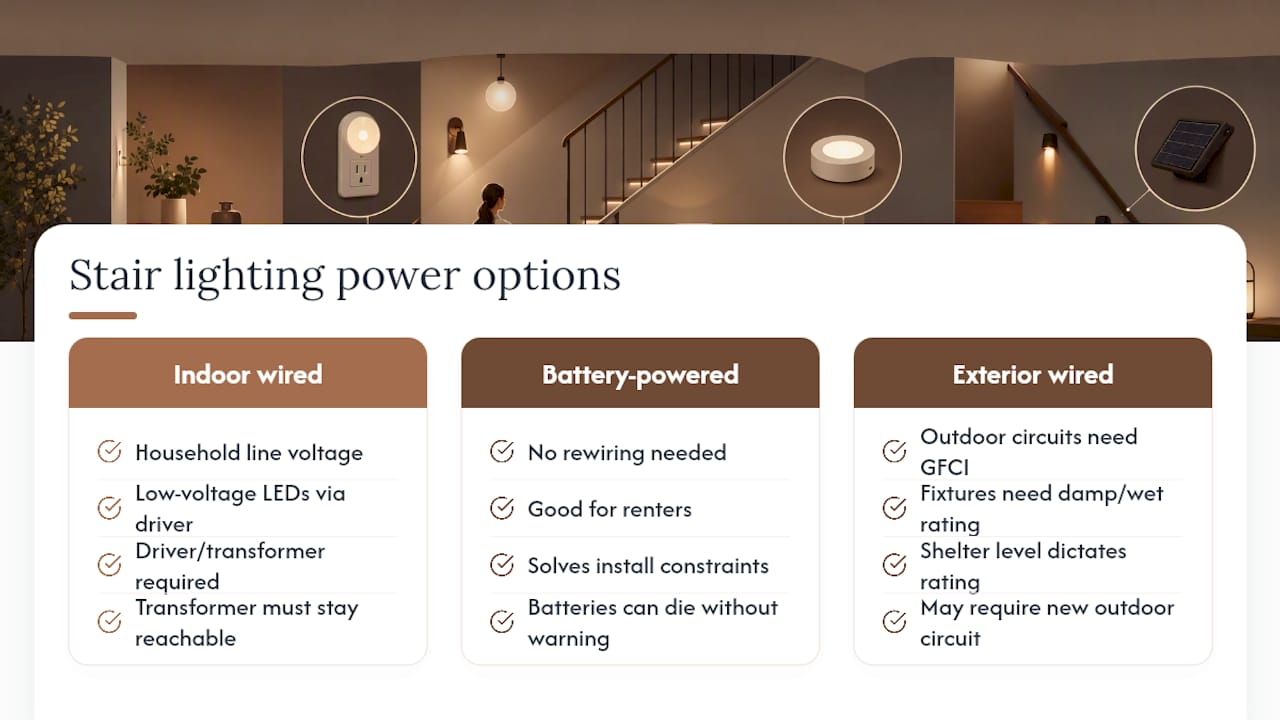
Battery-powered step lights exist and solve real problems for renters or anyone avoiding an electrical project, but they trade off reliability. Batteries die, usually without warning, on exactly the kind of fixture you're counting on for nighttime safety.
For exterior stairs, wiring gets more particular. Outdoor circuits typically need GFCI protection, and every fixture in the run needs a damp or wet-location rating depending on how sheltered the stairs are. Running new outdoor circuits is one of the clearer cases for hiring a licensed electrician rather than handling it yourself.
Smart controls add one more wiring consideration: whether you're using smart bulbs that keep standard switches, or smart switches that control ordinary bulbs. That distinction affects both your wiring plan and your long-term flexibility, and it's worth thinking through before the walls close up.
Why Layered Stair Lighting Is Worth the Extra Planning
Stairs get treated as an afterthought in most home lighting plans, and it shows. Layering task and ambient light isn't a stylistic flourish. It's the difference between a staircase that photographs well and one that actually feels safe to walk at night. Explore our layered lighting guide if you want to take the theory further.
— August
How The Connected Dwelling Can Help You Plan It
TheconnectedDwelling gives you the fixture picks and layered-lighting theory in one place, so you're not stitching together advice from a dozen product pages to figure out what actually goes on your stairs. If you're weighing recessed step lights against handrail LEDs, or trying to settle on 2700K versus 3000K before you order anything, our Lighting section has the curated guides and product recommendations to help you decide.
For a deeper dive before you buy anything, the Beginner's Guide to Layered Lighting walks through how to combine ambient, task, and accent sources without the stairwell looking overdone. And if your project touches the rest of the hallway too, One Day Doors & Closets has useful ideas for pairing a stair refresh with new interior doors.
| If your stairs are... | Start with |
|---|---|
| Narrow and enclosed | Handrail LED plus recessed riser lights |
| Open riser, modern | Under-tread linear LED strips |
| Tall, open stairwell | Wall sconces plus a pendant or chandelier |
| Exterior or covered outdoor | Wet-rated step lights with motion sensors |
Head to the Lighting category now to browse fixture guides and find the combination that fits your staircase.
Sources
- Portfolio Staircase Lighting Guide: How to Light Your Stairs Safely and Beautifully
- 8 Great Ways to Light Up Stairs
- Corridor Staircase Step Recessed LED Wall Lighting With PIR Sensor - Hans Lumiere