Start with this: take your ceiling height, divide it by two, and that's your baseline spacing between fixtures. Place your first row of lights roughly half that spacing distance from the wall, usually 2 to 3 feet for a standard ceiling. Beam angle and lumen output can nudge those numbers tighter or wider, and we'll walk through exactly how below.
TL;DR:
- The spacing criterion for recessed lights typically equals half the ceiling height, with 8-foot ceilings spaced around 4 feet apart, and it adjusts for task zones.
- Fixture beam angle and lumen output significantly influence spacing; narrow beams need closer placement, while higher lumen can reduce the total number of fixtures required.
- Proper layout involves measuring the room, applying the spacing rule, and offsetting the first row about half that distance from the wall, with adjustments for specific room functions.
- Over- or under-spacing lights, ignoring beam angles, or placing fixtures too close to walls can create uneven lighting, glare, or dark patches, reducing room comfort.
- Layering recessed lighting with other fixtures and controlling brightness through dimmers enhances room ambiance beyond mere fixture spacing.
Table of Contents
- Recessed lighting spacing: the formula behind the shortcut
- Recessed can layout: quick numbers to keep on your clipboard
- Room-by-room recessed lighting layout examples
- How do you calculate recessed lighting spacing yourself?
- How beam angle and lumen output change your spacing plan
- Does fixture spacing actually affect your energy bill?
- Common recessed lighting spacing mistakes
- What different spacing choices actually look like on your ceiling
- What actually matters more than the math
- Get help planning your layout before you buy fixtures
- Sources
Recessed lighting spacing: the formula behind the shortcut
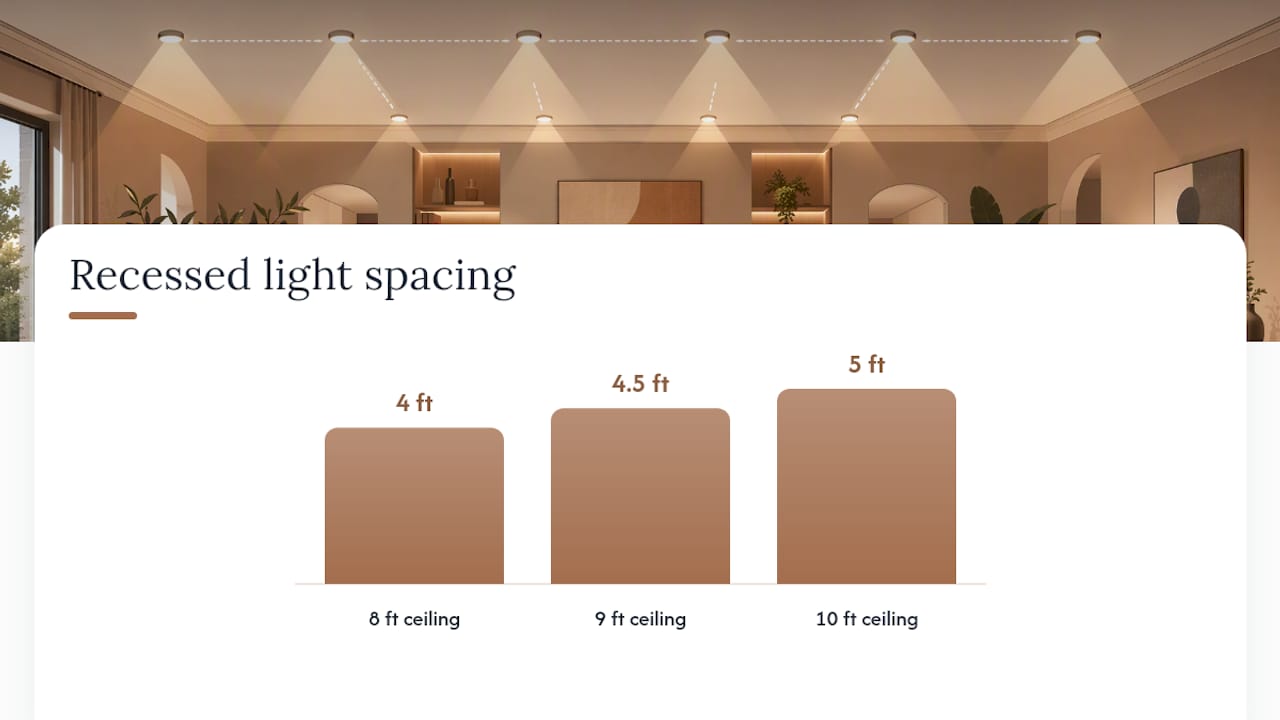
The half-height rule isn't a shortcut someone invented for convenience. It's a simplified version of what manufacturers actually publish, called a spacing criterion, or SC. The formula is: spacing = SC × ceiling height. Most residential fixtures carry an SC value close to 1, which is why the math collapses so neatly into "ceiling height divided by two" for an 8 to 10 foot ceiling.
The Illuminating Engineering Society sets the performance standards that manufacturers use to calculate SC values in the first place, so when a fixture's spec sheet lists a spacing criterion, it's tied back to that guidance. Eaton's lighting resource team confirms the practical version most homeowners actually use: spacing at roughly half the ceiling height keeps light even without wasting fixtures.
Here's how that plays out in real rooms:
- 8-foot ceiling: spacing lands around 4 feet between fixtures.
- 10-foot ceiling: spacing widens to about 5 feet.
- 9-foot ceiling: split the difference at 4.5 feet.
Tighten that spacing when you're lighting a task zone like a kitchen counter or reading nook. Widen it in a room where you're layering in lamps and sconces, since the recessed lights only need to handle general fill.
Recessed can layout: quick numbers to keep on your clipboard
Once you've got the formula, you rarely need to recalculate it room by room. Here's the cheat sheet worth writing on a sticky note before you start measuring:
- Baseline spacing. For a standard ceiling height, use spacing roughly equal to half the ceiling height.
- Wall offset. Keep the first row of lights about half your spacing number away from the wall.
- Kitchens run tighter. Pull spacing in over counters and islands where you need real task light, not just ambient glow.
- 4-inch vs. 6-inch trims. Smaller 4-inch cans throw a narrower pool of light and often need closer spacing; 6-inch trims cover more floor per fixture, so you can space them out further.
- Dark finishes eat light. Deep paint colors and matte ceilings swallow more lumens, so tighten spacing slightly to compensate.
Room-by-room recessed lighting layout examples
The half-height rule gives you a starting number. Where you actually place fixtures depends on what the room is asking the light to do.
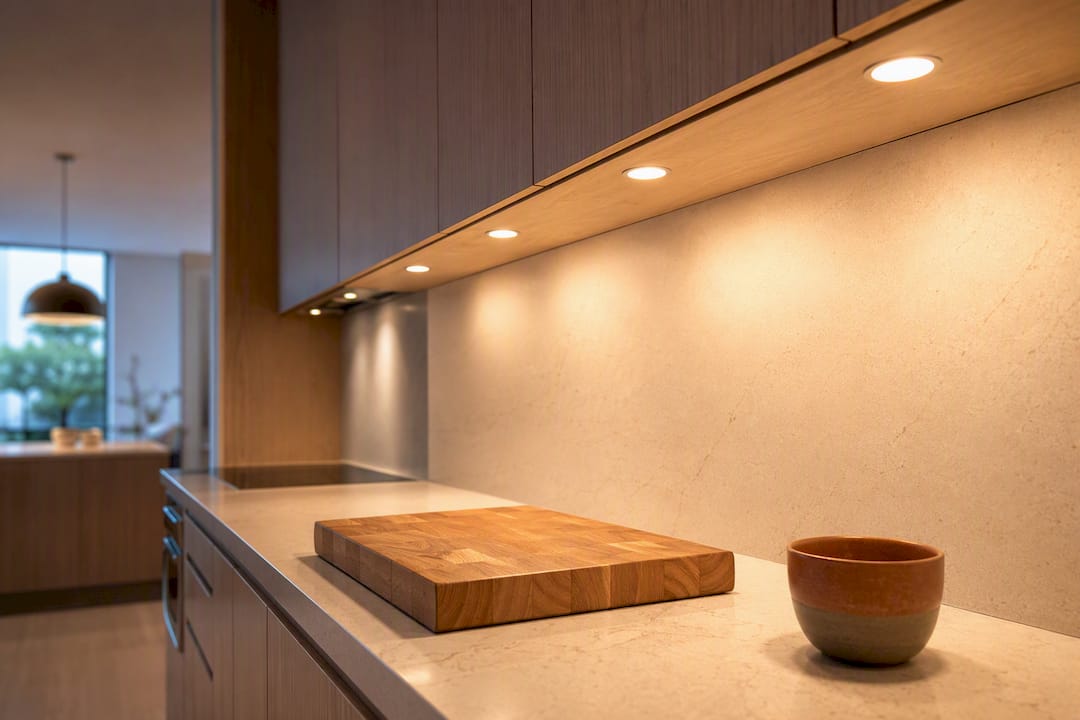
Kitchens need the light in front of you, not behind you. Align your first row with the front edge of your counters, roughly 24 to 36 inches off the wall, so your shadow never falls across the cutting board. Copperview Electric's installation guide makes this same point: plan to the work plane, not the room's centerline. In a typical 10 by 12 foot kitchen with an 8-foot ceiling, that usually means two rows of cans at 4-foot spacing, with a pendant or two over the island doing the accent work recessed cans can't.
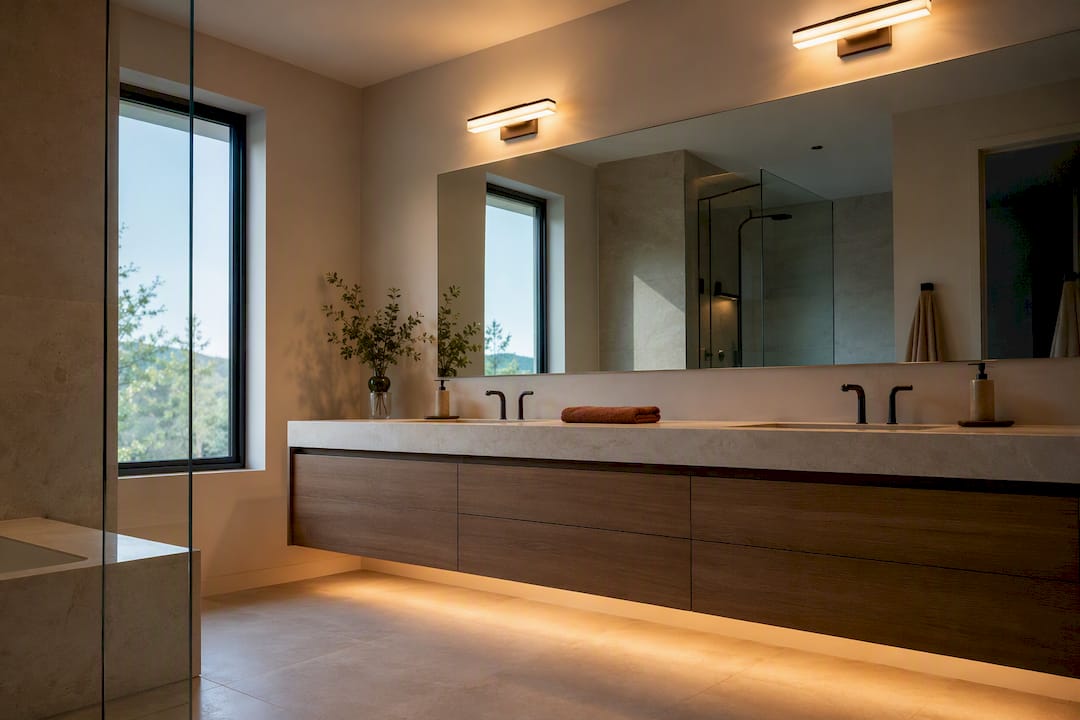
Bathrooms benefit from pairing dedicated vanity lighting with recessed ambient fixtures elsewhere in the room. Anything near a shower or tub needs a wet-location-rated fixture. Skipping that rating isn't a style choice; it's a safety one.
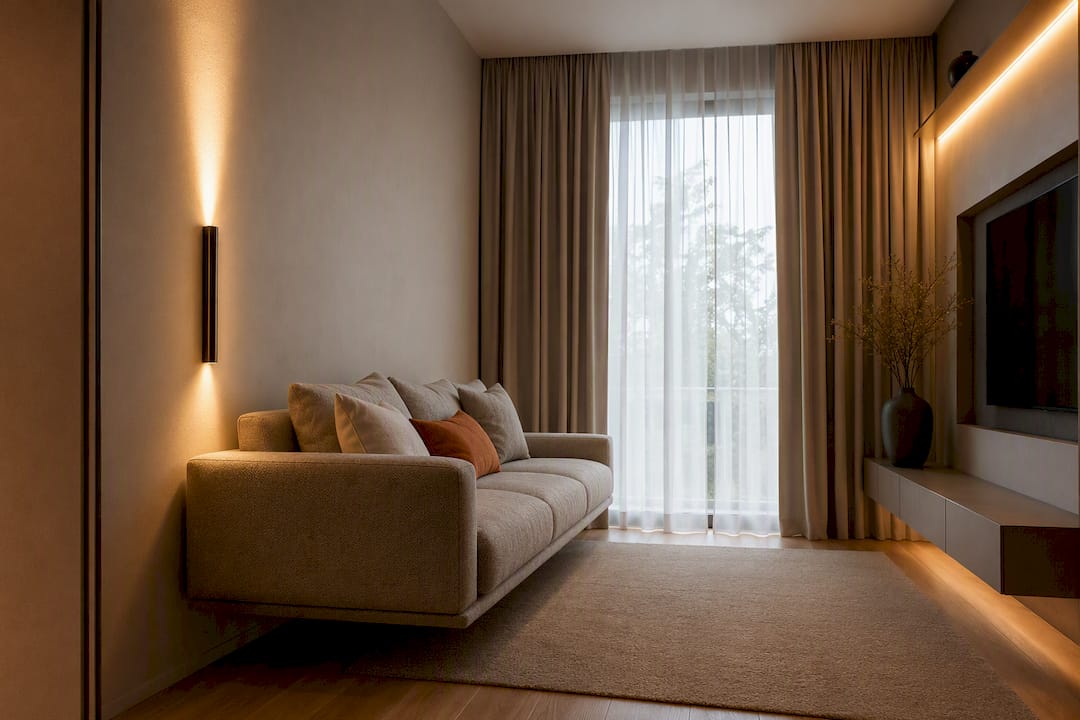
Living rooms and bedrooms benefit from wider spacing and fewer recessed fixtures, supplemented with additional light sources like lamps and sconces to create a comfortable atmosphere. Cramming the ceiling with cans in a room meant for relaxing tends to backfire.
Hallways and closets flip the formula. Hallways can often stretch spacing since they're transitional space, while closets need tighter layouts, sometimes a single well-placed fixture, because the goal is task visibility in a small footprint. If you're rethinking closet lighting as part of a bigger storage overhaul, a well-designed custom closet often reveals just how much a tight, well-placed light source matters in a compact space.
How do you calculate recessed lighting spacing yourself?
You don't need an app to lay this out correctly. Grab a tape measure, a notepad, and follow these steps:
- Measure the room. Record length, width, and ceiling height. Note where the work plane sits if it's a kitchen or office.
- Pick your spacing number. Divide ceiling height by two, or check the fixture's published spacing criterion if you want to be precise.
- Calculate rows and columns. Divide room length and width by your spacing number to get a rough fixture count in each direction.
- Set your wall offset. Take your spacing number, divide it by two, and that's your distance from each wall to the first row of cans.
- Sketch it to scale. Draw the room on graph paper, mark your rows, and check the layout against furniture placement, HVAC vents, and attic access points before you cut anything.
A 12 by 12 foot room with an 8-foot ceiling and 4-foot spacing typically works out to a clean 3 by 3 grid, nine fixtures total, offset 2 feet from each wall. Free calculators from RecessedLighting.com can double-check your arithmetic and visualize beam overlap once you've done the math by hand.
Pro Tip: Older homes often have joists running the wrong direction for your ideal layout. Shifting your grid a few inches to dodge a joist reads as invisible once the lights are on. A stray inch of offset is far less noticeable than a fixture that glares straight into the seating area.
How beam angle and lumen output change your spacing plan
Two fixtures with the same 6-inch diameter can behave completely differently once you check their spec sheets. Beam angle and lumen output are the variables that actually separate a good layout from a mediocre one.
- Beam angle. A narrow 24-degree beam creates a tight, punchy pool of light and needs closer spacing to avoid dark gaps between fixtures. A wide 120-degree flood beam covers far more floor per can.
- Lumen output. Higher-output LEDs let you space fixtures further apart while still hitting the same brightness on the floor, which can mean fewer total fixtures.
- Trim style. Adjustable and baffle trims cut glare and help on sloped ceilings, where a fixed trim would throw light at an awkward angle.
Roughly speaking, the DIYdigits calculator converts beam angle and ceiling height into a coverage circle. Where those circles overlap by a modest margin, you get even ambient light without visible hot spots. Always check the manufacturer's spacing criterion on the box against IES guidance before finalizing a layout, especially in a room with high ceilings or unusual geometry.
Does fixture spacing actually affect your energy bill?
Yes, and the math is straightforward. Two 12 watt LED cans spaced correctly can replace what used to take four 20 watt incandescent cans, cutting total wattage by more than half while producing comparable brightness. A trade analysis on spacing planning points out that homeowners who follow spacing guidelines avoid overlighting altogether, which is where a lot of wasted wattage hides.
Pair your LEDs with compatible dimmers and controls to squeeze out more savings. The Department of Energy's lighting guidance recommends this pairing specifically because dimming compounds the efficiency gains LEDs already offer. On the installation side, remember that every additional can means another hole cut, another wire run, and more attic work. Correct spacing often means fewer fixtures, and fewer fixtures usually means a smaller labor bill.
Common recessed lighting spacing mistakes
The most common mistake is measuring from the wrong reference point. Homeowners center their layout on the room's overall dimensions instead of the work plane, so a kitchen ends up perfectly symmetrical but poorly lit over the counter where it actually matters.
The second mistake is ignoring beam angle entirely and spacing every room the same way. A narrow-beam fixture spaced like a wide flood creates a checkerboard of bright circles and dark gaps on the ceiling, a pattern known as "scalloping" that's obvious the moment you turn the lights on at night.
Third, people frequently skip the wall offset calculation and push their first row too close to the wall. This washes the wall in harsh light and creates a hot stripe near the ceiling line instead of a soft, even glow.
Fourth, and this one is sneaky: over-fixturing a room because more cans feels like "more light" in the store. A living room stuffed with eight recessed cans on tight spacing often reads flatter and less inviting than the same room with five cans and a floor lamp doing supporting work. Our guide to layered lighting covers why that combination usually wins on comfort even when it loses on raw lumens.
Finally, people forget that dimmers and trim finishes interact with spacing. A layout that looks fine on paper can still feel harsh if every fixture runs at full brightness with a glossy white trim reflecting glare across the room.
What different spacing choices actually look like on your ceiling
Spacing isn't just a technical number. It changes how a room feels the second you flip the switch.
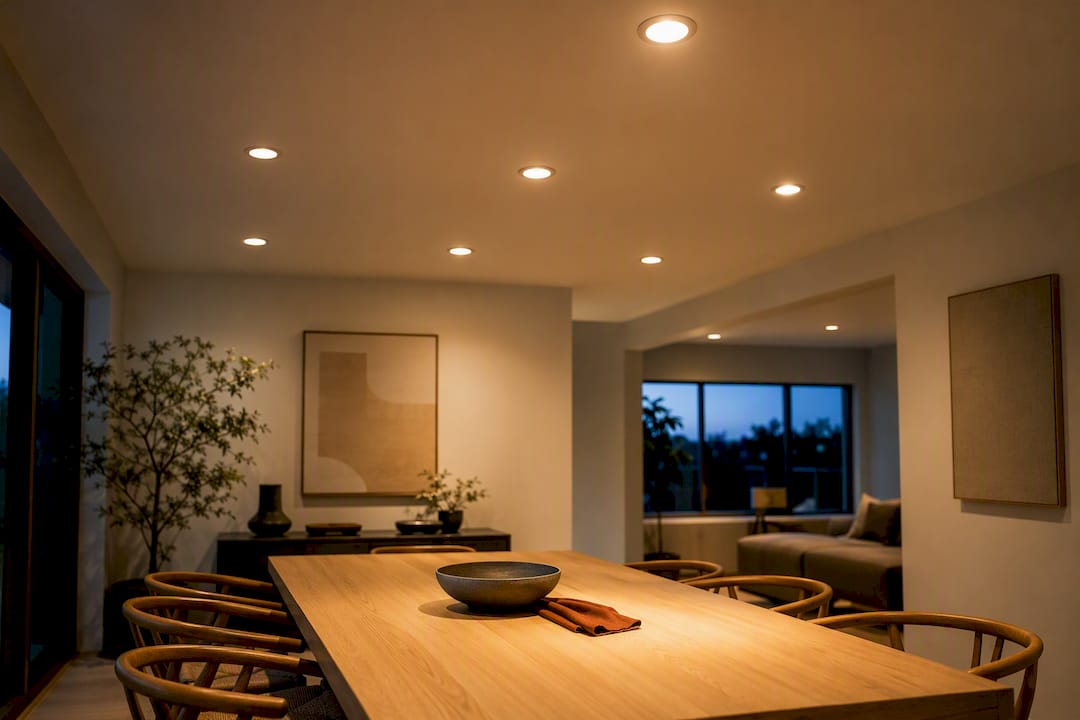
Tight, even spacing produces a wash of uniform light, which suits a kitchen or home office where you need consistent brightness for tasks. But go too tight and a room can feel clinical, like a showroom instead of somewhere you'd want to relax.
Wider spacing creates gentle pools of light with soft transitions between them, closer to what candlelight or a well-placed lamp does naturally. This works beautifully in living rooms and bedrooms, but push the spacing too far and you get visible dark patches, especially noticeable along walls where you'd expect even coverage.
Uneven spacing, even by a foot or two, tends to draw the eye toward the mismatch rather than the room itself. This is the visual issue behind that scalloped ceiling effect: too-narrow beam angles at too-wide spacing intervals leave bright circles ringed by shadow. Glare shows up when fixtures sit too close to a wall or reflective surface, since the beam angle catches the surface at a harsh angle instead of washing it evenly. Once you see it in a room, it's hard to ignore.
What actually matters more than the math
Before locking in any layout, ask what the room needs to do: read, cook, or relax? Recessed lighting alone, however precisely spaced, rarely answers that question on its own. Layering it with a lamp, a dimmer, or a sconce almost always beats adding more cans to the ceiling. Design first, then measure. Our guides on color temperature and layered lighting go deeper on getting the rest of the room right.
— August
Get help planning your layout before you buy fixtures
Getting the spacing formula right is only half the job. Picking fixtures that match your room's mood, color temperature, and existing furniture is where a lot of otherwise well-measured layouts fall flat. That's where TheconnectedDwelling's lighting hub comes in: curated fixture picks and layout advice built around function first, so you're not guessing which trim or beam angle actually suits your ceiling height.

If you're still deciding between a flood of ambient cans or a more layered approach, the Beginner's Guide to Layered Lighting walks through how recessed lighting works alongside lamps, sconces, and dimmers instead of trying to do every job on its own. And if your living room already has recessed lights installed but still feels off, this breakdown of common living room lighting problems is worth a read before you drill another hole in the ceiling. Start there, sketch your room, and bring your measurements when you're ready to shop for fixtures.