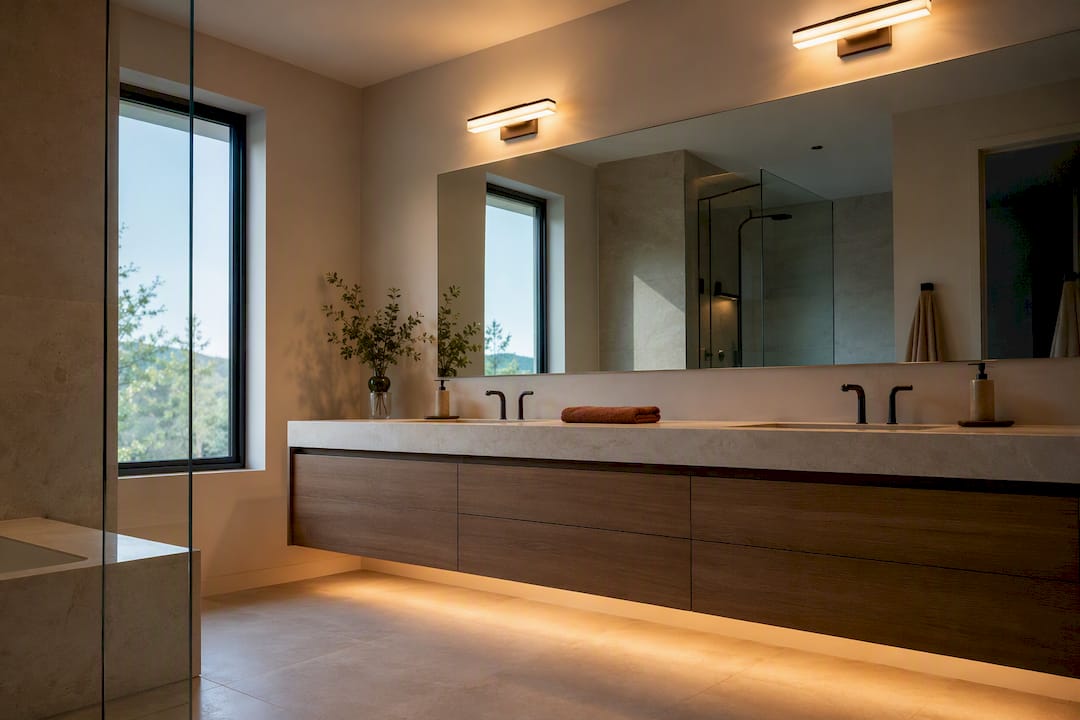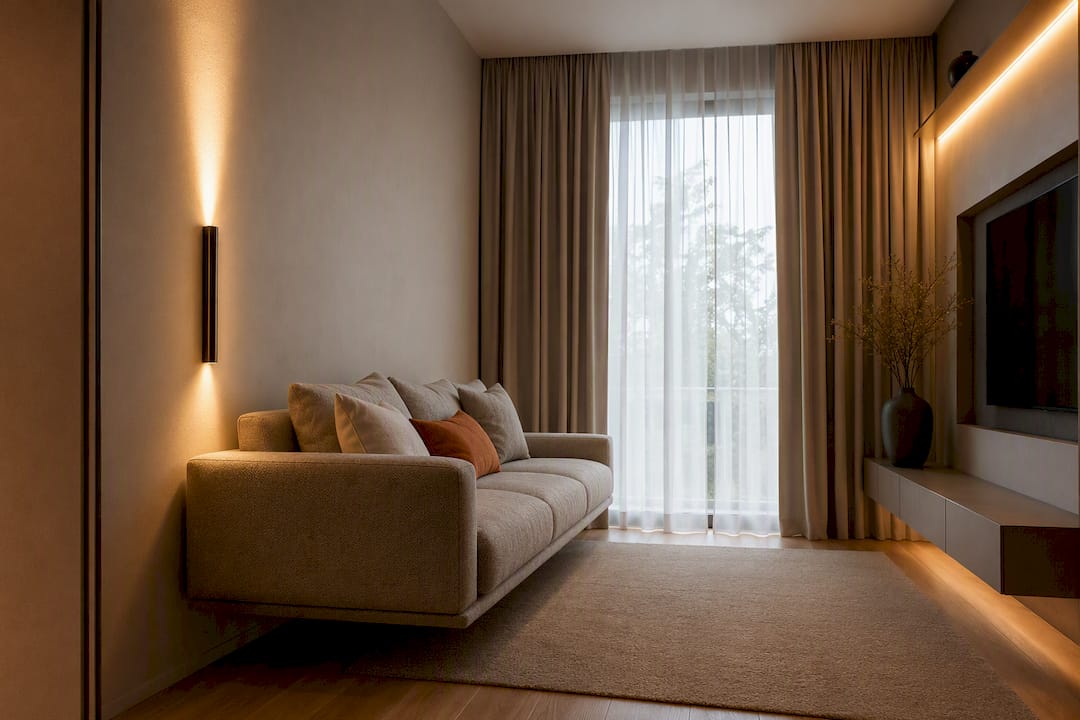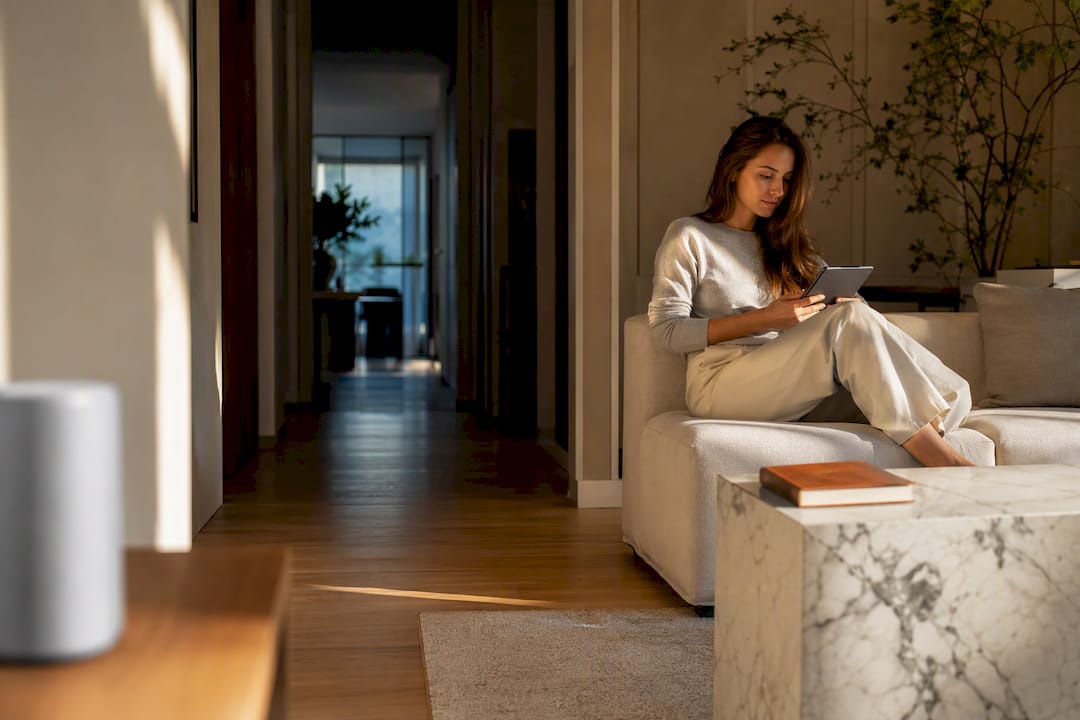
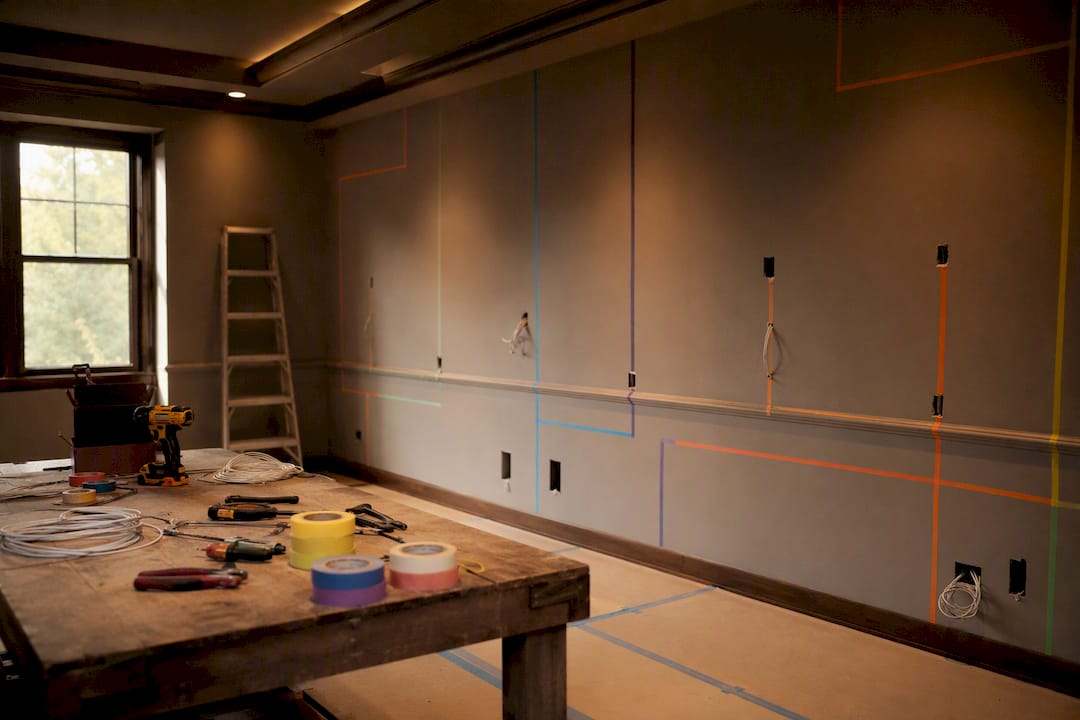
Layered lighting wins every time: bias light behind the screen, dimmable recessed ambient overhead, low-level path lighting on the aisles, and a few accent fixtures tying it together. Each layer sits on its own dimming zone, ideally its own circuit, and warm color temperature dominates everywhere except the bias strip. Get that framework right and everything else in this guide is refinement.
TL;DR:
- Separate circuits and dimming zones are essential to prevent electrical noise and allow independent control over ambient, task, and accent lighting layers.
- Mount bias lighting 2 to 6 inches behind the screen with full-width, diffused coverage, calibrated to 6500K for accurate colors and contrast enhancement.
- Use narrow-beam recessed cans near the screen wall, spaced 4 to 6 feet apart, and controlled by dimmers in the 2700K to 3000K range for optimal warmth.
- Install wall sconces, cove lighting, and LED strips to create indirect, glare-free accents that enhance room depth without drawing attention away from the screen.
- Recess low-lumen, shielded path lights into risers and aisles to ensure safe navigation without distracting from the image during playback.
Table of Contents
- Home Theater Lighting Layers: Ambient, Task, and Accent
- Bias Lighting: Why It Matters and How to Install It
- Ambient and Task Lighting: Recessed Cans and Beam Control
- Accent Lighting: Sconces, Cove, and LED Strips
- Safety and Path Lighting for Risers and Aisles
- Controls, Dimming, and Zoning for a System That Lasts
- Blackout Curtains and Reflections That Protect Contrast
- A Practical Pre-Install Checklist From Theconnecteddwelling
- Design-First Thinking Behind This Approach
- Sources
Home Theater Lighting Layers: Ambient, Task, and Accent
A single overhead fixture never works in a dedicated theater. It's either too bright for the movie or too dim to find your seat. The fix is thinking in three separate jobs instead of one light source trying to do everything, an approach that creates both visual comfort and a cinematic mood far better than a lone can light ever could.
- Ambient fills the room with a soft, even base level, usually recessed cans on a dimmer.
- Task covers anything functional: reading a remote, walking to the snack bar, finding a seat number.
- Accent is the mood layer: sconces, cove lighting, LED strips that add depth without adding glare.
Plan for at least three to four dimming zones, each wired separately so you can drop the room to near black for the film and bring up just the aisle lights during a pause. Separate circuits also keep dimmer hum and electrical noise away from your audio gear, a detail worth building in from day one.
Bias Lighting: Why It Matters and How to Install It
Bias lighting is the soft glow behind the screen, and it does more than look nice. It reduces eye strain and sharpens perceived contrast by giving your eyes a reference point instead of forcing them to adjust between a bright screen and pitch black surroundings.
Placement matters more than most people expect:
- Mount the LED strip 2 to 6 inches behind the screen, never directly visible from seating.
- Use a diffuser channel so you see a wash of light, not individual diodes.
- Run it the full width and height of the screen frame for even coverage.
Pro Tip: For color accuracy, calibrate your bias strip to D65, or 6500K, which matches the white point most displays are calibrated against. If the room is used for casual viewing rather than reference-grade movie nights, a neutral or slightly warm bias tone still works fine and feels cozier.
Ambient and Task Lighting: Recessed Cans and Beam Control
Overhead lighting is where most home theaters go wrong. Bright, wide-beam cans anywhere near the screen wall wash out contrast and turn a rich black scene gray.
- Choose baffle trims with narrow beam spreads for any recessed can within the first few feet of the screen wall.
- Space rows of cans so light overlaps just enough to avoid dark gaps, typically every 4 to 6 feet depending on ceiling height.
- Put each row on its own dimmer, separate from accent and path circuits.
- Confirm dimmer compatibility with LED loads before installation. Not every dimmer plays nicely with LED drivers, and mismatched pairs cause flicker or buzz.
Color temperature should sit in the 2700K to 3000K range for ambient and task layers in a dedicated theater, since warm white is the recommended tone for general lighting while daylight temperatures stay reserved for the bias strip. The one exception is a multi-use media room that doubles as a home office or playroom, where a slightly cooler 3500K zone on its own switch can help daytime tasks without touching your movie-night settings. LED fixtures are also simply the smarter long-term choice here, drawing far less power than incandescent bulbs while running cooler near sensitive electronics.
Accent Lighting: Sconces, Cove, and LED Strips
This is the layer that makes a theater feel like a theater instead of a dark box with a screen in it. Wall sconces with an uplight or fully concealed bulb work best, spaced evenly along the side walls so the eye reads a rhythm rather than a scatter of bright points.
- Cove lighting and hidden linear LEDs create an indirect wash along the ceiling perimeter when diodes stay concealed and diffusers are used, a setup that avoids direct glare while still adding depth.
- Color-changing LED systems are fine for pre-show ambiance as long as they're dimmable and tied into your main control scene.
- Never aim a fixture toward the screen wall. Any direct beam or visible diode in your peripheral vision competes with the picture.
For DIYers without a background in carpentry, concealed strip lighting with a simple diffuser channel is the fastest route to a cinematic accent layer without hiring an electrician for cove work. If you're weighing finish choices for the room's trim or door casings alongside your lighting plan, it's worth browsing current interior door design trends too, since dark trim reads very differently under warm accent light than under daylight bulbs.
Safety and Path Lighting for Risers and Aisles
Tiered seating needs light people can see by without light that fights the screen. Low-lumen step lights, aimed straight down and shielded with a louver, solve both problems at once.
- Recess fixtures into the riser face itself rather than mounting them as visible boxes.
- Choose warm amber or low-intensity white, never a bright white that draws the eye.
- Keep output low enough that you'd barely notice the fixture if the film paused on a bright frame.
The most common mistake is a bright, unshielded light mounted on a vertical riser face pointed outward. It looks fine with the lights on and becomes a glaring distraction the moment the film starts, since step lighting works best when recessed or directed downward with louvers rather than left exposed on a vertical surface. Swap it for a downward-shielded fixture and the problem disappears.
Controls, Dimming, and Zoning for a System That Lasts
Wiring decisions made now save headaches later, especially once you start layering in smart controls. Isolating accent and task circuits from equipment power keeps dimmer noise out of your amplifier and speakers, a small upfront cost against a recurring annoyance.
- Run separate circuits for ambient, accent, and path lighting so each can dim independently without touching the others.
- Weigh smart bulbs against smart dimmers. Smart bulbs install in minutes and need no rewiring, but a smart dimmer paired with standard LED fixtures gives cleaner integration and one less point of failure per bulb.
- Build named scenes: a "pre-show" scene at 40 percent for seating, a "movie" scene that kills everything but bias and path lights, and an "intermission" scene that brings ambient back to a comfortable level.
Pro Tip: Map each scene to specific zones before your electrician ever touches a wire. It's far easier to plan four circuits on paper than to retrofit a fifth one after drywall goes up. For more on keeping smart controls invisible rather than turning your theater into a wall of switches, Theconnecteddwelling's guide on building a smart home that doesn't look smart is worth a read.
Blackout Curtains and Reflections That Protect Contrast
Stray light is contrast's worst enemy, and it usually sneaks in around the edges of a window, not through the center. Extend your curtain track 6 to 8 inches beyond the window frame on each side, and use a dual track system to close the gap where light typically leaks along the sides.
- Choose theater-grade blackout fabric with a tight weave, not just a dark color.
- Finish walls in matte, dark tones near the screen to prevent specular reflections off glossy paint.
- Position the screen away from any light source that could hit it at a reflective angle, including hallway spill from an open door.
- Consider motorized shades if you want blackout and daylight modes without manually adjusting curtains before every viewing.
A Practical Pre-Install Checklist From Theconnecteddwelling
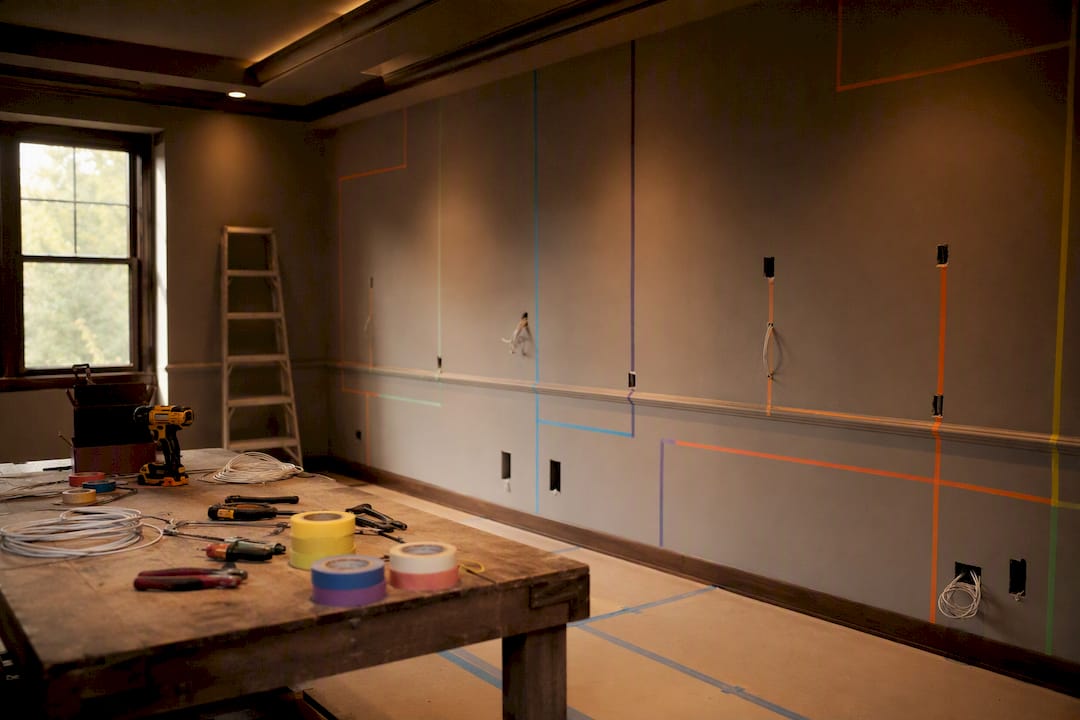
Before an electrician ever opens a wall, map your zones on paper: ambient, task, accent, path, and bias. Allocate a breaker per zone, confirm every dimmer is LED-rated, and pilot-test your bias strip placement with painter's tape before committing to permanent mounting. Conceal every diode you can reach.
The most common oversight we see is skipping circuit isolation entirely, which shows up later as buzz in the speakers or a single dimmer controlling three layers you wanted separate. Fix it at the planning stage, not after drywall. For deeper walkthroughs on layering technique and picking the right color temperature for each zone, Theconnecteddwelling's beginner's guide to layered lighting and 2700K vs. 3000K breakdown go further than we have room for here.
If you're ready to shop fixtures and dimmers that fit this framework, Theconnecteddwelling's lighting resource hub has curated picks organized by exactly these layers.
Design-First Thinking Behind This Approach
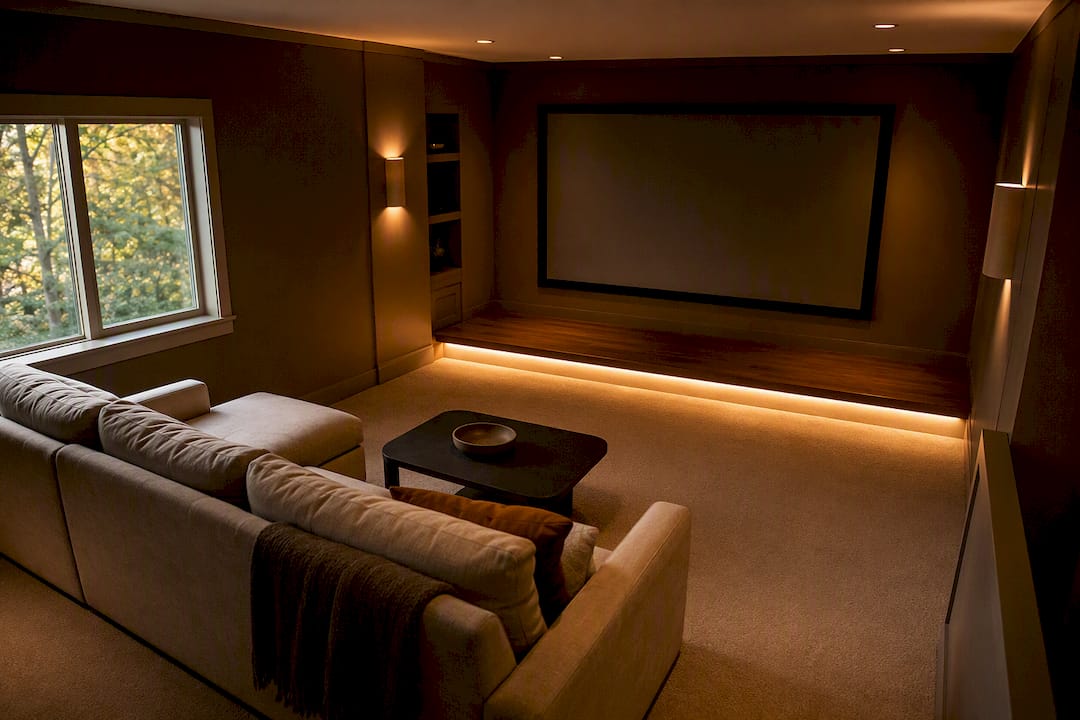
The best home theaters I've studied share one trait: you never notice the light fixtures, only what the light does. That's the whole philosophy behind treating this as a design problem first and a technical one second. Hide the diodes. Conceal the strip channels. Let the room read as calm and dark until the moment it needs to guide your eye.
Test your scenes before you commit to a final layout. Sit in every seat, dim to your movie setting, and see if any fixture catches your eye. If it does, it's wrong, no matter how good it looked on the spec sheet. For more room-by-room examples of this kind of restrained, comfort-first lighting, Theconnecteddwelling's room recipes are a good next stop.
— August
Sources
- Learn about LED bulbs | ENERGY STAR
- Best Practices for Amazing Home Theater Lighting | Audio Advice
- 9 Home Theater Lighting Ideas | Family Handyman
- Home Theater Lights: 7 Ideas to Set the Perfect Cinematic Mood | AWOL Vision