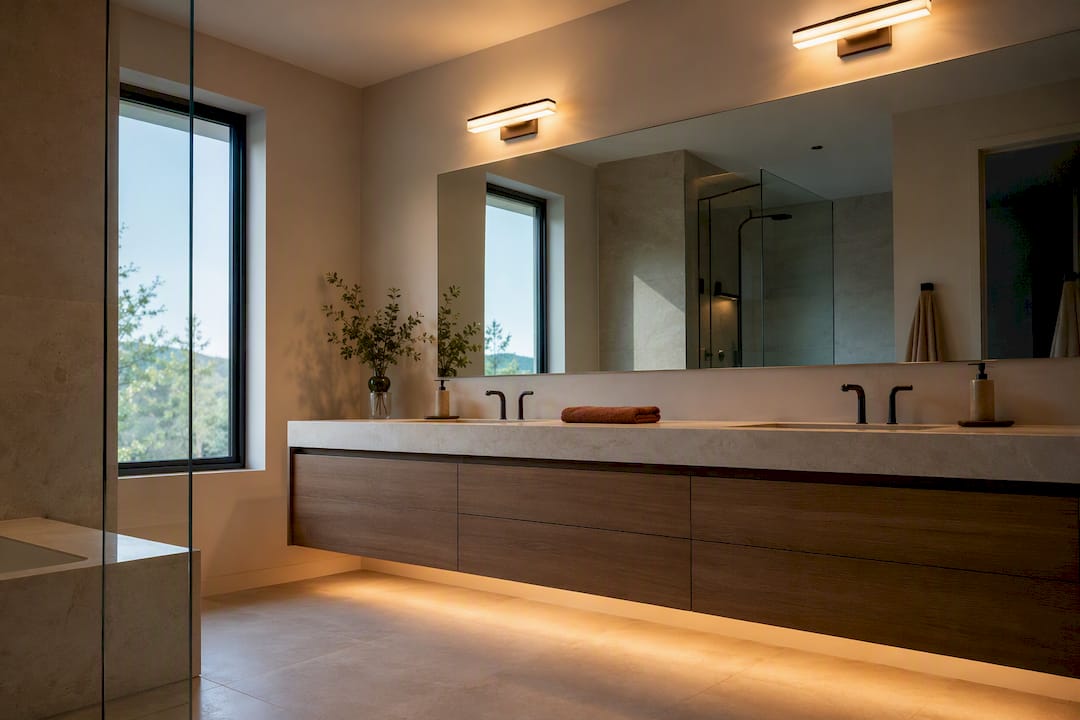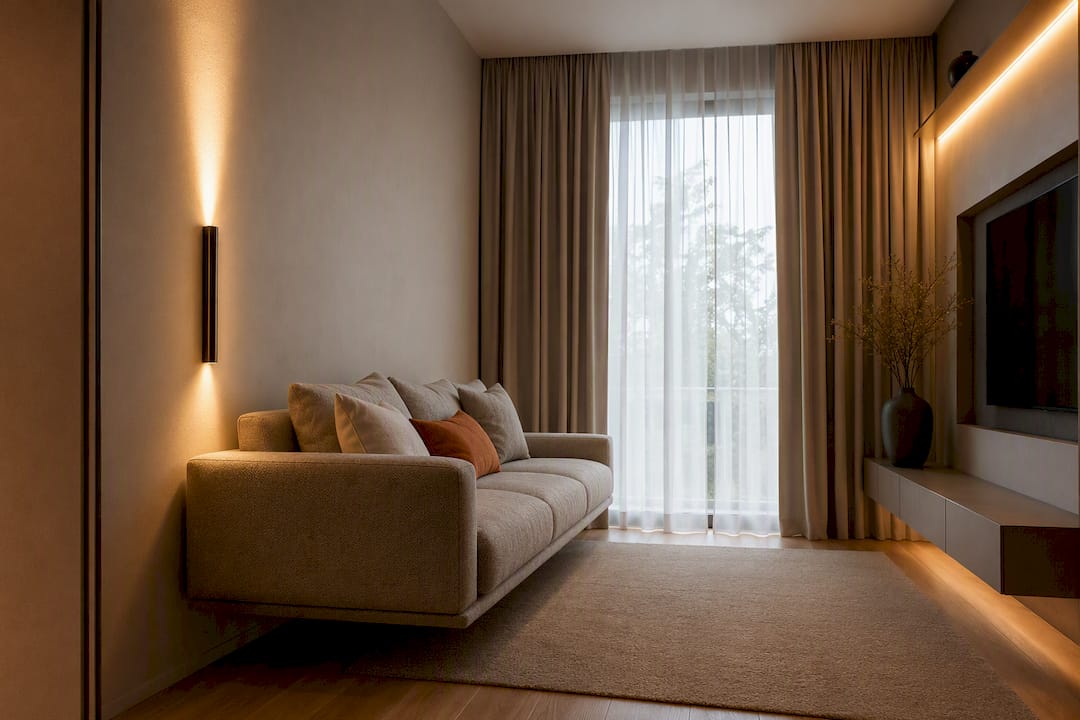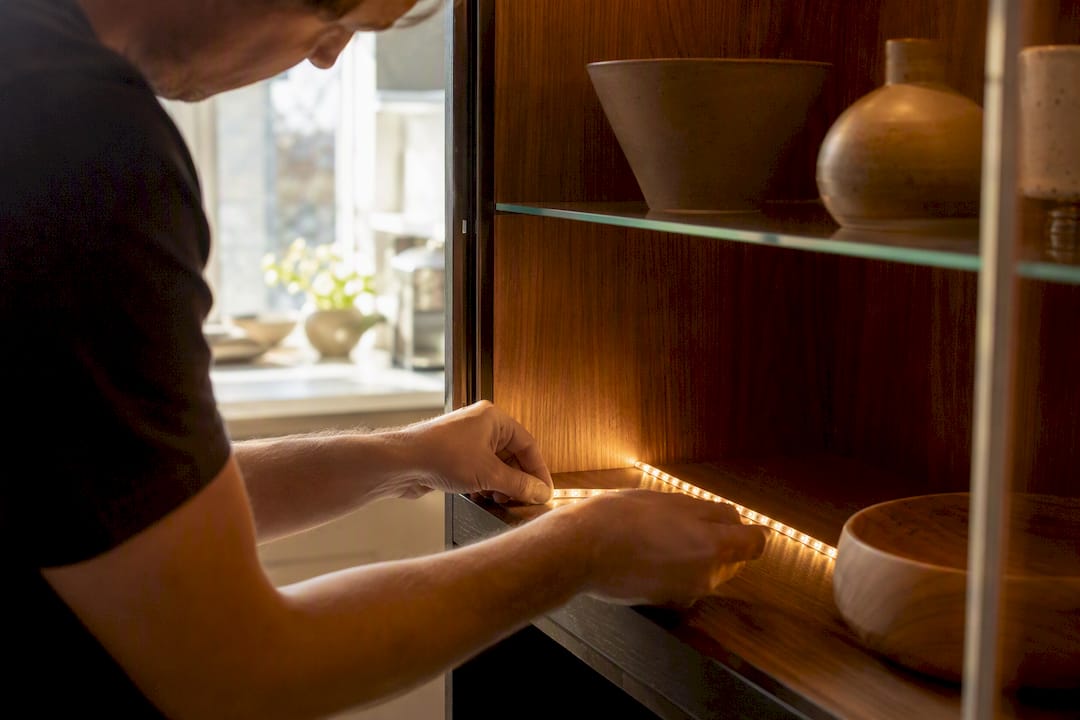
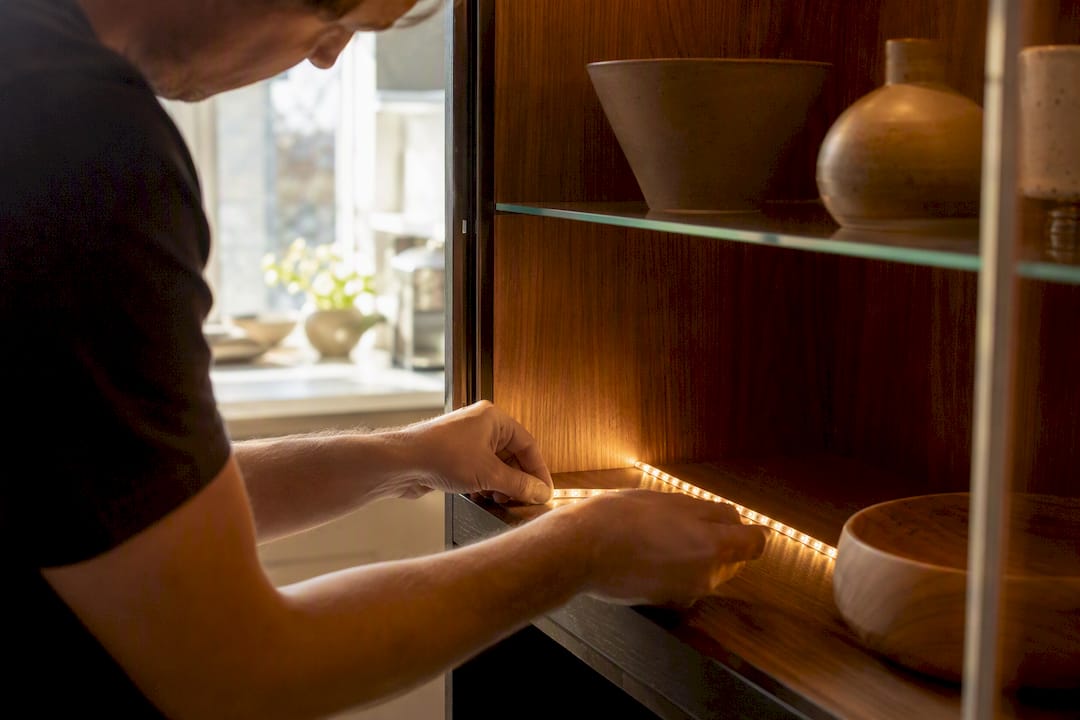
For most homeowners, a slim diffused LED strip or a miniature linear channel mounted around the top perimeter gives the most even, glare-free display cabinet lighting available. It spreads light evenly instead of pooling it at the top, runs cool enough to sit inches from glass and porcelain, and lasts for years without a bulb change. Pair it with a 12V driver and a warm 2700K to 3000K color temperature, and most cabinets are done in an afternoon.
TL;DR:
- Multiple low-mounted LED strips or channels are recommended to avoid shadows and hotspots, especially in deeper or taller cabinets.
- For optimal color rendering and material appearance, use LED strips with a color temperature between 2700K and 3000K and a CRI of 90 or higher.
- Drivers should have at least 20% wattage headroom, and wiring should be hidden through a single hole for a clean installation; licensed electrician may be necessary for mains connections.
- LED strips require minimal maintenance, generally only needing periodic cleaning and occasional rejoining or replacement of affected sections.
- Budget considerations range from inexpensive adhesive strips for small cabinets to micro-spotlights for valuable collections, with the driver being a critical component to avoid early failure.
Table of Contents
- Display Cabinet Lighting Types: What Actually Works
- What Should You Consider Before Buying Cabinet Lights?
- How Do You Place Lights to Avoid Shadows and Hotspots?
- Which Color Temperature and CRI Work Best for Displays?
- How Do Drivers, Dimming, and Wiring Work for Retrofits?
- Are There Safety Risks to Watch for During Installation?
- Three Cabinet Lighting Setups You Can Copy
- How Often Do LED Cabinet Lights Need Maintenance?
- Energy Efficiency and Heat: Why LEDs Are the Only Practical Choice Now
- How Do You Layer Light to Make a Display Pop?
- What Should You Budget for Cabinet Lighting?
- Why Layered Lighting Changes How a Cabinet Reads
- Where to Find Curated Kits and Wiring Guides
- Sources
Display Cabinet Lighting Types: What Actually Works
Before you buy anything, it helps to know what's actually available and where each option shines. Here's how the main choices stack up.
- LED tape or strip lighting wraps around shelves and perimeters for an even wash. It's flexible, cheap per foot, and the easiest fix for tight, awkward retrofits where a fixed fixture won't fit.
- Mini linear channels and pen-style tubes house a slim LED strip inside an aluminum profile with a frosted lens. They mount discreetly along the top or front edge and hide the individual diodes better than bare tape.
- Puck lights and small spots work best as accent lighting rather than a wash. Use them to highlight a single vase or trophy rather than an entire shelf.
- Museum-style micro-spotlights offer zoomable beams, precise dimming, and high color accuracy. They cost more, but for a serious collection or fine art piece, that adjustable beam control is worth the premium.
Most homeowners land on strip or channel lighting because it solves the two biggest complaints: dark corners and visible hot spots.
What Should You Consider Before Buying Cabinet Lights?
Choosing the right fixture comes down to five practical factors, not brand names or marketing claims.
- Cabinet dimensions and clearance. Measure the depth and shelf spacing first. Deep cabinets need light from more than one point; shallow ones may need only a single top strip.
- Desired effect. A general wash calls for roughly 150 to 300 lumens per foot of strip; accent lighting on a single object can work with far less, concentrated into a tighter beam.
- Color temperature and CRI. Warm collections photograph and display better under 2700K to 3000K; a CRI of 90 or higher keeps colors honest.
- Power and dimming needs. Decide up front whether you want a wall dimmer, remote, or smart control, since not every driver supports every dimming method.
- Retrofit constraints and budget. A plug-in kit with an adhesive strip costs far less than a hardwired setup with a hidden driver, but it also limits placement options.
Corners and shelf lips eat up length fast, and running short mid-install means a mismatched second order.*
How Do You Place Lights to Avoid Shadows and Hotspots?
A single strip at the top of a cabinet almost always leaves the bottom shelf dim. Top installers now recommend multiple low-mounted strips or perimeter runs instead of relying on one source, and that advice holds whether you're lighting a china hutch or a jewelry case.
A few placement patterns solve most problems:
- Top-perimeter U shape: run the strip along the front edge and down both sides in an upside-down U so light washes shelves from front and back, not just from above.
- Staggered, multi-height strips: for cabinets deeper than 12 inches, add a second run at mid-height so lower shelves don't fall into shadow.
- Diffusers and frosted channels: an opal lens over bare LED strip hides the individual diodes and softens reflections off glass shelves, a fix common in retail display cases.
- Aim slightly forward, not straight down, so light grazes the front of objects instead of bouncing straight back off a glass shelf into your eyes.
Shallow cabinets under 10 inches deep usually need just the top run. Anything deeper benefits from a second strip lower down, even if it feels like overkill on paper.
Which Color Temperature and CRI Work Best for Displays?
Color temperature changes how materials read to the eye, and it matters more in a display cabinet than almost anywhere else in the house. Warm collections, think wood carvings, brass, leather-bound books, look richer under 2700K to 3000K. Neutral or mixed-material displays, like glassware or modern ceramics, often look cleaner under 3000K to 3500K, which reads as bright without tipping yellow or blue.
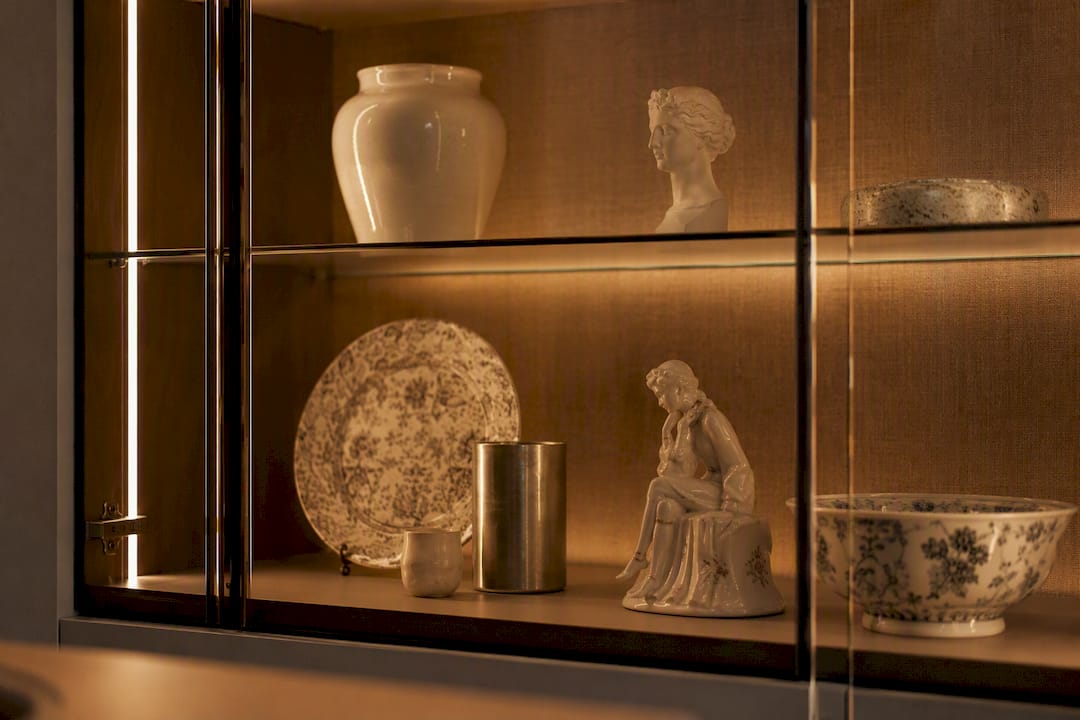
CRI matters just as much as temperature. Anything below 90 CRI will mute reds and skin tones, which shows up fast on porcelain, painted figurines, and fabric. Metal surfaces reflect whatever light hits them, so a low-CRI bulb makes silver look dull and gold look flat. If you're on the fence about warm versus neutral, the trade-offs are laid out in more detail in Theconnecteddwelling's guide to 2700K versus 3000K.
How Do Drivers, Dimming, and Wiring Work for Retrofits?
Match your strip's voltage, usually 12V or 24V, to a driver with at least 20% more wattage than the strip draws; that headroom keeps the driver from running hot and failing early. If you want dimming, confirm whether your strip needs a PWM dimmer or works with constant-voltage controls, since mismatched dimmers cause flickering.
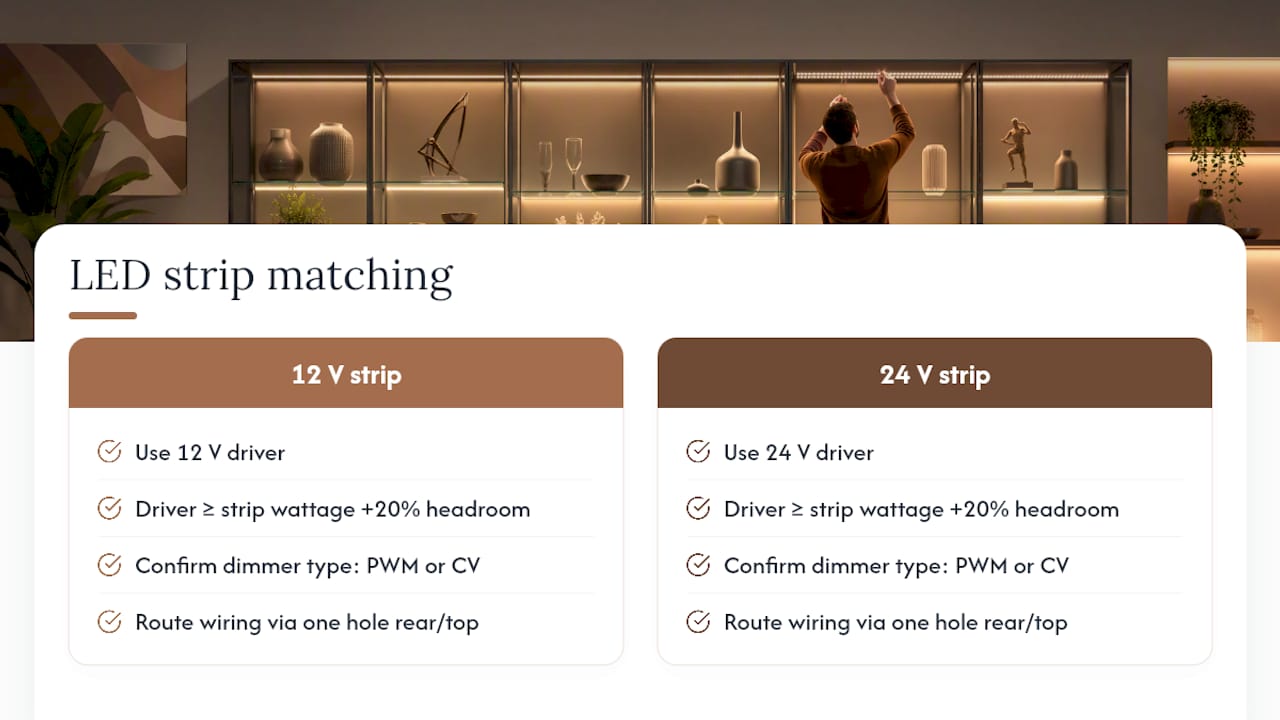
For routing, drill a single hole through the back or top panel and tuck the driver into an adjacent cavity or the cabinet's base. That one-hole approach keeps wiring invisible from the front. If your setup involves hardwired mains power or a built-in transformer, bring in a licensed electrician. Code compliance isn't optional once you're tying into house wiring.
Are There Safety Risks to Watch for During Installation?
Glass edges are the biggest hazard in this whole project. Avoid pressing magnetic mounts directly against a glass edge. Even a small impact can crack tempered glass, so use pad-protected mounts and test on a low-stakes panel first. Choose adhesives or small screws based on your cabinet material, wood can take screws, but glass and thin veneer usually call for adhesive-backed strips instead.
Leave a little breathing room around higher-power fixtures rather than boxing them into a sealed cavity, since trapped heat shortens LED life. And if your cabinet is tall and freestanding, anchor it to the wall, especially once you've added wiring and a driver near the top.
Three Cabinet Lighting Setups You Can Copy
- Small curio cabinet: a diffused pen-style strip or narrow 12mm LED tape, run off a 24V driver with an inline dimmer. Simple, low-cost, and enough for a shelf or two of collectibles.
- Bookshelf or deep display cabinet: a corner channel around the top perimeter plus a second lower strip run to reach shelves below eye level, avoiding the dark-bottom-shelf problem entirely.
- Jewelry or glass display case: a frosted linear channel for general wash, paired with a small museum-style micro-spot for texture and sparkle, ideally at CRI 90 or higher.
IKEA's own glass-door display cabinets illustrate just how efficient this category has become: their integrated LED fixture draws around 1 watt and is rated for roughly 25,000 hours of use, which works out to leaving it on for hours every single day for over a decade before it needs replacing.
Shopping checklist: strip width, CRI rating (90+), color temperature (2700K to 3500K), driver wattage with 20% headroom, connector type, and mounting hardware (adhesive, screws, or magnetic clips).
How Often Do LED Cabinet Lights Need Maintenance?
Good news first: LED strips rarely need bulb changes the way old halogen puck lights did. Most quality strips are rated for tens of thousands of hours, which for a display cabinet used a few hours a day translates to well over a decade of service.
That doesn't mean zero upkeep. Dust builds up on diffuser lenses and channel covers over time, and a film of dust dulls output more than most people expect. Wipe frosted covers every few months with a dry microfiber cloth, since anything damp risks getting into the electronics. Check connector points once or twice a year, especially at corners where strips are cut and rejoined, since these solder or clip connections are the most common failure point on an otherwise long-lived strip.
If a section does start to dim or flicker, it's rarely the whole run failing at once. LED strips are cut into segments, so you can usually replace just the affected section rather than tearing out the entire installation. Keep a spare few feet of the same strip on hand if you can, matching color temperature and CRI exactly, since even a slightly different white balance stands out immediately next to the original run.
Drivers have a shorter lifespan than the LEDs themselves, often the first component to fail. If a strip stops working entirely and the connections look fine, test the driver before assuming the whole fixture is dead.
Energy Efficiency and Heat: Why LEDs Are the Only Practical Choice Now
Halogen and incandescent puck lights used to be standard in display cabinets, and they came with a real cost: heat. Anyone who's touched an old halogen puck light after an hour of use knows it gets hot enough to warm a shelf, which is a problem when that shelf is holding a wax candle collection or a delicate piece of art.
LED fixtures solve this almost entirely. They convert far more of their energy into visible light rather than heat, which is why a cabinet's worth of LED strip can run for hours without warming the interior noticeably. That efficiency also shows up on the electric bill, since a full cabinet lit with LED strip typically draws a small fraction of what an equivalent halogen setup would.
Heat management still matters, particularly with higher-output spotlights packed into a small enclosed space. Give fixtures a little airflow rather than sealing them into a tight, insulated cavity, and avoid stacking multiple high-power spots in a cabinet with no ventilation gaps at all. For most strip and channel installations, though, heat simply isn't the concern it used to be. That shift is a big part of why energy-efficient LED lighting has become the default recommendation for enclosed display spaces rather than a nice-to-have upgrade.
How Do You Layer Light to Make a Display Pop?
Flat, single-source lighting makes a display look like a store shelf. Layering, using more than one light source at more than one height and angle, is what makes objects look intentional rather than incidental.
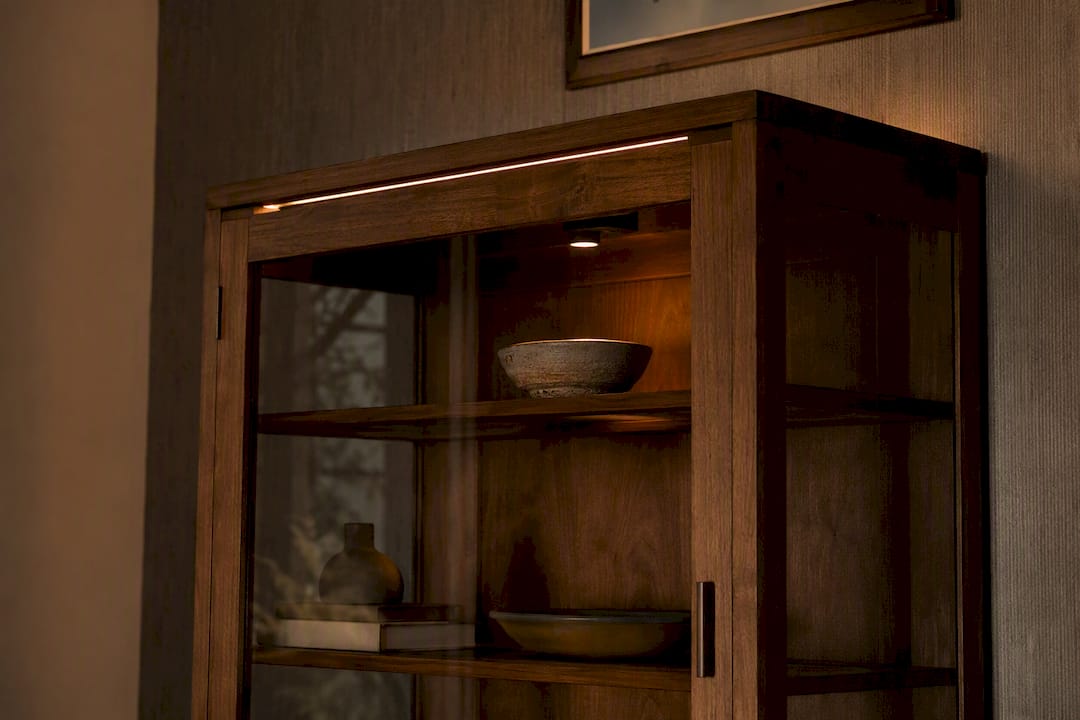
Start with a wash layer: your top-perimeter strip, providing even ambient light across every shelf. Then add an accent layer for the pieces that deserve extra attention. A small spot aimed at a favorite vase or a signed baseball creates contrast against the softer wash around it, drawing the eye exactly where you want it. That contrast, not just brightness, is what makes an object feel like a focal point.
Texture matters too. Angling light slightly across a surface, rather than straight down onto it, brings out grain in wood, facets in cut glass, and the raised detail on carved objects. Straight-down lighting flattens everything into a single plane; angled light reveals depth. For metal and glass especially, a slightly off-axis beam avoids the flat, mirror-like reflection you get from head-on lighting.
Consider also how your cabinet lighting interacts with the room around it. A brightly lit cabinet in an otherwise dim room becomes the natural focal point of the space, almost like a small stage. Dial the room's ambient light down slightly in the evening and let the cabinet do the work. It's a simple trick that costs nothing and makes even a modest collection look curated rather than just stored.
What Should You Budget for Cabinet Lighting?
Cost scales fairly predictably with the type of fixture you choose. Basic adhesive LED tape sits at the low end and covers most small to mid-size cabinets without breaking a modest budget. Add a dimmer or a driver with smart controls, and the price climbs, but usually not dramatically, since most of the added cost is in the control components rather than the LEDs themselves.
Mini linear channels cost more per foot than bare tape because you're paying for the aluminum housing and diffuser lens, but they also last longer and look considerably more finished, especially in a cabinet where the light source is visible rather than hidden behind trim. For a single glass-front cabinet, this remains an affordable upgrade even with the added channel cost.
Museum-style micro-spotlights sit at the top of the budget range. They make sense for a genuinely valuable piece, a signed item, an heirloom, a serious collectible, where precise beam control and dimming justify the added expense. For everyday display cabinets, that level of investment usually isn't necessary.
Where you can save: buy strip length in bulk if you're lighting more than one cabinet, since per-foot pricing drops noticeably at longer lengths. Where you shouldn't cut corners: the driver. A cheap, underpowered driver is the most common point of failure in a DIY install, and replacing it after the fact means redoing wiring you already tucked away.
Why Layered Lighting Changes How a Cabinet Reads
A display cabinet lit from a single point looks flat no matter how nice the objects inside are. The layered approach, wash plus accent, warm plus angled, is the same principle Theconnecteddwelling applies to entire rooms, just scaled down to a few cubic feet of glass and shelving. Once you've picked a temperature and CRI you trust, using the guide to layered lighting as a starting point makes the rest of the decisions easier.
Cabinet lighting shouldn't exist in isolation from the room it sits in, either. A well-lit case in a poorly lit room still looks disconnected. Treat the cabinet as one layer in a larger plan that includes ambient and task light nearby, and the whole space reads as considered rather than accidental.
— August
Where to Find Curated Kits and Wiring Guides
Picking the right strip, driver, and diffuser combination from scratch takes some trial and error, and buying the wrong driver wattage is a mistake most people make exactly once. Theconnecteddwelling's lighting hub pulls together curated product picks, wiring diagrams, and full kit recommendations so you're not piecing together specs from five different manufacturer pages.
If you're still deciding between a warmer or cooler look for your collection, the 2700K vs. 3000K comparison walks through exactly how each temperature reads against different materials, which saves you from buying a strip you'll want to return. Between the two resources, you'll find kit options, driver pairings, and the reasoning behind each recommendation, not just a list of products with no context. Browse the lighting hub, pick the setup that matches your cabinet size and budget, and you can have the whole project wired and finished by the weekend.
Sources
- LED strip vs puck lights (Woodworker Express, 2026)
- LED lighting benefits (Lippoli Electric)
- BLÅLIDEN / STRIMSÄV glass-door cabinet with lighting, white - IKEA
- LED Display Case Lighting - Wired4signs