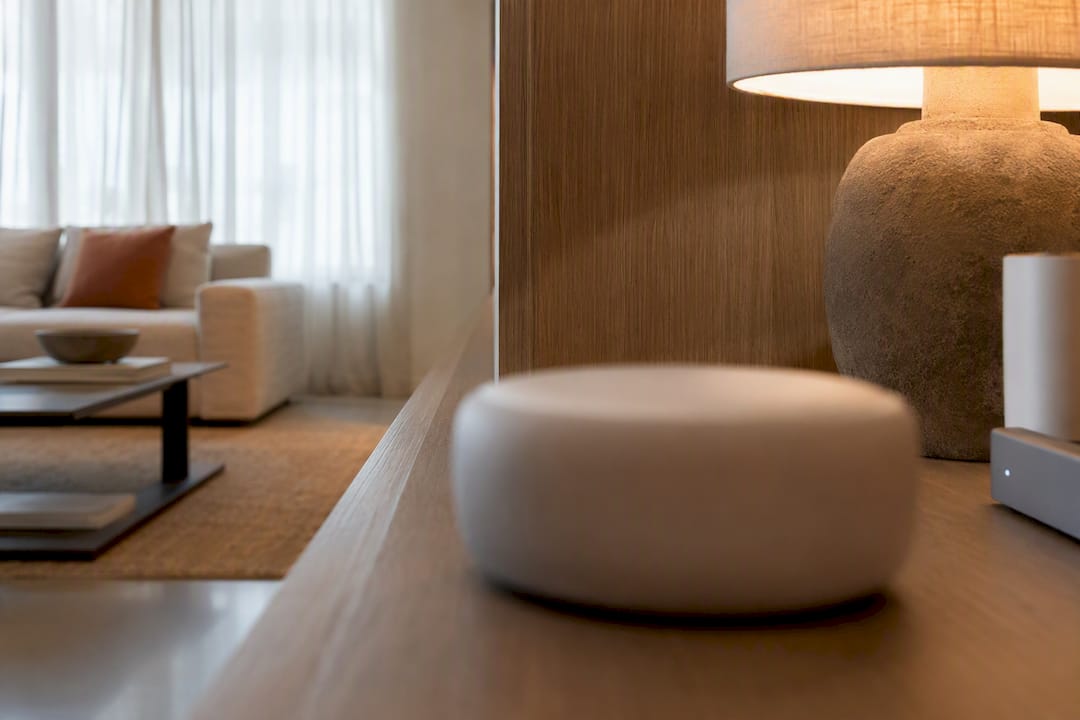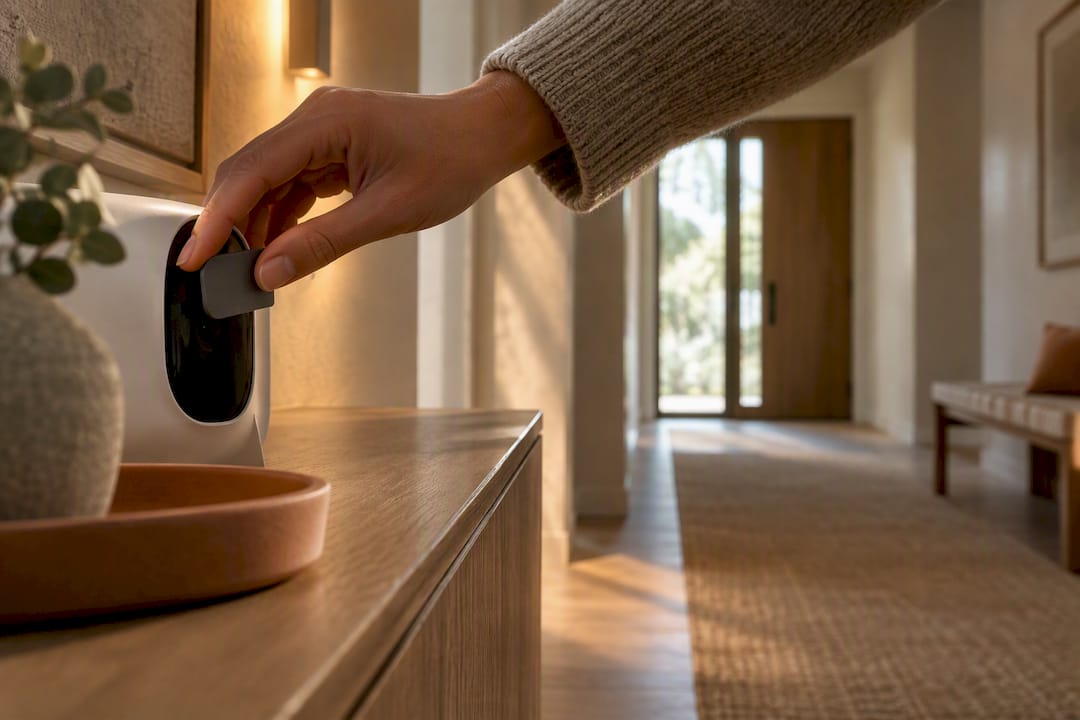
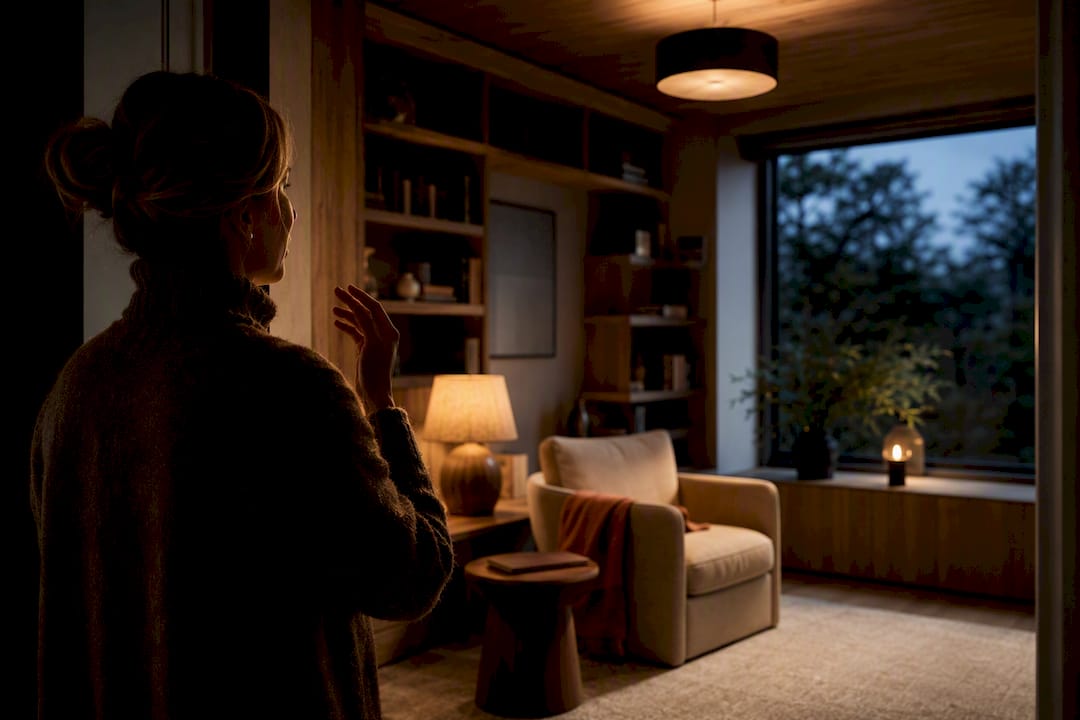
Voice control lighting means turning your lights on, off, or to a specific brightness by talking to Alexa, Google Assistant, or Siri instead of reaching for a switch. For most homes, the simplest path is a handful of Wi‑Fi or Bluetooth smart bulbs in the rooms you use most, and a hub or bridge once you're wiring more than a few fixtures across the house. All three major platforms handle the basics well once devices are named and paired correctly.
TL;DR:
- Wi-Fi bulbs are easy to install but can congest your network if you have many, while Zigbee devices use less power and require a hub for better reliability.
- Switches are more suitable for whole rooms or multi-way circuits, offering greater long-term reliability and easier control of multiple bulbs.
- Proper setup involves firmware updates, same Wi-Fi or bridge connection, and precise device and room naming to ensure voice commands work correctly.
- Mismatched names between manufacturer apps and voice assistants are the most common cause of control failures, which can be fixed by renaming and rediscovering devices.
- Using scenes named by activity and hiding hubs or switches helps create an organized, efficient voice-controlled lighting system focused on layered lighting plans.
Table of Contents
- How Voice-Controlled Lighting Actually Works
- Smart Bulbs vs. Smart Switches: Which Fits Your Home?
- How Do You Set Up Voice Control for Your Lights?
- Voice Commands and Naming Rules That Actually Work
- Fixing the Most Common Voice Lighting Problems
- Design-First Integration Tips From TheconnectedDwelling
- When Voice Control Is Worth It
- Where to Go Next With Your Lighting Plan
- Sources
- FAQ
How Voice-Controlled Lighting Actually Works
A voice lighting setup has four working parts. Smart bulbs screw into existing fixtures and control brightness and color on their own. Smart switches or dimmers replace your wall switch and control whatever's already wired to it, bulbs included. A hub or bridge is a small box that translates between your lights and your voice assistant, and some ecosystems, like Zigbee-based systems, need one to function at all. Sensors add automation, dimming a room when nobody's in it or brightening it at sunset.
The protocol each device speaks matters more than most buyers realize. Wi‑Fi bulbs connect directly to your router, no bridge required, but can crowd your network if you add a dozen of them. Zigbee devices sip less power and mesh well room to room, though Zigbee typically needs a bridge to talk to your phone or your assistant. Bluetooth Mesh skips the bridge for small setups but loses range and reliability as you scale past a room or two.
- Smart bulbs: self-contained, no rewiring, good for renters
- Smart switches: control existing wiring, better for multi-fixture rooms
- Hubs/bridges: required for some protocols, improve whole-home reliability
- Sensors: add motion or daylight-based automation
- Voice assistants: Alexa, Google Assistant, and Siri/HomeKit sit on top of all of them
LED-based smart lighting also carries a real efficiency case beyond convenience. The Department of Energy notes that LED and smart controls cut energy use through automated scheduling and occupancy-based dimming, on top of the LED's baseline efficiency over incandescent bulbs.
Smart Bulbs vs. Smart Switches: Which Fits Your Home?
Bulbs win when you want color, you're renting, or you're only outfitting a lamp or two. You screw one in, pair it, and you're talking to it within minutes. No electrician, no wall plate to swap, and you take it with you when you move.
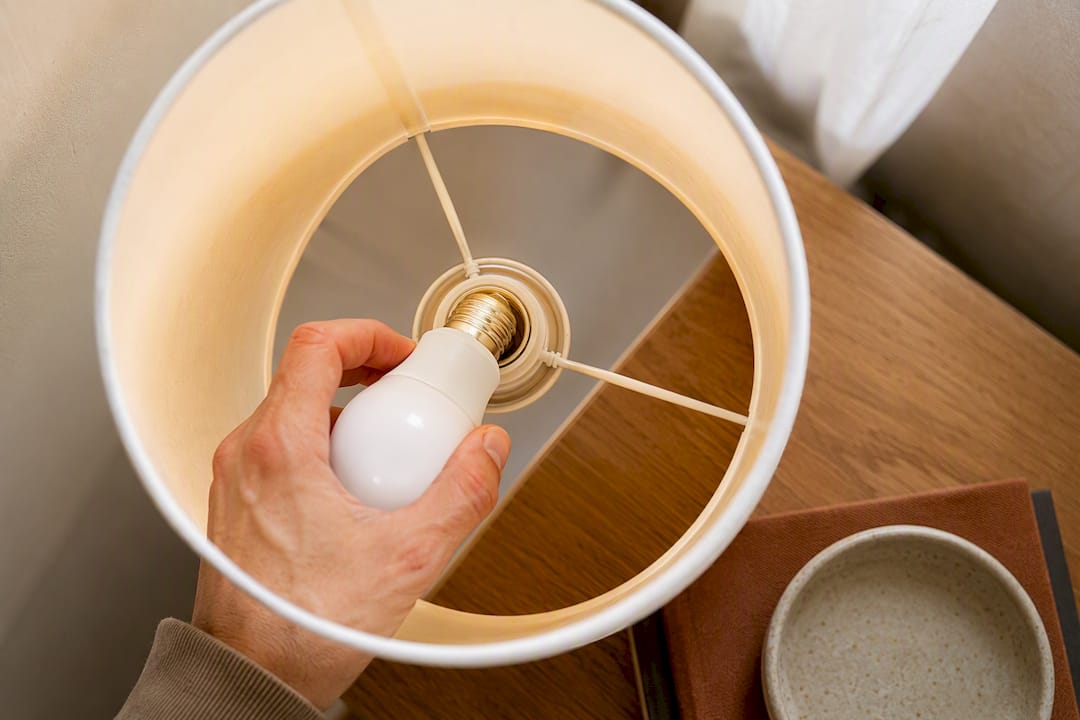
Switches win once you're covering a whole room or a multi-way circuit, like a hallway with switches at both ends. A single smart switch controls every bulb on that circuit, so you're not buying and pairing five bulbs to get one room fully voice-controlled. Switches also tend to be more reliable long-term since they're hardwired rather than depending on a battery-backed radio in a bulb base.
Hybrid homes are common and sensible: switches for overhead and recessed lighting, bulbs for lamps and accent fixtures where color matters. A hub becomes worth adding once you're running scenes across more than one room or mixing brands, since bridge-based systems like Philips Hue tend to hold scenes together more reliably than standalone Wi‑Fi bulbs alone.
- Renting or lighting a lamp: smart bulb
- Whole-room or multi-way switch: smart switch, likely with an electrician
- Mixing brands or multiple rooms: add a hub
Pro Tip: Multi-way circuits (stairwells, long hallways) often need a neutral wire or a compatible companion switch. Have an electrician confirm your wiring before buying a dimmer for one of these. Our smart bulbs vs. smart switches guide walks through the wiring questions in more depth.
How Do You Set Up Voice Control for Your Lights?
Setup varies slightly by assistant, but the groundwork is identical everywhere.
Before you start:
- Update the light manufacturer's app and your bulbs' or switches' firmware
- Confirm every device is on the same Wi‑Fi network, or connected to the same bridge
- Decide on room and device names now, before you pair anything
For Alexa:
- Open the Alexa app and go to Devices, then the plus icon to add a device.
- Enable the manufacturer's skill if one is required, and sign in.
- Let Alexa discover devices, then assign each one to a room or group.
For Google Assistant:
- Open Google Home, tap add device, and choose "works with Google."
- Link the manufacturer's account and assign each light to a room.
- If a bulb doesn't show up right away, run "sync devices" from the settings menu. Google's own setup docs cover this sync step in detail along with room-based command structure.
For Siri/HomeKit:
- Open the Home app and tap add accessory, scanning the HomeKit code on the box or in the app.
- If the brand isn't natively HomeKit compatible, connect through a HomeKit-enabled bridge instead.
- Assign the accessory to a room and set permissions for anyone else in the household.
Quick troubleshooting checklist:
- Resync or rediscover devices from the assistant app
- Reboot the bridge or hub before touching device settings
- Double-check that the name in the manufacturer app matches the assistant app exactly
Voice Commands and Naming Rules That Actually Work
Commands follow a simple pattern across assistants: "turn on the [room] lights," "set [device] to 50 percent," "make the [room] lights blue," or "turn on [scene name]." Google Home's documentation confirms brightness percentage and color commands work the same way whether you're addressing a single bulb or a whole room group.
Phrasing differs slightly by platform. Alexa tends to respond better to "set" for brightness, while Google Assistant accepts both "set" and "dim." HomeKit leans on Siri Shortcuts for anything beyond a basic on/off or scene name.
- Keep device and room names to one or two words
- Never let two devices share a name that only differs by a number or letter
- Match the name in the manufacturer app exactly to the name in the assistant app
- Test each new command right after pairing, before adding the next device
Consistent naming across apps is the single biggest factor in whether your assistant understands you the first time.
Pro Tip: Test one new light or scene at a time. Adding five devices and testing them all at once makes it nearly impossible to tell which name is causing the misfire.
Fixing the Most Common Voice Lighting Problems
Most voice lighting failures trace back to three causes: network trouble, naming mismatches, or a broken scene.
Start with the network. A crowded Wi‑Fi band, an offline bridge, or outdated firmware will make an assistant claim a device is unreachable even when the bulb itself is fine.
Naming mismatches show up as "device not found" errors, usually because the name in the manufacturer's app doesn't match the name in Alexa or Google Home. Rename the device in both apps so they match exactly, then rediscover it.
Scenes and automations tend to degrade over time, especially in mixed-brand homes. Cross-brand setups introduce more friction than single-ecosystem ones, and the fix is usually to delete and recreate the scene rather than edit it repeatedly.
- Check Wi‑Fi congestion and bridge status first
- Rename mismatched devices in both apps, then rediscover
- Delete and rebuild broken scenes instead of patching them
- Factory reset only after a rename and reboot fail; contact the manufacturer if the device still won't pair
Design-First Integration Tips From TheconnectedDwelling
Voice control shouldn't flatten your lighting into one flat "on" setting. Keep your three layers, ambient, task, and accent, and assign voice scenes to each layer rather than one blanket command for the whole room.
Conceal switches and hubs where you can. A bridge tucked in a media cabinet does the same job as one sitting on the counter, minus the clutter.
Name scenes for what you're doing, not what the lights are doing: "movie," "dinner," "reading." Tune color temperature by room, since a 2700K glow that feels right in a bedroom reads flat in a kitchen.
- Assign at least one ambient, task, and accent scene per room
- Hide hubs and smart switches inside cabinetry or behind decor
- Name scenes by activity, not by device
Pro Tip: Walk through your evening routine once, room by room, and name a scene for each stop. That's usually all the scene naming you'll ever need. For more on layering, see why living room lighting often feels wrong.
When Voice Control Is Worth It
Voice lighting earns its keep in rooms where your hands are full or the light switch is inconveniently placed: the kitchen, the entry, the bedroom at night, the media room mid movie. It's less essential in a hallway you walk through for two seconds. Keep the app as a backup, since even reliable setups occasionally miss a command. Start with one room, standardize your naming from day one, then expand once that room feels effortless.
Where to Go Next With Your Lighting Plan
Getting voice control right is really a lighting design problem wearing a tech disguise, and that's a key focus of this site. Instead of chasing another spec sheet, you get room-by-room guidance that treats your smart bulbs and switches as part of the layered lighting plan, not a bolt-on gadget.
If you're still deciding between hardware, our smart bulbs vs. smart switches comparison breaks down which one fits your wiring and your goals. Once you know what you need, browse our lighting category for curated picks by room, or look at outdoor lighting options if your voice setup needs to reach the porch and yard, too. Start with the comparison guide, pick your hardware, and build your first room from there.
Sources
- Works with Philips Hue
- How to name your smart-home devices for better voice control | How-To Geek
- Control lights on your Google Home - Google Support
FAQ
How Do I Make My Lights Voice Controlled?
Pair a smart bulb or smart switch with your assistant's app (Alexa, Google Home, or Apple Home), assign it to a room, and give it a name that matches across both the manufacturer's app and the assistant's app.
Can You Get Voice-Activated Lights?
Yes. Smart bulbs, smart switches, and smart plugs connected to a bulb all support voice control once paired with Alexa, Google Assistant, or Siri/HomeKit.
What Is Voice Control on an iPhone For?
On an iPhone, voice control through Siri lets you operate paired HomeKit accessories, including lights, by speaking commands like "turn on the bedroom lights" without touching the Home app.
How Do I Use Voice Control on My TV?
Most smart TVs support voice commands through a built-in assistant or a paired Alexa/Google device, letting you control volume, input, and apps by voice, separate from lighting control but often set up through the same assistant app.
Why Won't My Assistant Recognize a Light's Name?
This is almost always a naming mismatch between the manufacturer's app and the assistant's app. Rename the device identically in both, then rediscover or resync it.