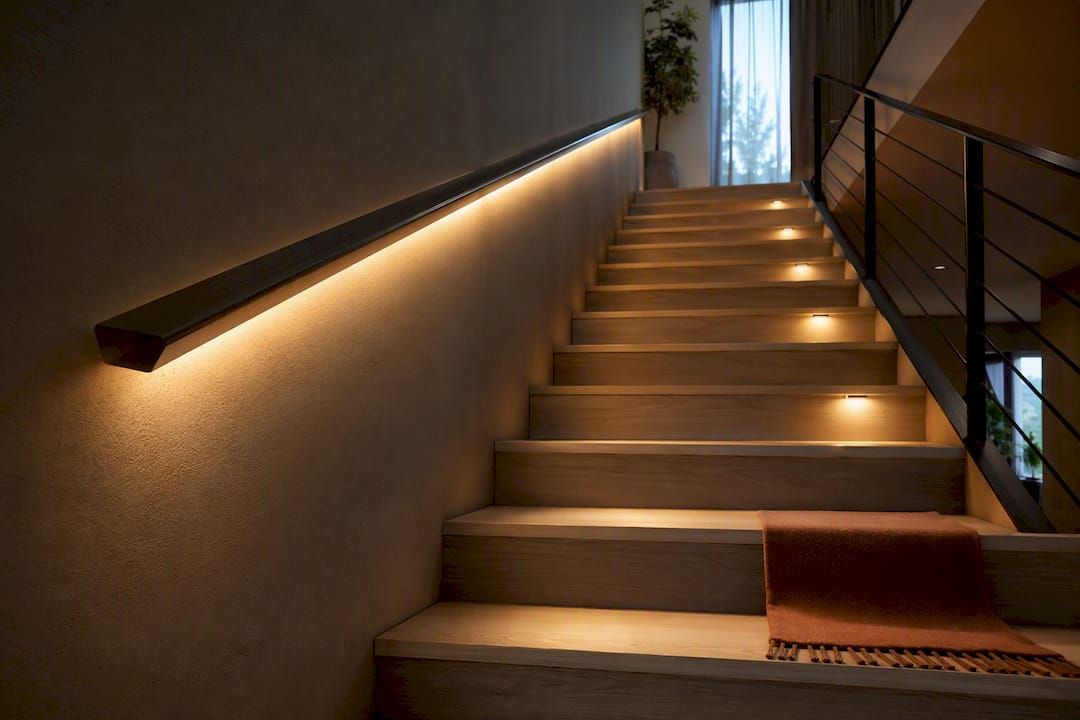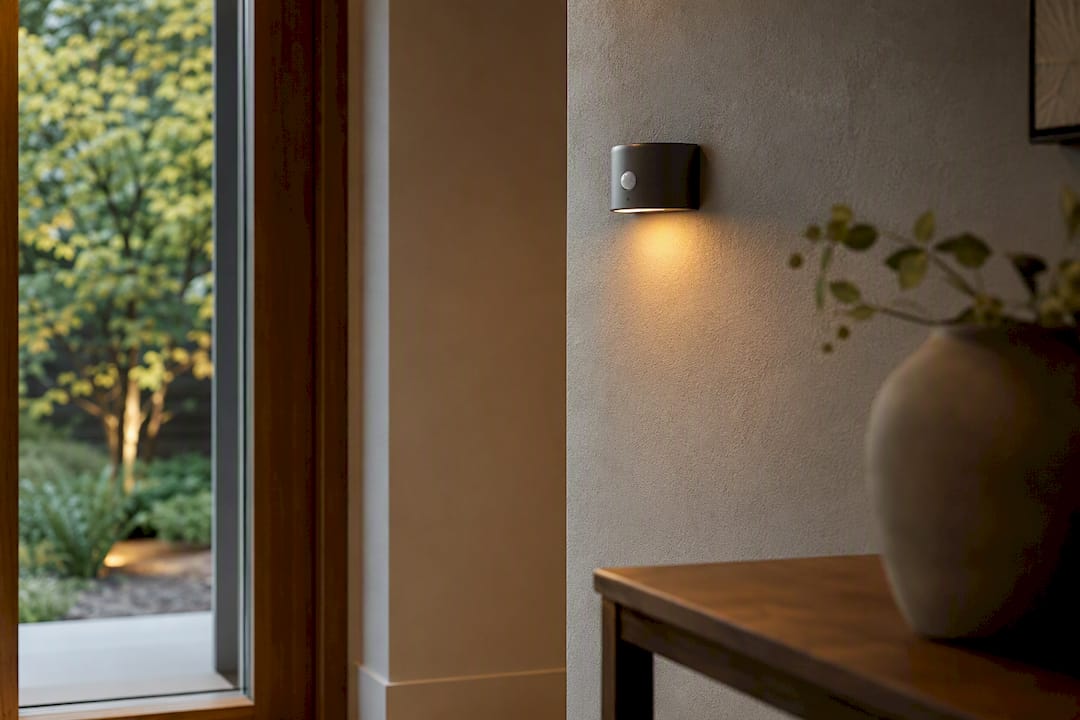
Motion-sensor lighting works beautifully in rooms where people arrive with full hands, stay briefly and leave without thinking about the switch. It is much less convincing in a living room where someone can sit still long enough for the lights to decide the room is empty.
Choose the control around the room’s behavior first. Detection range comes later.
The four useful types
Sensor bulb
A sensor is built into the bulb. This is the smallest intervention, but it works only when the sensor has a clear view from inside the fixture. A shade, enclosed globe or recessed can may block detection.
Use it for a simple utility fixture after confirming the bulb is approved for that enclosure and orientation.
Battery or plug-in path light
This is a low-output light with its own sensor. It is useful inside a closet, under a cabinet or near the floor for nighttime orientation.
Treat it as supplemental light. A small rechargeable puck should not be the only illumination for stairs or another route where dependable code-compliant lighting is required.
In-wall occupancy or vacancy sensor
This replaces a wall switch and controls the room’s installed lights.
- An occupancy sensor turns lights on automatically when it detects movement and off after the room appears empty.
- A vacancy sensor requires a person to turn lights on, then turns them off automatically after the room is empty.
Leviton’s residential guidance identifies manual-on vacancy controls as useful in bathrooms, children’s rooms and hallways, where automatic-on light is not always desirable.
Separate wireless sensor
A battery-powered sensor sends commands to a compatible switch, dimmer, bulb or hub. Because the sensor is not tied to the switch box, you can place it where it sees the approach to a hallway or the entrance to a laundry room.
This is the most flexible option, but it commits you to a compatible lighting system. Confirm which hub, bridge or border router is required before buying. The Matter and Thread guide explains those roles.
Match the behavior to the room
| Room | Useful starting behavior | Why |
|---|---|---|
| Closet or pantry | Auto-on, short auto-off | Visits are brief and hands may be full |
| Laundry or utility room | Auto-on, moderate timeout | Entry is predictable, but a person may stand still folding or sorting |
| Hallway | Low-level auto-on after dark | Full brightness is often unnecessary at night |
| Bathroom | Manual-on or low-level auto-on, auto-off | Avoids unwanted full light while preserving shutoff |
| Bedroom | Usually manual-on; optional low path light | Movement in bed should not trigger the main light |
| Living room or office | Vacancy mode or long timeout | Seated occupants make small movements that PIR sensors can miss |
| Stairs | Reliable installed lighting plus optional sensor control | Safety should not depend on one small battery light |
This table is a starting point, not a wiring prescription. Local electrical and energy codes may determine which controls are permitted or required.
Understand what a PIR sensor can see
Many residential sensors use passive infrared technology. PIR sensors detect changes in heat moving through their zones of view; they do not identify a person or continuously measure the whole room.
They generally detect someone crossing the field more easily than someone walking directly toward the sensor. They can also miss a person who is seated and moving very little.
Placement should give the sensor a clean view of the entrance and occupied area while avoiding unwanted views into an adjacent hallway. Follow the coverage diagram for the exact model rather than applying a universal mounting height.
Heating and cooling vents can also affect performance. Lutron’s guidance notes that airflow and heat sources can cause false triggers or reduced PIR performance in challenging environments. Start with the manufacturer’s default sensitivity and reduce it only when testing reveals a real problem.
Set the light level before the timeout
The most common design mistake is allowing motion to turn on a glaring ceiling light at full brightness during the night.
Where the control supports it, create a modest occupied level after dark. A dim, warm source near the floor can guide someone through a hallway without waking the entire house. Keep brighter task light available from the regular wall control.
Match its color temperature to the nearby rooms. A blue-white sensor light beside 2700K lamps will look accidental even when its detection works perfectly.
For rooms that already feel harsh, solve the underlying layers with the living-room lighting guide before automating the same brightness.
Choose a timeout by observing the task
Short timeouts save energy only when the light stays on while the room is genuinely in use.
Begin with:
- a short timeout for a pantry or pass-through closet;
- a moderate timeout for a bathroom or laundry room; and
- a longer timeout—or vacancy mode—for an office, reading chair or workbench where movement is subtle.
Lutron residential controls commonly offer several timeout choices rather than one “correct” setting. Test the least active real task in the room. Fold laundry, sit at the desk or take a shower; do not test only by walking briskly past the sensor.
Installation choices
The no-wiring route
Use a listed plug-in, rechargeable or battery-powered light where it is genuinely supplemental. Mount it so it cannot become a trip hazard, fall onto fabric or shine directly into someone’s eyes.
The replace-a-switch route
An in-wall control gives the cleanest result for installed lighting, but compatibility matters:
- Is the circuit single-pole, three-way or multi-location?
- Does the control require a neutral wire?
- Is it rated for the connected LED load or fan?
- Will it fit the box with the existing conductors?
- Is grounding and local code compliance clear?
Turn off power and follow the manufacturer’s instructions. If the circuit, wiring or box is unfamiliar, use a qualified electrician. Do not copy a wiring arrangement from another room and assume it is identical.
The ecosystem route
A separate sensor plus compatible smart control is useful when the best detection point is far from the switch. Check whether automations run locally, what happens when the hub or internet is unavailable, and whether the ordinary wall control remains understandable.
A setup process that prevents most frustration
- Write down when the light should turn on, stay off and turn off.
- Choose occupancy or vacancy behavior before choosing a product.
- Mark the likely sensor position with removable tape.
- Test the field of view from the doorway and the quietest occupied position.
- Set an appropriate nighttime light level.
- Start with the default sensitivity and a generous timeout.
- Live with it for several days before reducing the timeout.
- Confirm that a manual control still works when the automation is inconvenient.
If the light turns on from movement in an adjacent room, reposition the sensor or use the manufacturer’s lens mask. If it switches off while someone is present, improve the view, increase sensitivity or extend the timeout before adding another sensor.
What to look for when buying
- Occupancy, vacancy or selectable behavior appropriate to the room
- Adjustable timeout and sensitivity
- A daylight or ambient-light threshold when daytime auto-on would waste light
- A supported low-level or preset turn-on value
- A coverage diagram that fits the actual approach path
- Correct load, wiring and multi-location compatibility
- A clear manual override
- Accessible manufacturer instructions and warranty support
The best sensor is not the one with the largest number on the box. It is the one that notices the right arrival, ignores the wrong movement and leaves the room behaving normally when someone reaches for the switch.