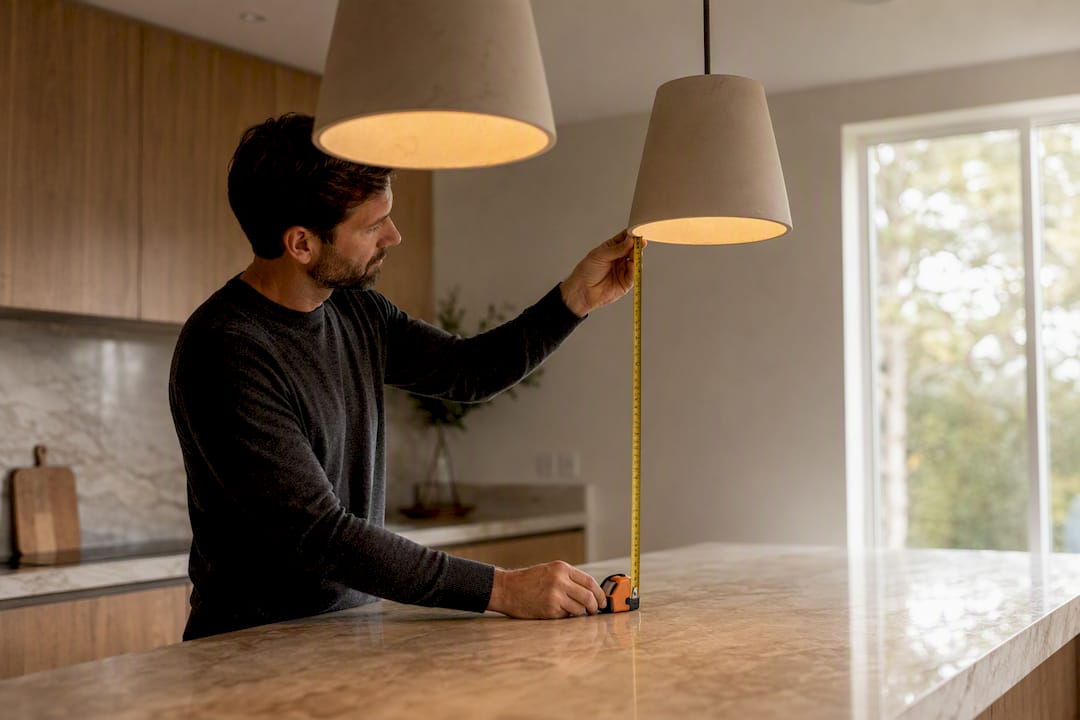
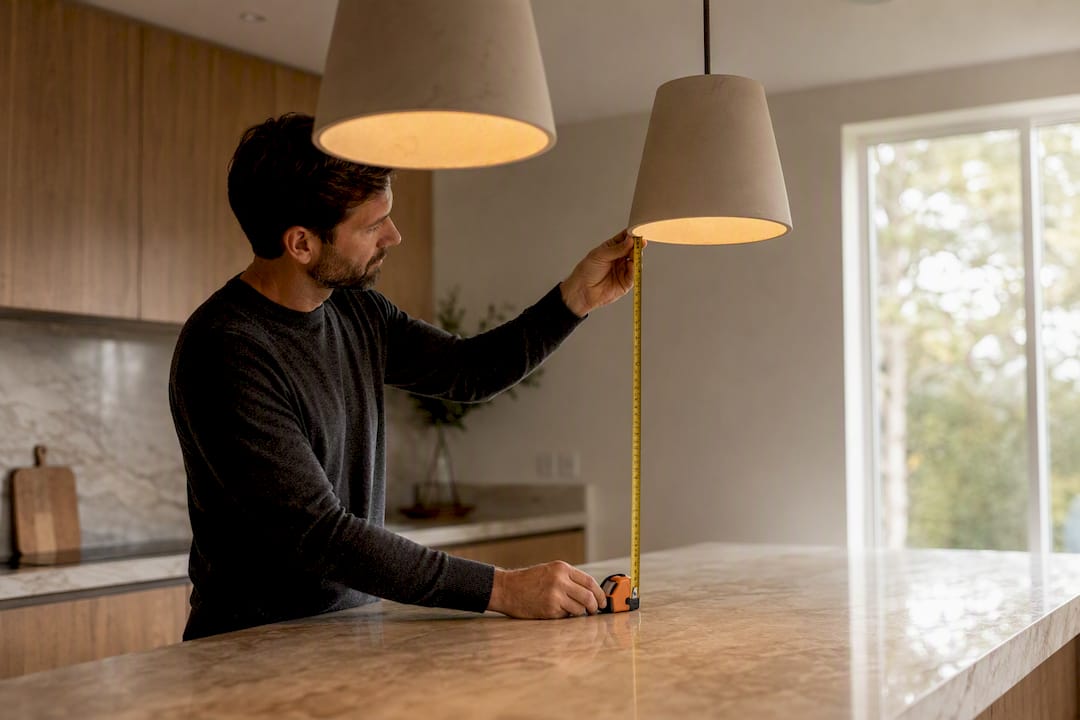
Hang your pendants so the bottom edge sits 30 to 36 inches above the finished countertop. That's the working range most kitchen designers and lighting calculators build from, with 28 to 38 inches as the wider comfort zone for unusual layouts. Go toward 30 inches with low ceilings or small shades, and toward 36 inches with tall ceilings, big shades, or a household that includes someone over six feet. Both the American Lighting Association's long-standing residential guidance and published tools like the LumenCalculator pendant-height calculator anchor this range.
TL;DR:
- Pendants for kitchen islands should hang 30 to 36 inches above the finished countertop surface, measured to the actual counter, not the cabinet edge.
- For tall ceilings, increase pendant height by approximately 3 inches for every foot of additional room beyond 8 feet, and consider the tallest household member's height to avoid head hazards.
- The typical spacing for pendants on a 72-inch island is two pendants spaced roughly 24 to 30 inches apart, with shades positioned 6 to 12 inches inside the island edges.
- Larger, heavier shades should be hung closer to 36 inches to blend with the ceiling, while smaller or open designs can be closer to 30 inches for task-focused lighting.
- Conduct a dry-fit test using a string or balloon at your calculated height to confirm visual comfort, clearance, and proper spacing before final installation.
Table of Contents
- What Is the Ideal Island Pendant Height?
- How Do You Adjust Pendant Height for a Tall Ceiling?
- How Many Pendants Do You Need and How Far Apart?
- Does Fixture Size Change the Ideal Drop?
- How Do You Dry-Fit Pendants Before Final Installation?
- What Bulb and Dimmer Specs Work Best for Island Pendants?
- What Installation and Safety Checks Should You Run Before You Wire It In?
- A Balanced Take on Getting the Height Right
- Where to Find More Lighting Guidance and Fixtures
- Sources
- FAQ
What Is the Ideal Island Pendant Height?
That 30 to 36 inch window only works if you measure it correctly: from the bottom of the pendant to the finished countertop surface, not the cabinet box below it. Countertops vary in thickness, so measuring to the cabinet edge instead of the actual work surface can throw your drop off by an inch or two, which is enough to notice every time you reach for a knife.
Here's how the range plays out in a standard kitchen:
- 8-foot ceiling, 36-inch counter: land the pendant bottom around 30 to 32 inches above the counter, since you have less vertical room to work with.
- 9-foot ceiling, 36-inch counter: 32 to 34 inches gives you breathing room without crowding the light.
- 10-foot ceiling, 36-inch counter: 34 to 36 inches keeps the fixture from looking stranded in a tall room.
Favor the lower end of the range when your shades are compact or your ceiling is standard height. Favor the higher end when the shade has real visual bulk, or when someone in your house is tall enough that a low-hanging pendant becomes a hazard rather than a design feature.
How Do You Adjust Pendant Height for a Tall Ceiling?
The rule most installers use: raise the pendant about 3 inches for every extra foot of ceiling height above 8 feet. A 9 foot ceiling gets roughly 3 inches more drop than the 8 foot baseline, a 10 foot ceiling gets about 6 inches more, and so on. Skip this adjustment and a technically correct 30 inch clearance can look stranded under a soaring ceiling, throwing off the whole room's sense of scale.
Calculators like LumenCalculator's pendant light height calculator build in a second check on top of the ceiling formula: a tallest-person rule that overrides the base clearance whenever someone in the house is unusually tall. The logic is simple:
- Start with your base clearance (say, 32 inches, the midpoint of the standard range).
- Calculate tallest person's height minus counter height. For a 70 inch tall person and a 36 inch counter, that's 34 inches.
- Use whichever number is larger. Since 34 beats 32, the pendant bottom needs to sit at least 34 inches above the counter.
Try a full worked example: a 96-inch (8 foot) ceiling, a 36-inch counter, a 12-inch tall fixture, and a 70-foot tall person in the house. Ceiling to counter is 96 minus 36, or 60 inches of open space. Subtract your target clearance (34 inches, from the tallest-person check above) and the fixture height (12 inches), and you're left with 14 inches of cord or stem to work with. That's the number you hand to whoever's installing the fixture.
How Many Pendants Do You Need and How Far Apart?
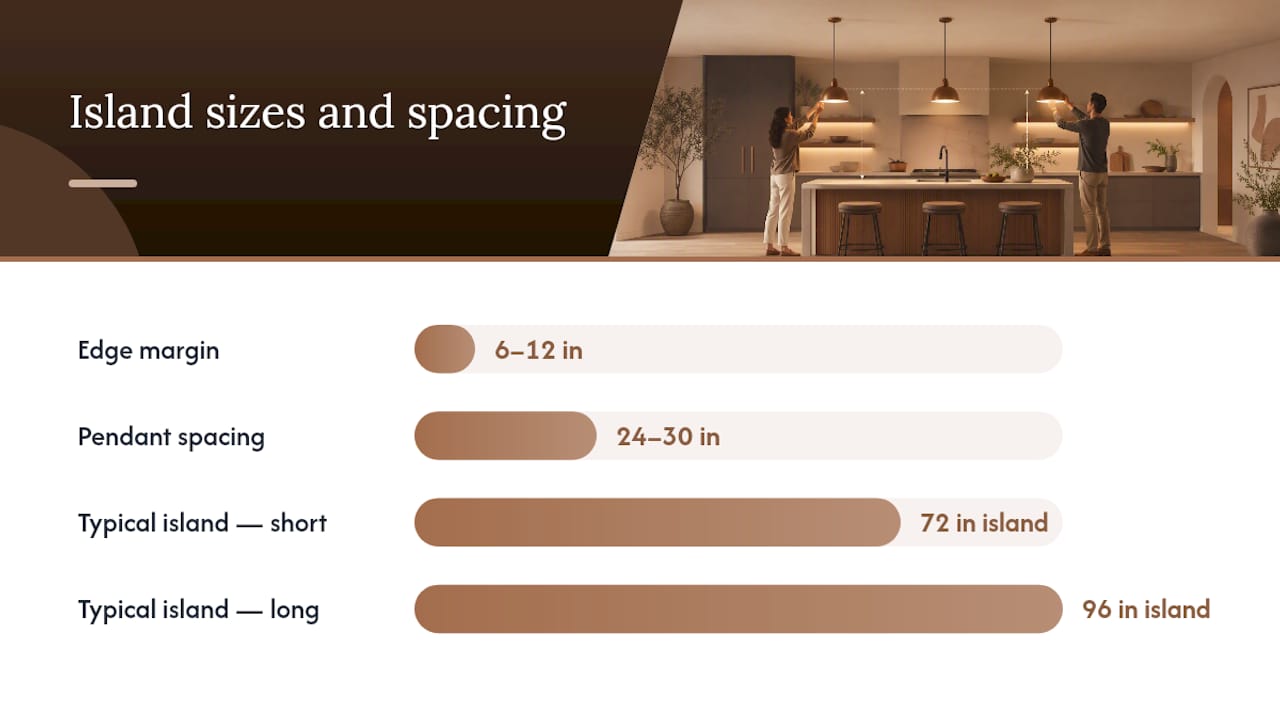
Space pendants roughly 24 inches apart center to center, with the outer shades sitting about 6 to 12 inches inside the island's edges so nothing overhangs the counter. The math is straightforward once you know your island length: subtract roughly 12 inches total for the two edge margins, then divide the remaining run by your shade width plus your target spacing.
In practice, that arithmetic settles into a few common patterns:
- 72 inch island: two pendants, spaced around 24 to 30 inches apart, is the standard call.
- 96 inch island: three pendants gives even coverage without crowding, following the same spacing math and worked layout examples that lighting designers use for longer runs.
- Over 108 inches: consider a linear fixture or a multi-light canopy instead of stretching individual pendants further apart than the light can cover well.
Odd numbers (one or three) tend to look more intentional than even counts, since a centered middle fixture anchors the whole run visually. Align your pendants over the sink, the cooktop, or the seating zone rather than dead-centering them on the island if those features are off-center, and double-check that no pendant lands directly over a cabinet overhang or a stool position where someone's head would meet it at eye level.
Does Fixture Size Change the Ideal Drop?
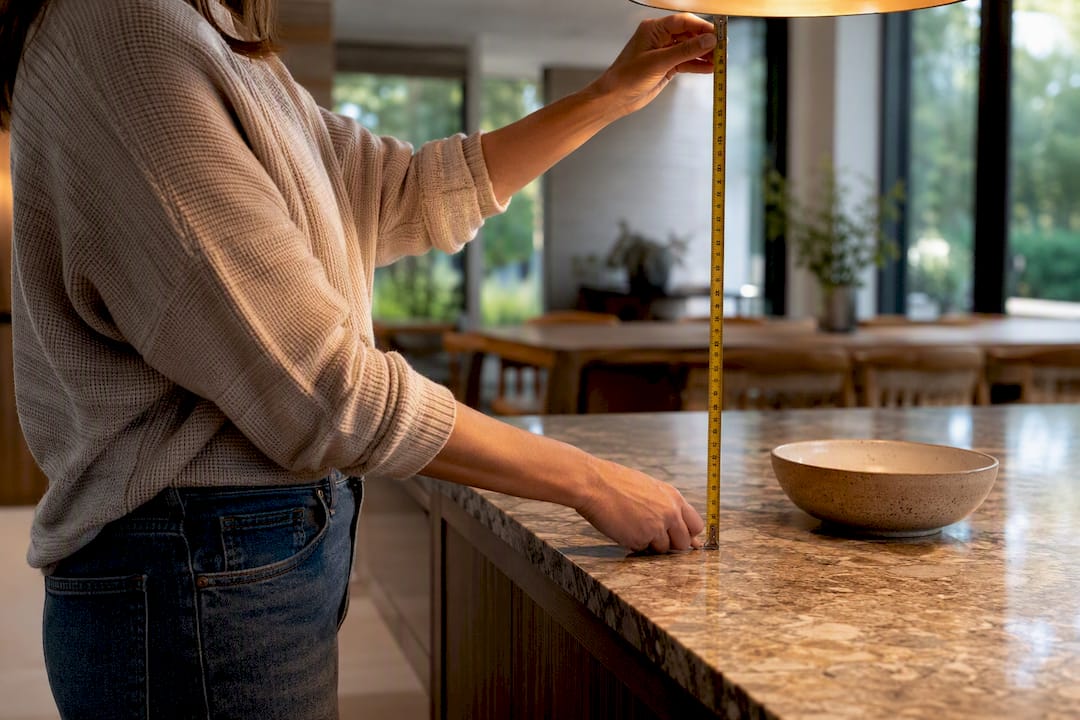
Yes, and this is the detail most homeowners miss. A pendant's visual weight, not just its numeric measurement, decides whether it reads as an intentional light fixture or an obstacle sitting in the middle of your kitchen. Larger, visually dense shades should hang toward the higher end of the range, closer to 36 inches, so they register as part of the ceiling plane instead of furniture parked in your sightline.
Smaller or more open pendants can drop lower, closer to 30 inches, where they deliver sharper task light and a more intimate feel over the counter. The shade material matters just as much as its size:
- Open or glass shades let light spread wide, so they can hang a bit lower without glaring at seated eye level.
- Opaque metal or fabric shades throw a tighter pool of light straight down, which usually means keeping them slightly higher to avoid a harsh, narrow beam.
- Directional shades aimed at the counter need less vertical adjustment since their light pattern is already controlled by the fixture itself.
Pro Tip: If you're mixing pendant styles or sizes over one island, keep the bottom heights level across all fixtures, even if the fixtures themselves are different sizes. Consistent bottom height reads as a deliberate design choice; consistent top height just looks like a measuring mistake.
How Do You Dry-Fit Pendants Before Final Installation?
Numbers on paper don't always match what your eyes tell you once light actually hangs there. Before you commit to a final cord or stem length, run a physical test. Installers who do this for a living rarely skip it, because a balloon-and-string or cardboard cutout test catches problems that math alone won't.
- Measure your finished countertop height and note any bar-height overhang or stool seat height that affects sightlines.
- Tape a string to a balloon, a foam ball, or even a rolled-up piece of cardboard, and hang it at your calculated height using painter's tape or a temporary hook.
- Sit at the island the way you actually would, and stand at the counter the way you'd cook. Check the view across the island from both positions.
- Walk the checklist: confirm your spacing between pendants, confirm clearance for your tallest household member, confirm the fixture takes an LED-rated dimmer and the bulb you want, and measure the ceiling-to-bottom distance so you order the right stem or cord length the first time.
Pro Tip: Do the dry-fit at night with your other kitchen lights on low. Daylight hides glare problems that only show up once the sun goes down and the pendant becomes your main light source.
What Bulb and Dimmer Specs Work Best for Island Pendants?
Once the height is set, the bulb inside the fixture decides whether that height actually earns its keep. Choose LED sources, whether A19 bulbs or an integrated LED module, and aim for enough output to handle real task work like chopping and prep. Task lighting for kitchens generally calls for brighter, more direct output than a decorative fixture in a hallway would need.
For color temperature, stay in the 2700K to 3000K range for a warm kitchen that still reads as clean and functional rather than clinical. A higher Kelvin number can make the same lumen output feel brighter to the eye, so don't assume you need more light just because a bulb runs cooler. Check the Color Rendering Index (CRI) too. Anything above 90 keeps food and countertop finishes looking true to color instead of washed out.
- Confirm the pendant's driver is LED-rated dimmer compatible before you buy the switch.
- Match bulb wattage and base type to the fixture's spec sheet, not a generic hardware store swap.
- Keep the same Kelvin temperature across all your kitchen's light layers so nothing clashes.
For more on getting the Kelvin number right across every fixture in the room, our 2700K vs. 3000K guide walks through the tradeoffs in more depth.
What Installation and Safety Checks Should You Run Before You Wire It In?
Head clearance matters most where an island doubles as a walkway. Standard guidance calls for 84 inches minimum clearance in any path someone walks through regularly, a different rule from the 30 to 36 inch counter clearance you're using for the pendant itself. If your island sits close to a doorway or a main traffic route, confirm you're clear of that circulation path before finalizing height.
Beyond clearance, run through these before you call the job done:
- Confirm the pendant mounts to a properly rated electrical junction box, with enough canopy clearance to sit flush against the ceiling.
- Check the fixture's total height and cord or stem length against your finished ceiling-to-counter measurement so you're not stuck ordering a custom extension after installation.
- Hire a licensed electrician for any hardwired connection. This isn't a place to improvise wiring.
- Leave a little slack in the cord where the design allows, so future adjustments (a new island, a different counter height) don't require rewiring from scratch.
A Balanced Take on Getting the Height Right
The math matters, but it's not the whole story. Task light, clean sightlines, and a quick physical dry-fit test settle more disputes than a spreadsheet ever will. I'd rather see a homeowner tape a cardboard circle to a broom handle and stand at their counter for five minutes than trust a formula they never double-checked by eye.
Keep your Kelvin consistent across every light layer in the kitchen, and make sure your dimmer actually matches your driver before you wire anything permanently. Try the checklist above before you drill a single hole, and lean on lighting resources when you're ready to compare fixtures against your specific island.
Where to Find More Lighting Guidance and Fixtures
Getting the height right is only half the project. The other half is picking a fixture whose scale, shade type, and Kelvin output actually match the math you just worked out, and that's where a curated resource earns its place over a generic showroom scroll. TheconnectedDwelling's Lighting category organizes fixtures and guides so you're not stuck guessing which pendant size fits a 72 inch island or which shade throws the task light you actually need.

If you're still deciding how pendants fit into the rest of your kitchen's light plan, The Beginner's Guide to Layered Lighting walks through how island fixtures work alongside ambient and accent light instead of fighting them. And if Kelvin choice is still an open question, the 2700K vs. 3000K breakdown settles it in plain terms. For readers who'd rather have a professional handle the wiring end of the job, Capital Pro Lighting offers hands-on installation support if you'd rather not run this yourself. Start by browsing the Lighting category for fixtures sized to your island's dimensions, then bring your measurements when you're ready to buy.
Sources
- Pendant Light Height Calculator
- Pendant Lighting Guide: Types, Height & Spacing | Montclair — Montclair Light Works
- What is task lighting? — The Spruce
FAQ
How High Should a Pendant Be From an Island?
The bottom of the pendant should sit 30 to 36 inches above the finished countertop, measured to the counter surface itself rather than the cabinet below it.
What Size Pendants Work for a 6 Foot Kitchen Island?
A 6 foot (72 inch) island typically fits two pendants, spaced roughly 24 to 30 inches apart center to center, with the shades kept 6 to 12 inches inside the island's edges.
What Size Pendants Work for a 72 Inch Island?
Two pendants is the standard call for a 72 inch island, following the same spacing math used for a 6 foot island since they're the same length.
What Size Pendants Work for a 9 Foot Island?
A 9 foot (108 inch) island sits right at the point where three pendants still work well, though longer islands beyond that often do better with a linear fixture or a multi-light canopy instead.
How Do I Adjust Pendant Height for Household Members Who Are Tall?
Use the tallest-person check: subtract the counter height from that person's height, and if the result is larger than your base clearance, hang the pendant at that greater height instead.